Configure appointment types
Appointment types allow you to organize and plan your appointments.
An appointment type determines the colour of appointments on the grid, suggests durations and provider/resource assignments, and can be limited to specific clinics.
- Go to Practice > Practice Settings > Scheduling > Appointment Types
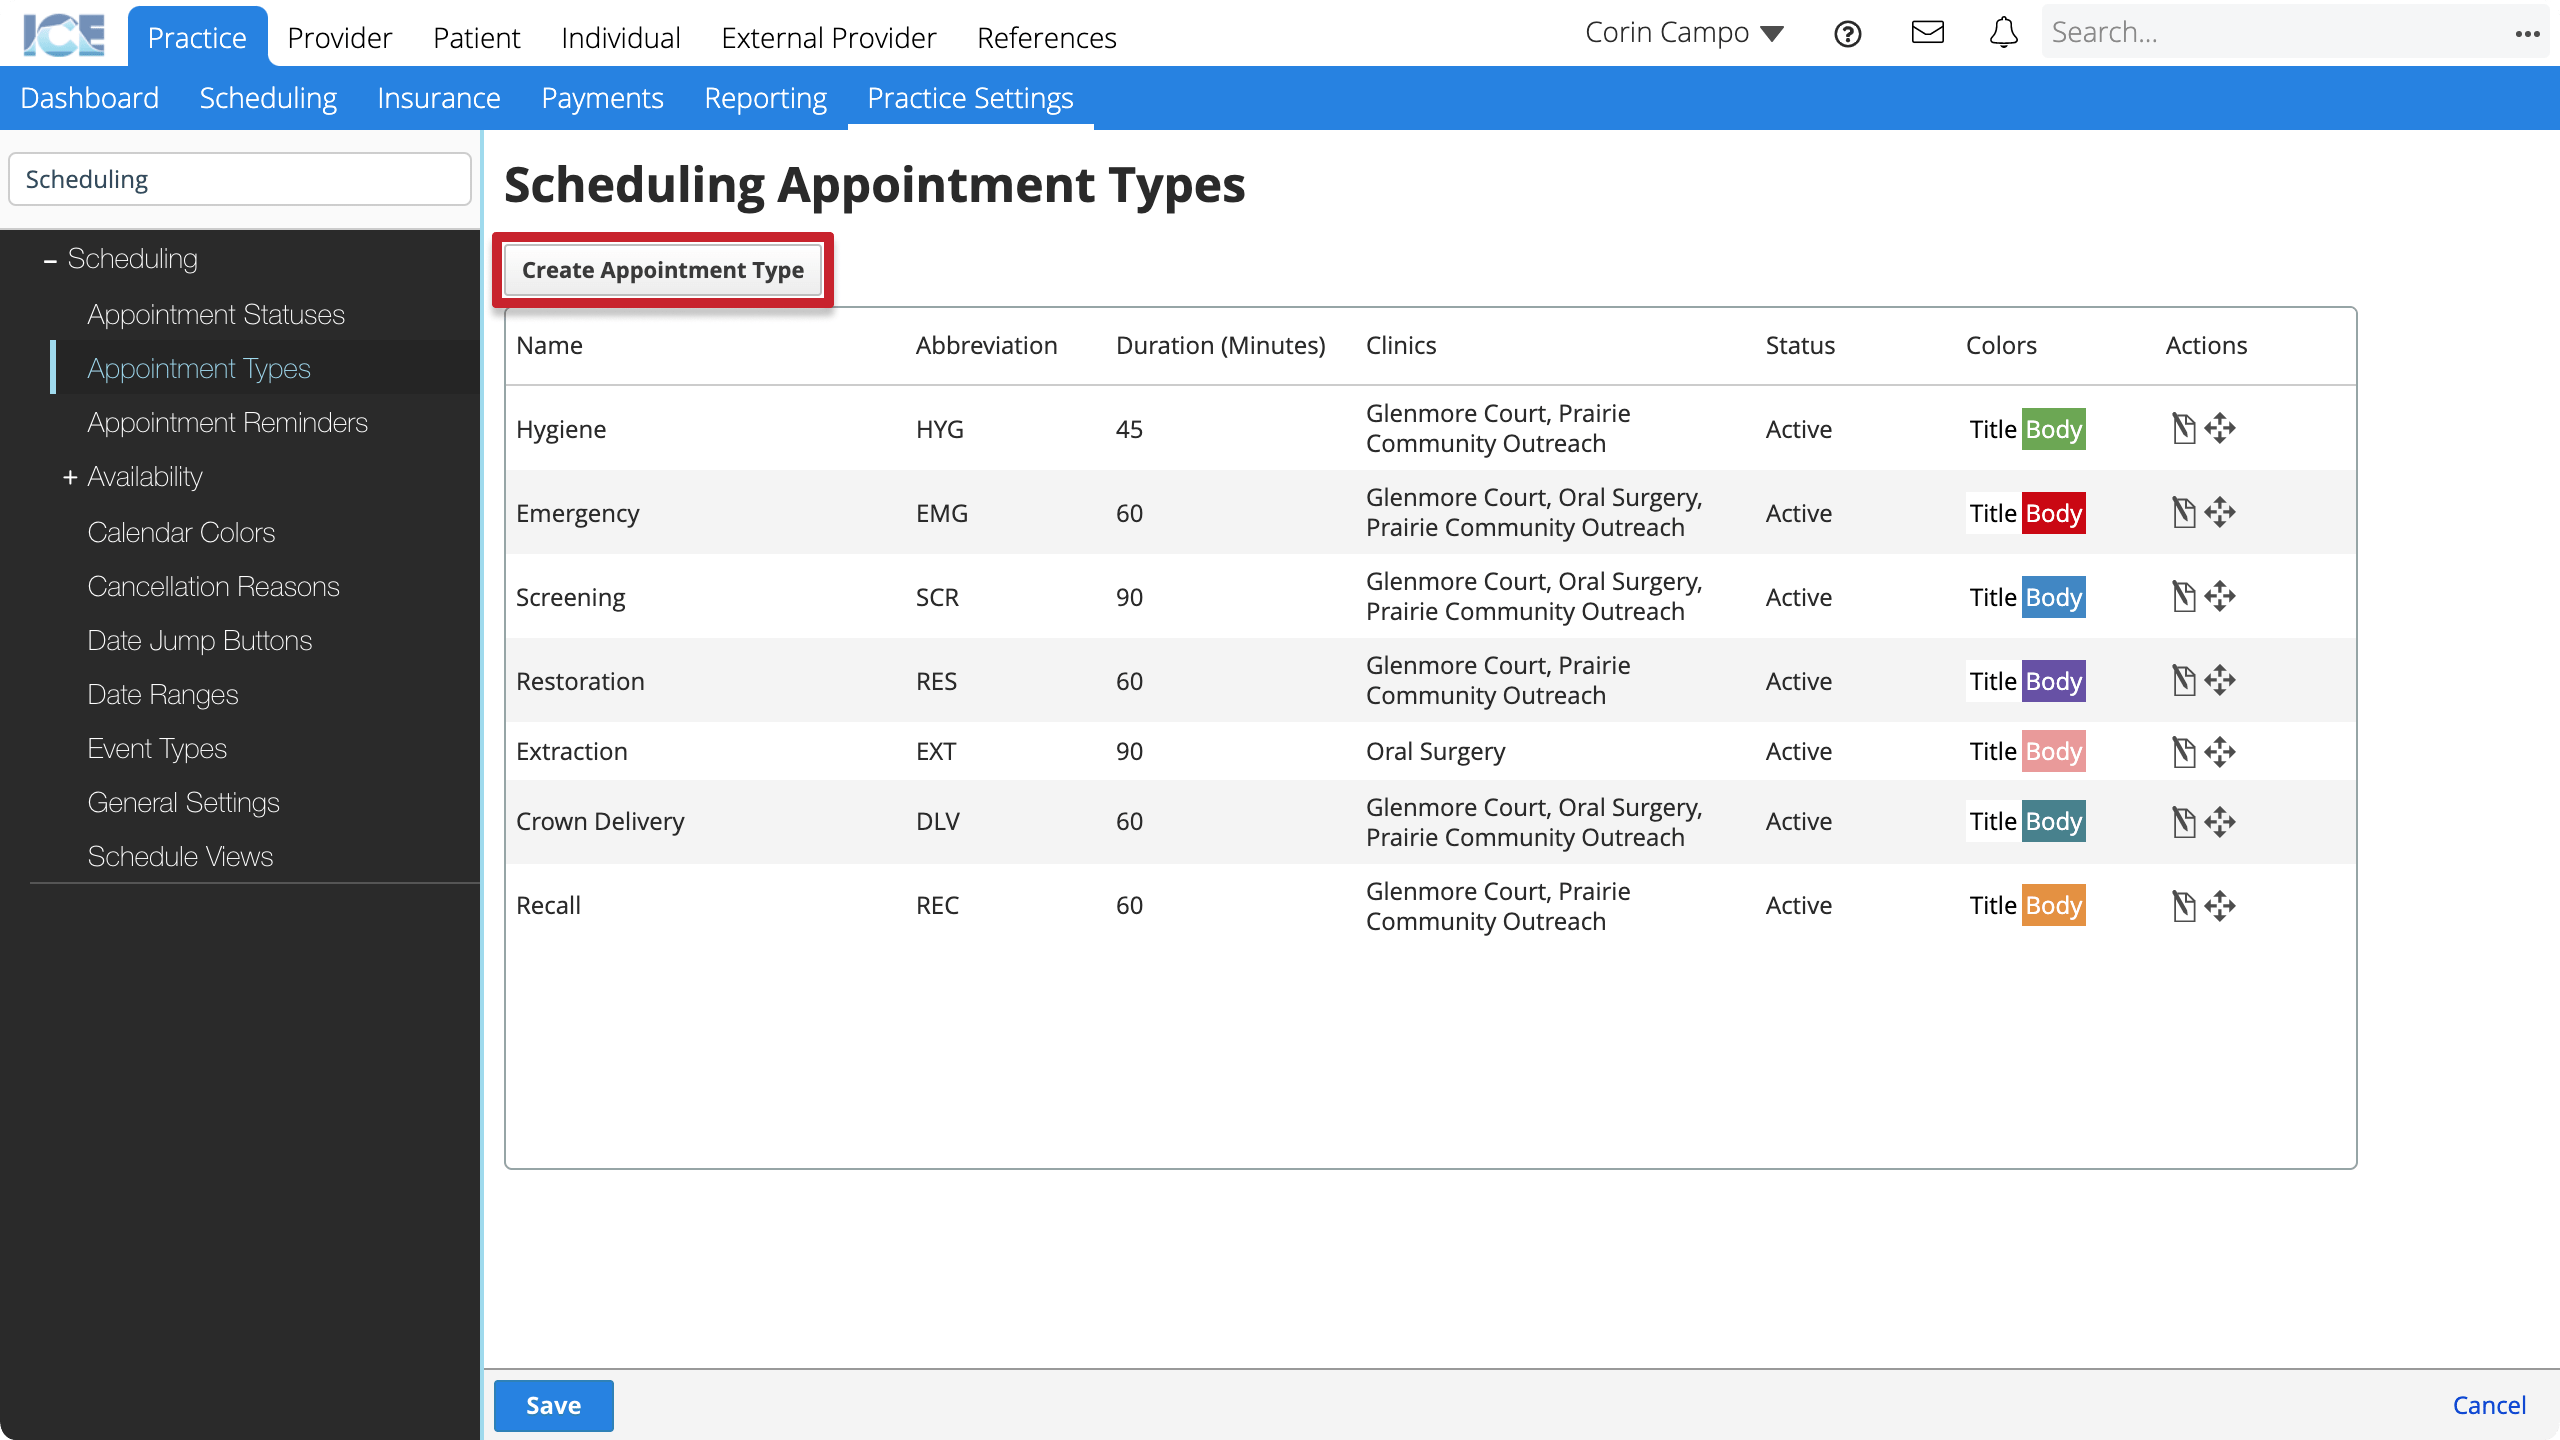
- Select Create New Appointment Type
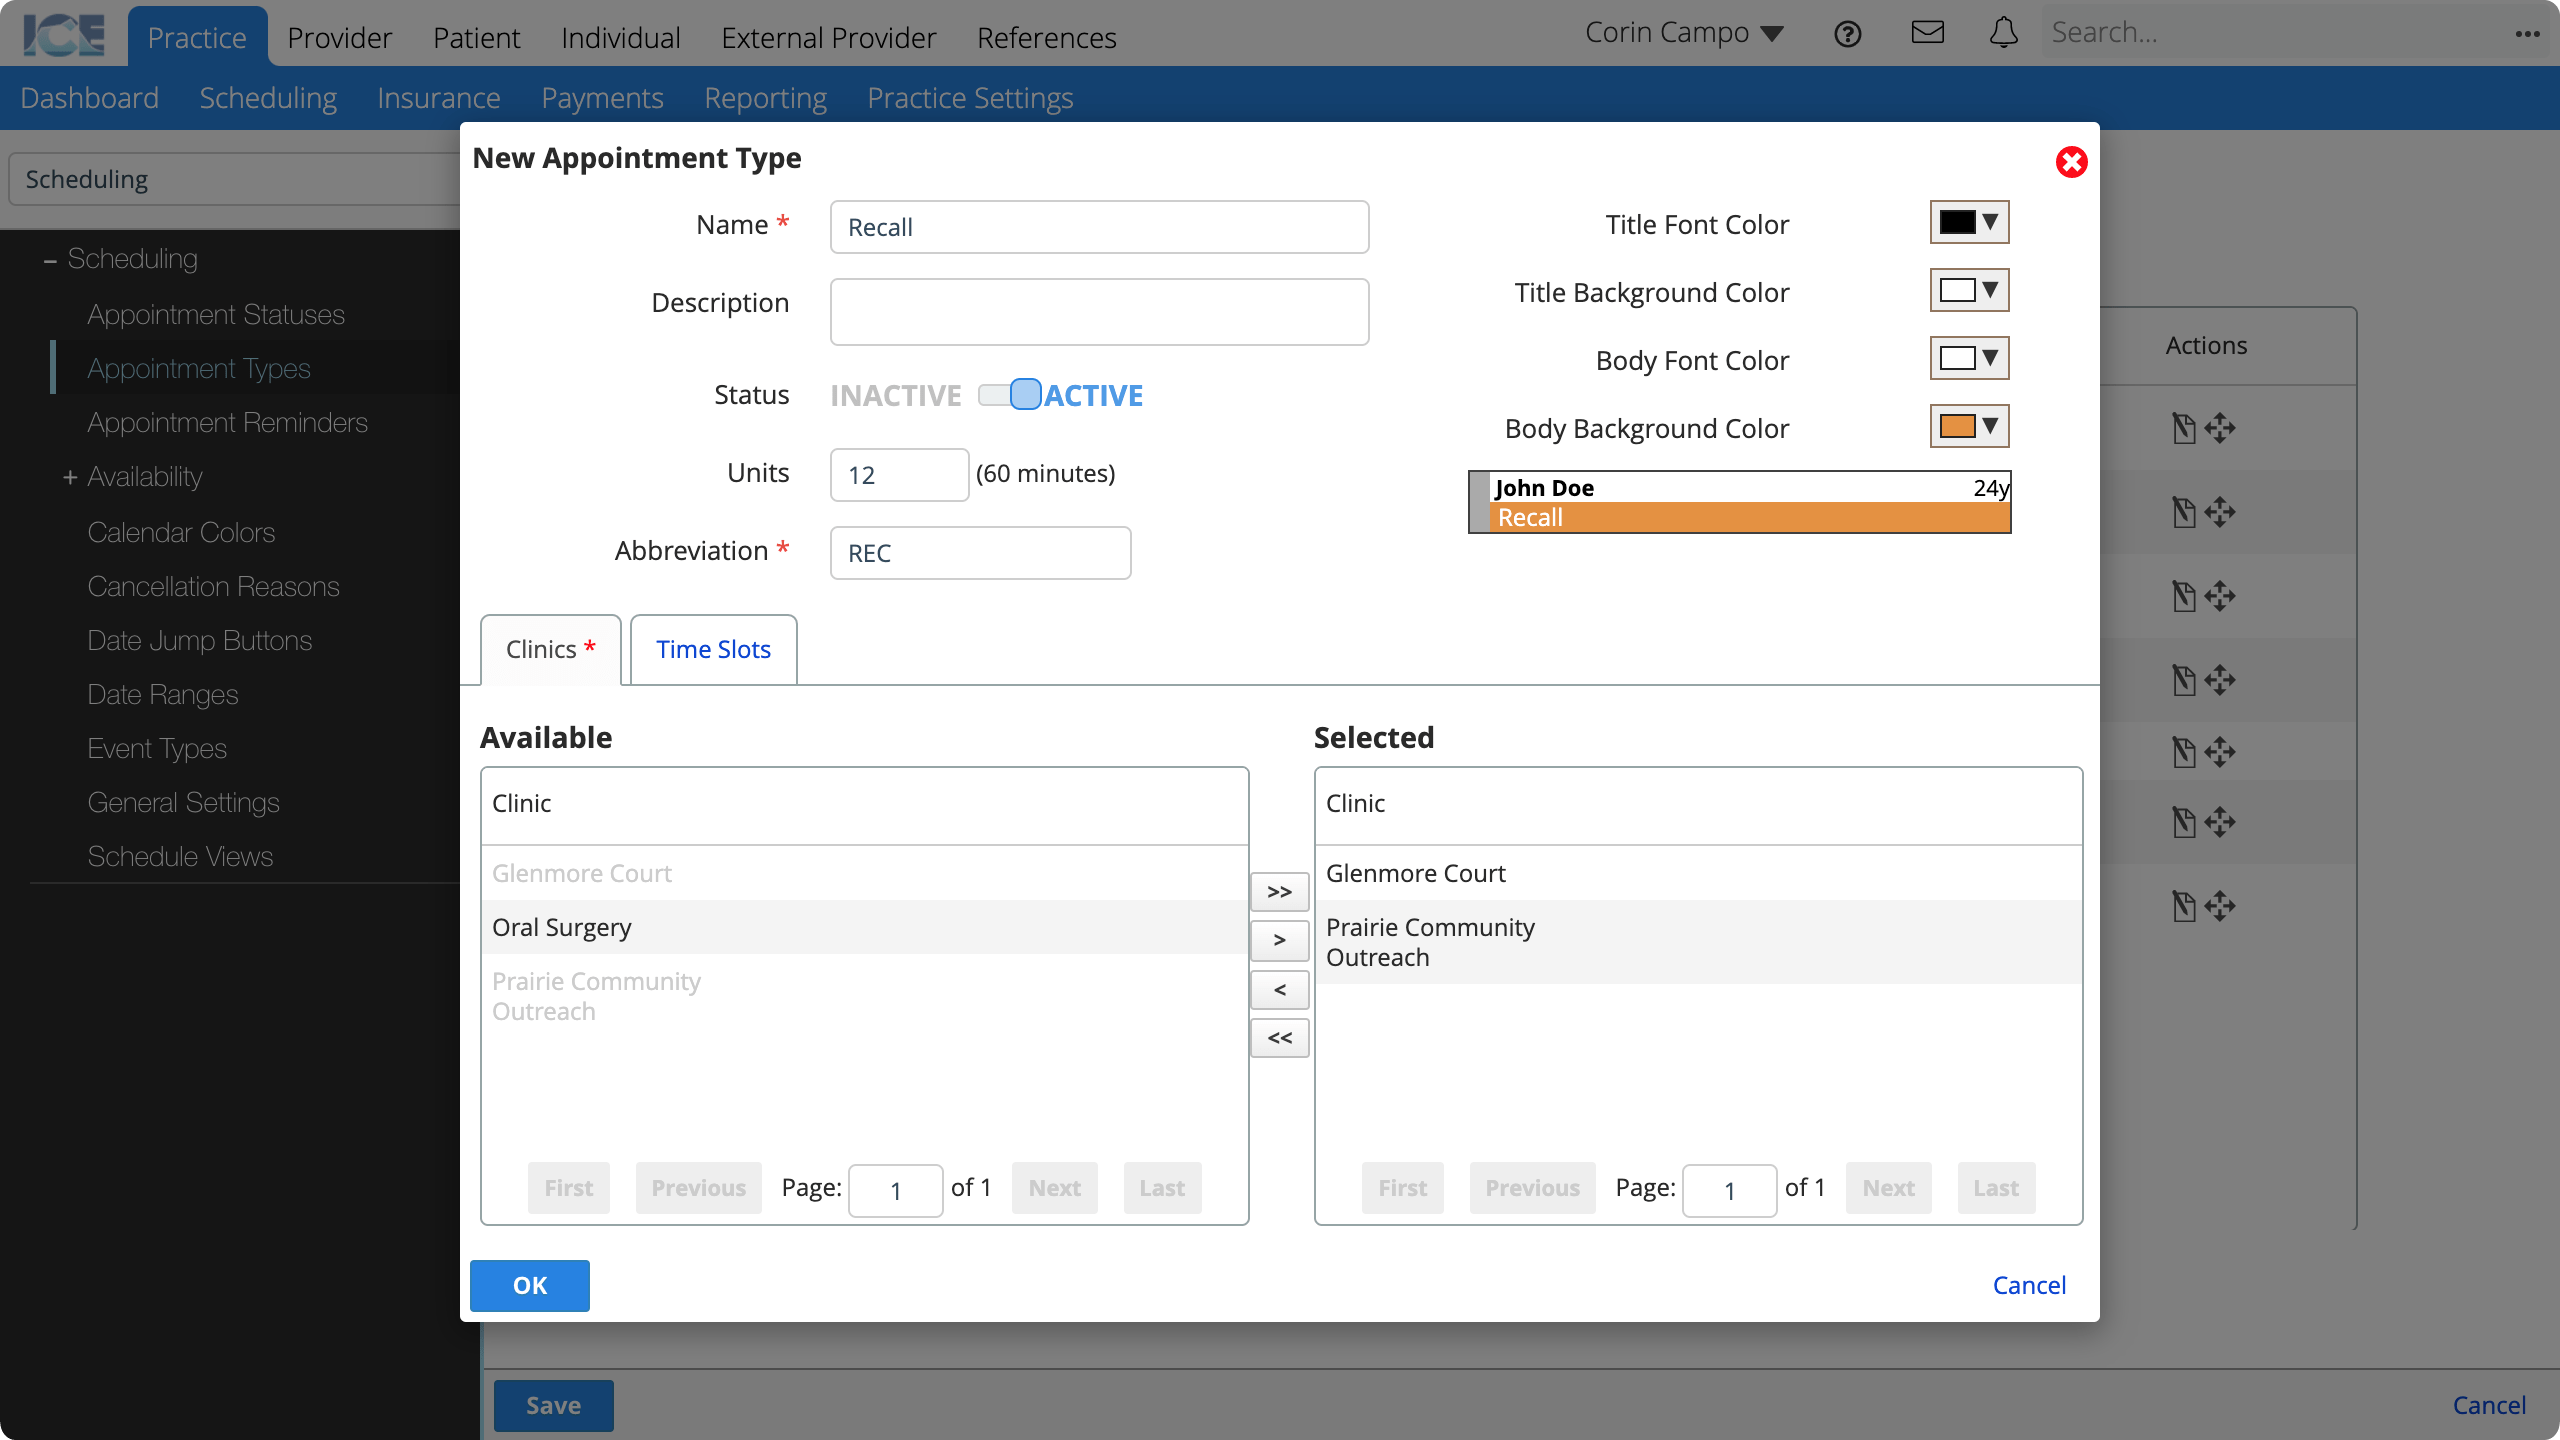
- Enter the required information
- Name: A short description that appears when you create an appointment and choose an appointment type.
- Description: A longer description that only appears here in Practice Settings.
- Status: Active appointment types appear for use in the system. Inactive appointment types cannot be used, but appear in historical references.
- Units: How many units of time is the default duration for this appointment type?
- By default a unit is 5 minutes, so 12 units define a default duration of 1 hour.
- A scheduler can adjust the duration of an appointment when they create it.
- Abbreviation: A short identifier for when space is limited.
- Title & Body Colors: The colors of the appointment body on the schedule grid.
- Use the Clinics tab to configure which clinics can use this appointment type
- Only clinics in the Selected table can schedule appointments with this appointment type.
- Double-click a clinic name or select a clinic and use the arrow buttons to move a clinic between tables
- Optional: Use the Time Slots tab to name and define time ranges within the appointment that should be filled by providers or resources.
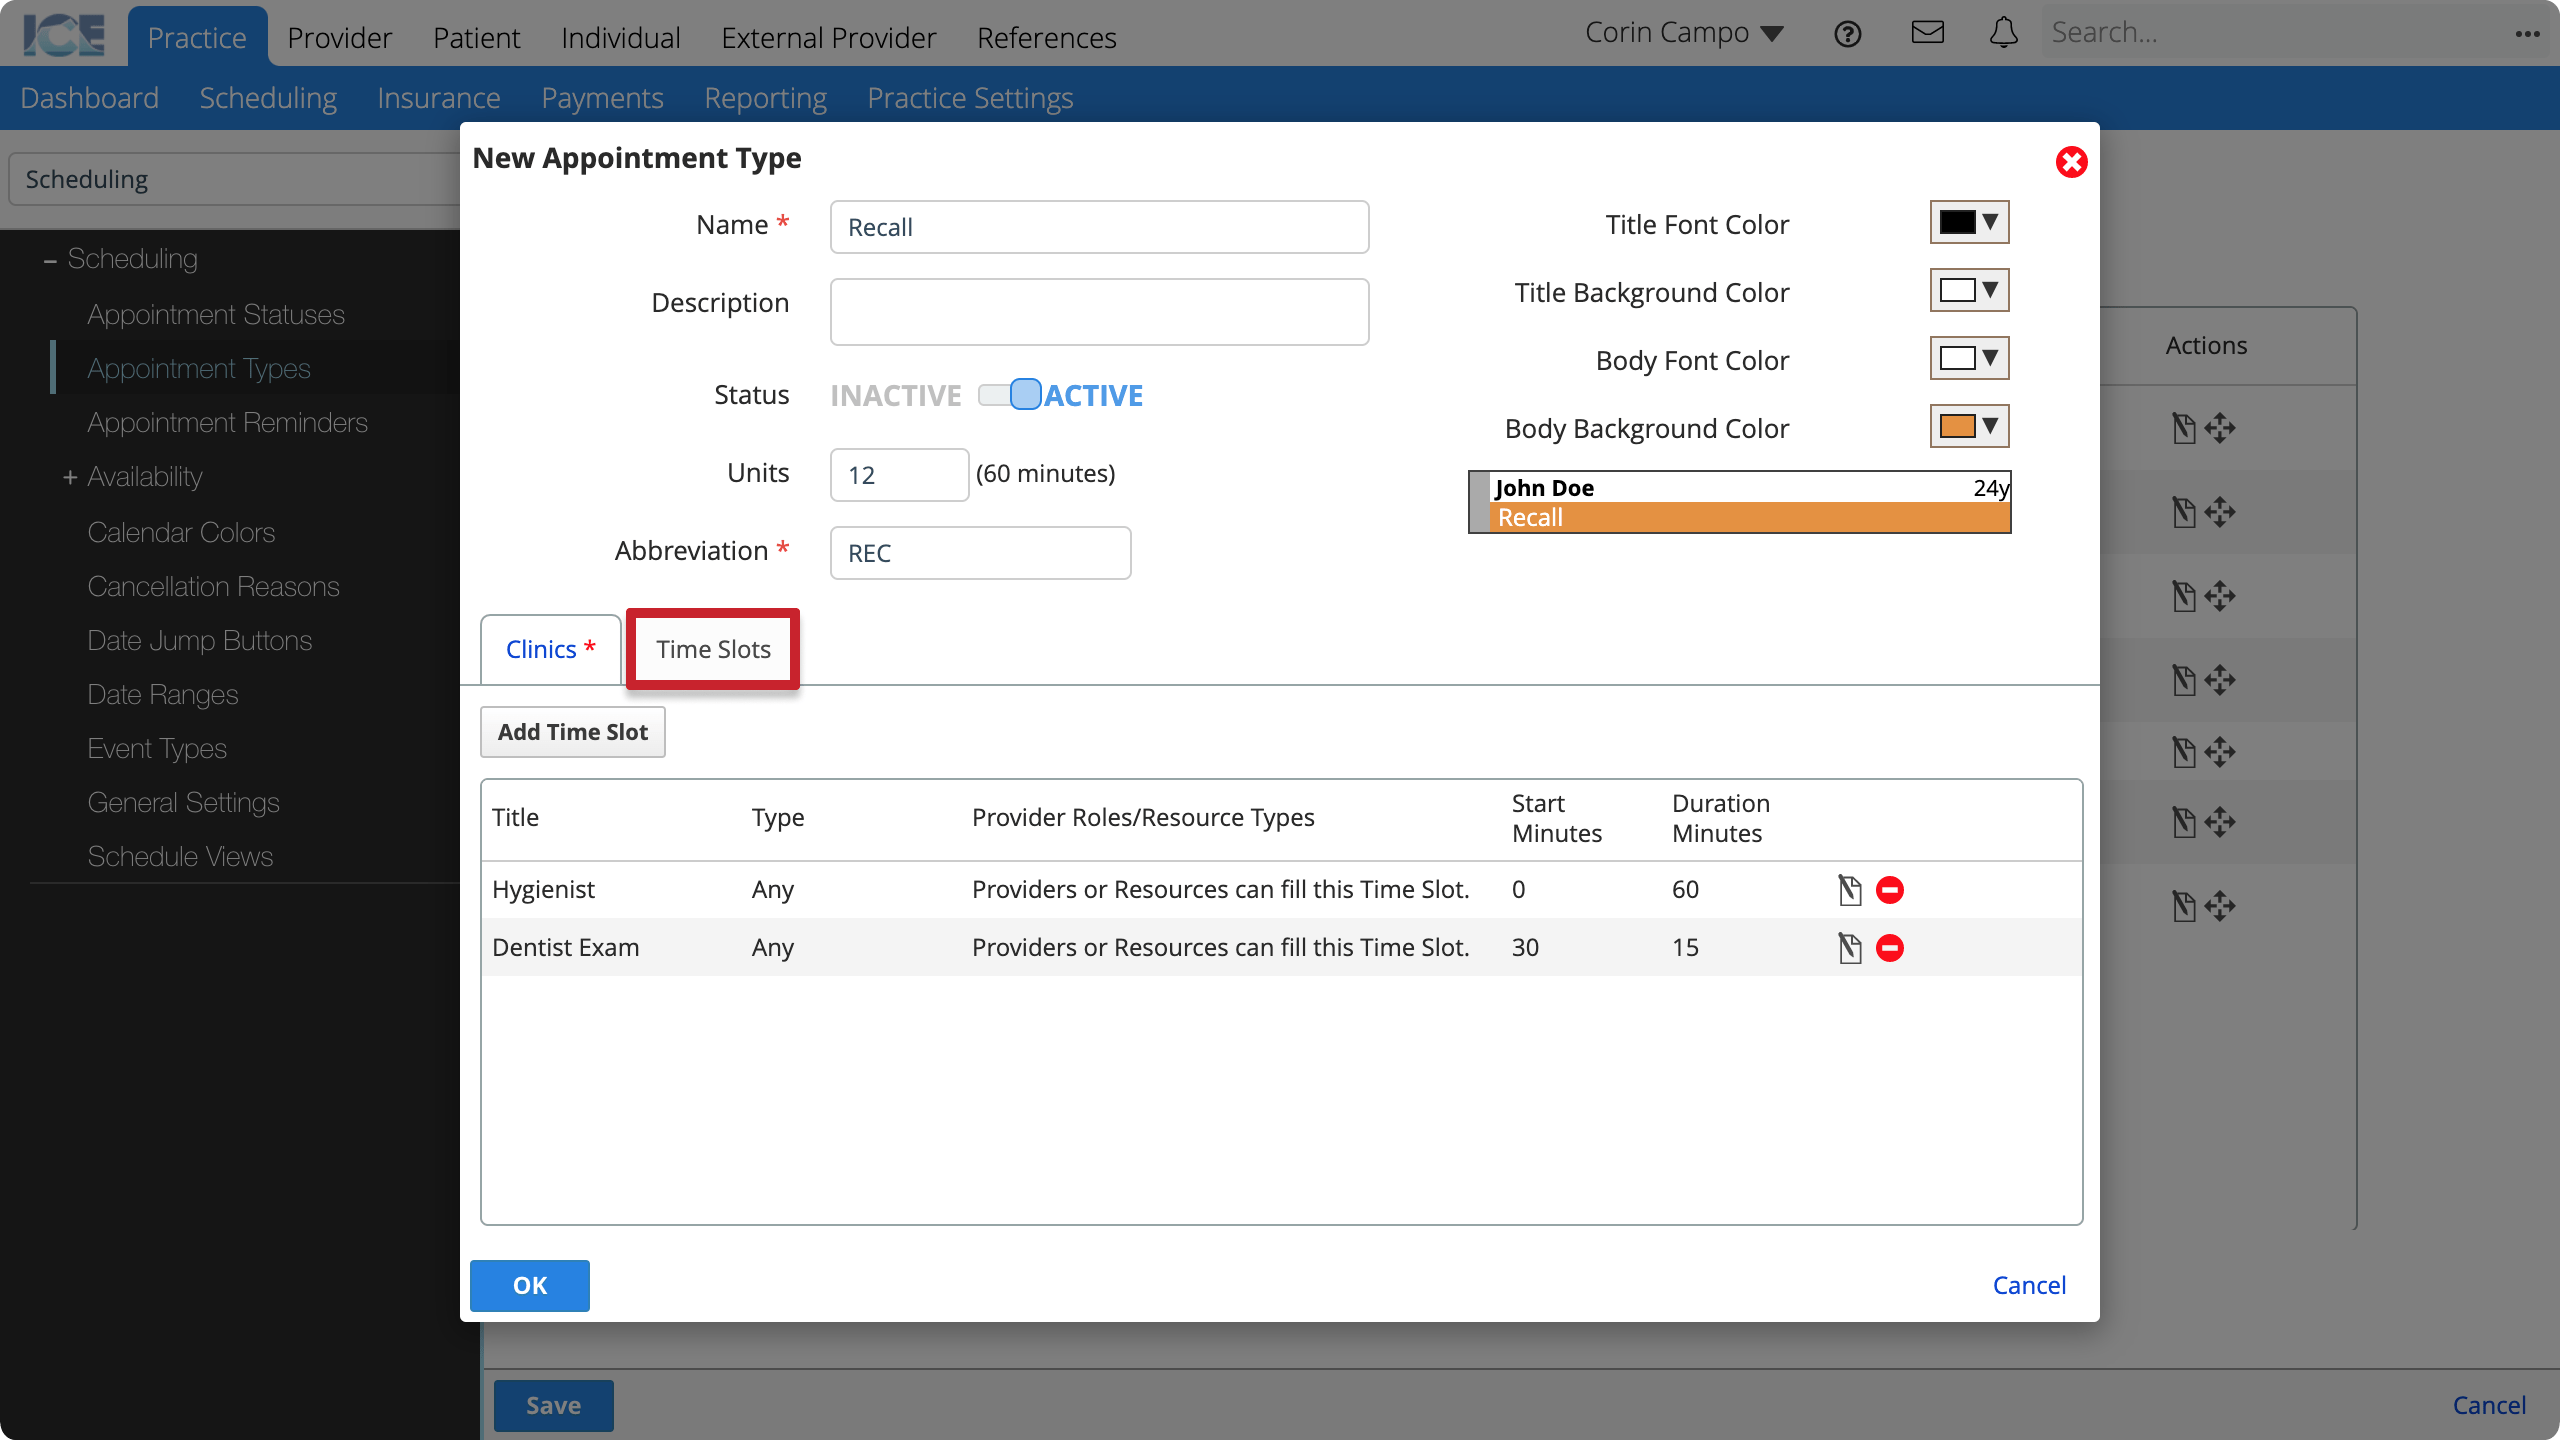
- For example, create time slots for the Hygienist, and one for the Dentist that is only for 15 minutes starting halfway through the appointment.
- You can limit a time slot to only allow specific Provider Roles or Resource Types to be assigned to the slot.
- A scheduler can still assign providers and resource to an appointment without using one of these time slots.
- A scheduler can still save an appointment if the time slots are empty.
- Select OK
- Choose Save in the bottom left corner
To edit an existing appointment type, select ![]() in the Actions column.
in the Actions column.
To change the order of the appointment types, drag ![]() .
.