Install ICE Local Services
ICE Local Services is a utility installed on your computer that allows ICE Health Systems to use external devices connected to your computer.
It is most commonly used to enable document scanning directly into a Files panel.
Install ICE Local Services on macOS
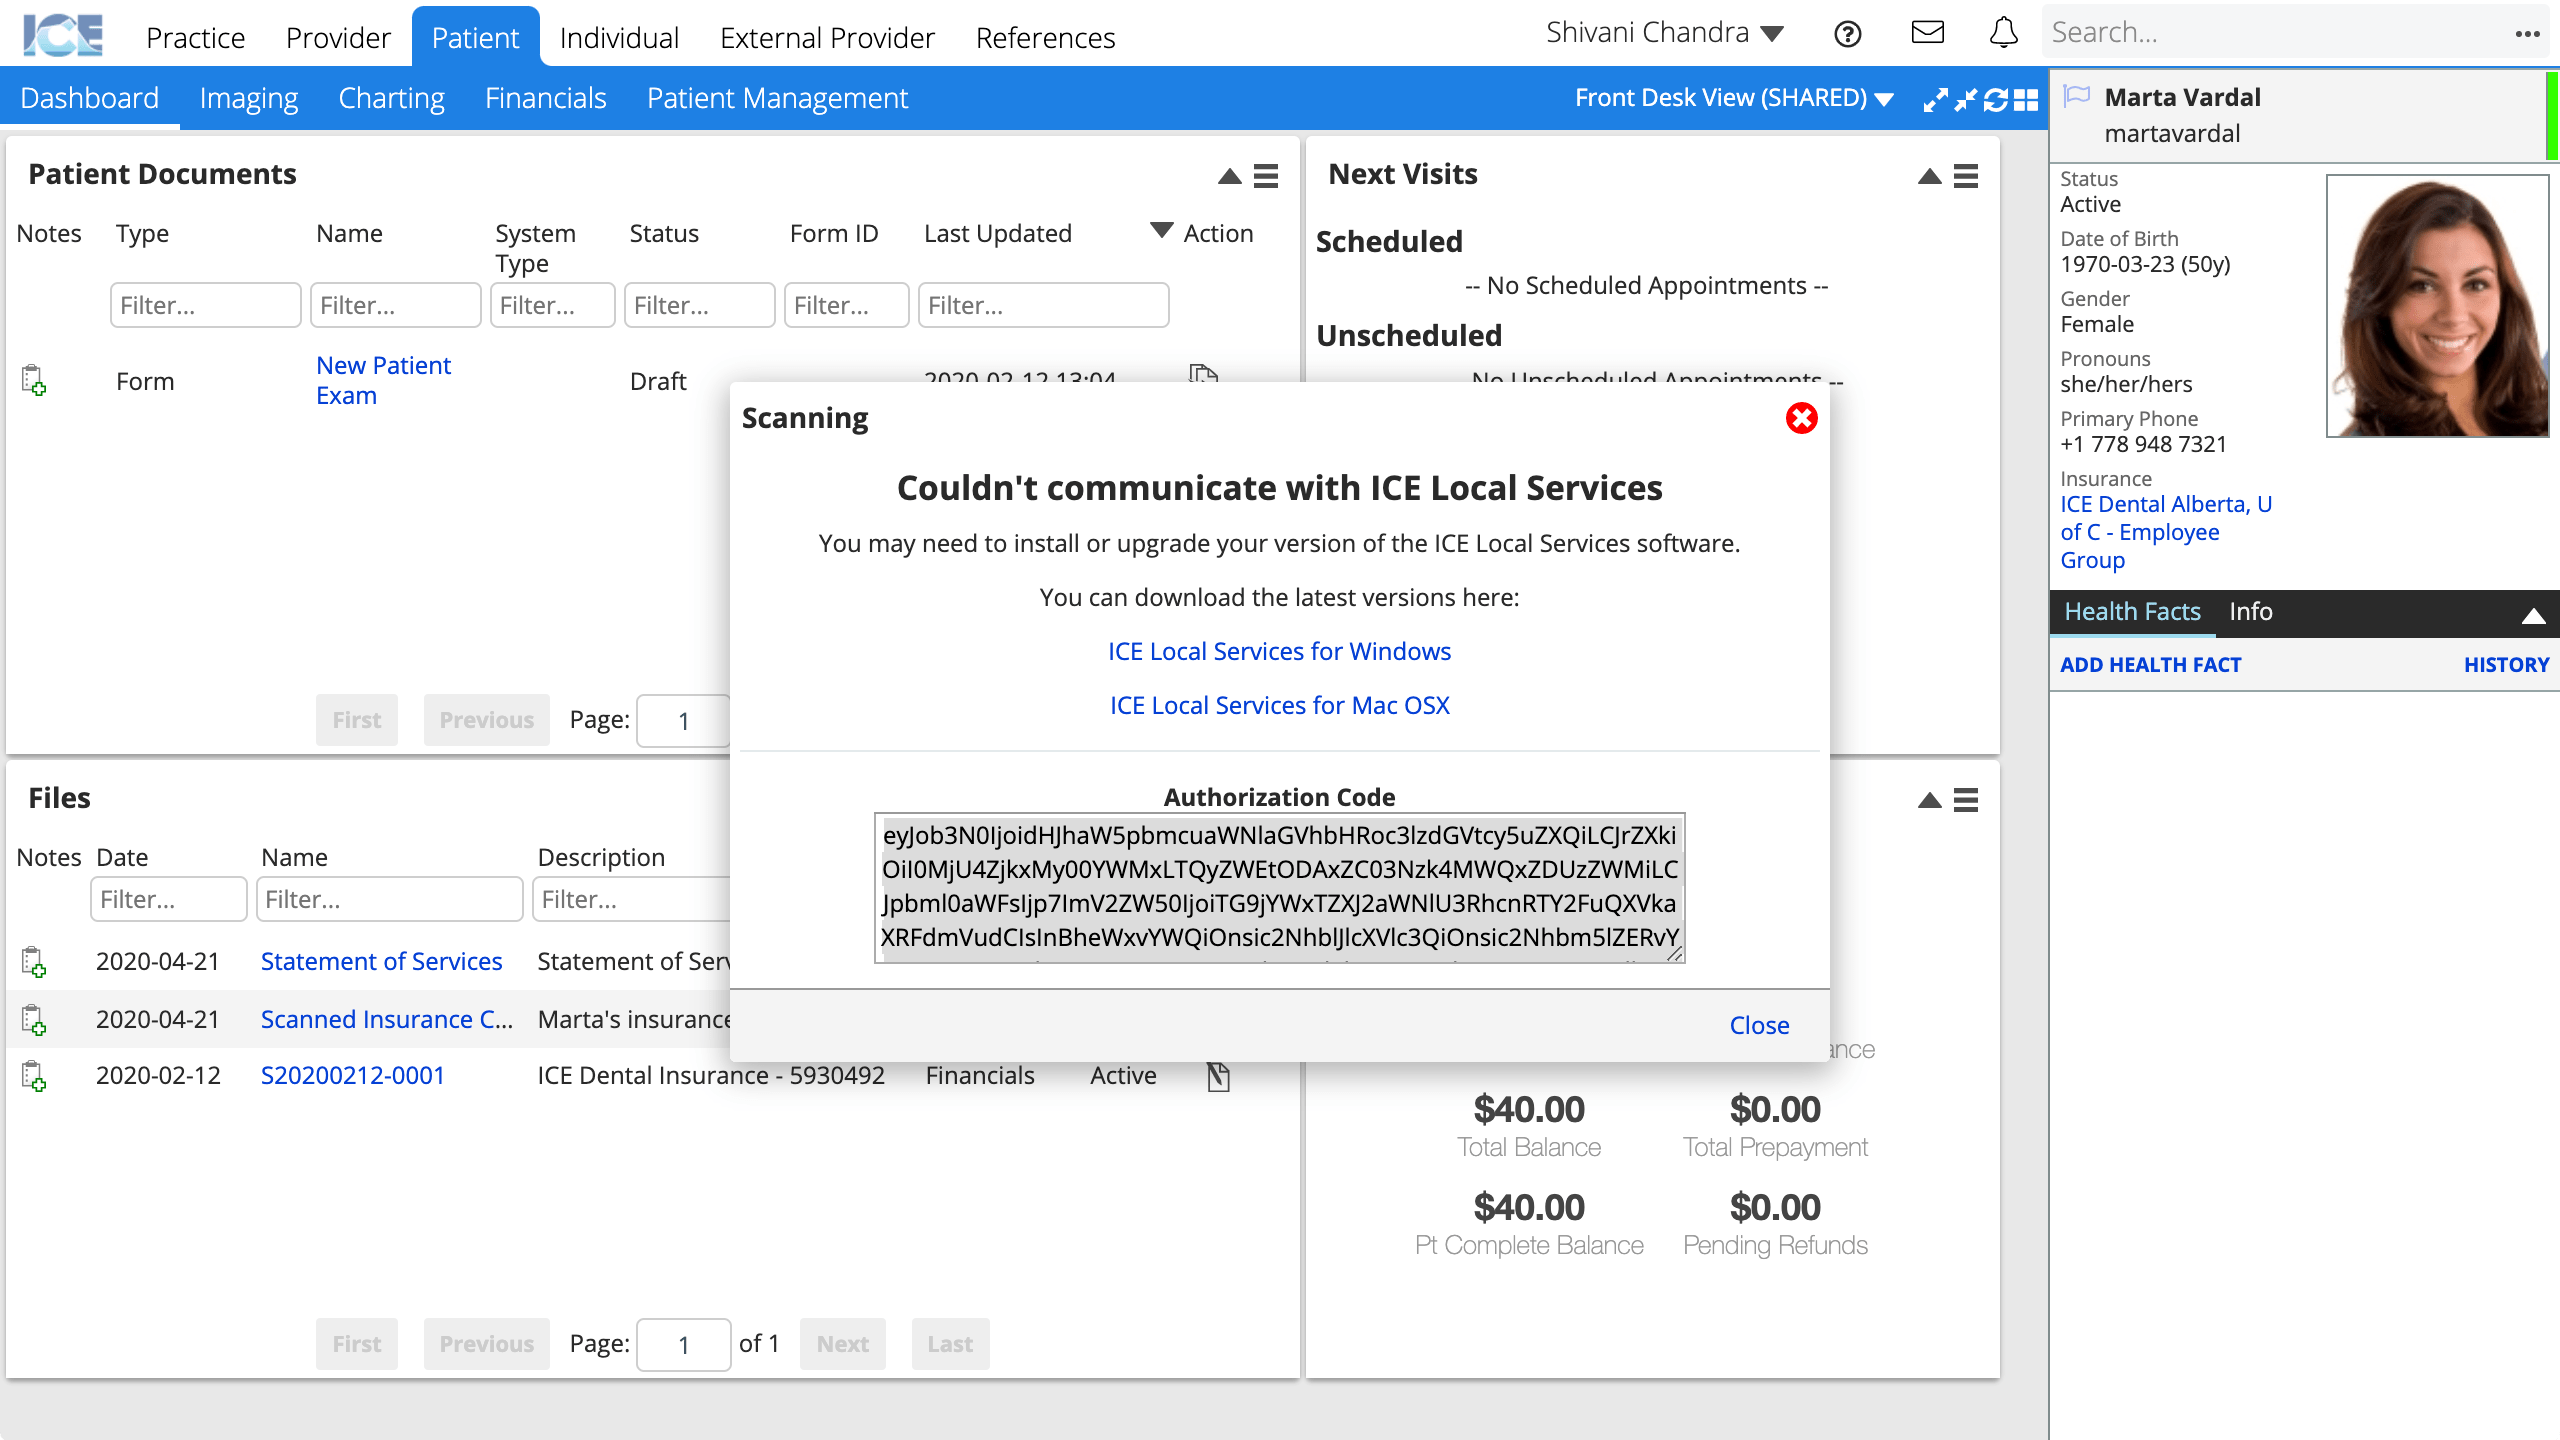
To get the latest version of ICE Local Services, use the download link that is displayed when you attempt to scan from a Files panel.
Consider configuring your computer to launch ICE Launch Local Services when you log in to your Mac. To learn more about configuring login items, see https://support.apple.com/kb/PH25590
- Select
 from the Files panel
 - Choose Scan
- Select ICE Local Services for Mac OSX
- Extract the zip file
- Drag the application icon into your Applications folder
- Find ICE Local Services in the Applications folder
- Launch the application
- Depending on your application security settings, you may need to secondary click the application and choose Open.
- ICE Local Services appears in the menu bar and can be used to authenticate external devices

Install ICE Local Services on Windows
To get the latest version of ICE Local Services, use the download link that is displayed when you attempt to scan from a Files panel.
Consider configuring your computer to launch ICE Launch Local Services when you log in to your PC.
- Select from the Files panel
- Choose Scan
- Select ICE Local Services for Windows
- Extract the zip file
- Install the application
- Launch the application
- ICE Local Services appears in the system tray and can be used to authenticate external devices