Upload images
Before uploading any images, confirm that the timepoint and image template you want to use are active.
Images that you upload are connected to the active timepoint. This means that you can upload images to a timepoint in the past if you're uploading your images at a different time than they were captured.
You can upload images one at a time into specific labels, or as a group. Group uploads fill out the active template based on the upload order defined in Practice Settings.
If you accidentally upload an image to the wrong label, you can move it to another label in the same template. To learn more, see Move images to different labels.
The system supports DICOM, JPEG, TIFF, and PNG image types.
Create a new timepoint for your upload
Before uploading images you may want to create a new timepoint. Images that you upload are tied to the timepoint that is active when you add them.
- Select + beside the timepoint dropdown menu to create a new timepoint
or
Select the timepoint dropdown menu and select + New Timepoint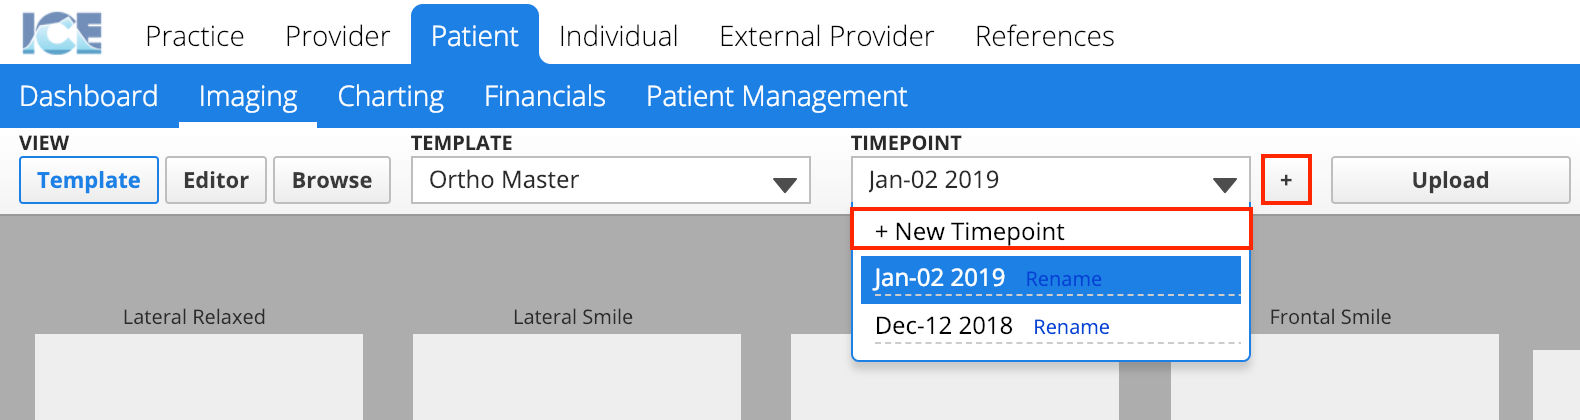
- Confirm the timepoint's name
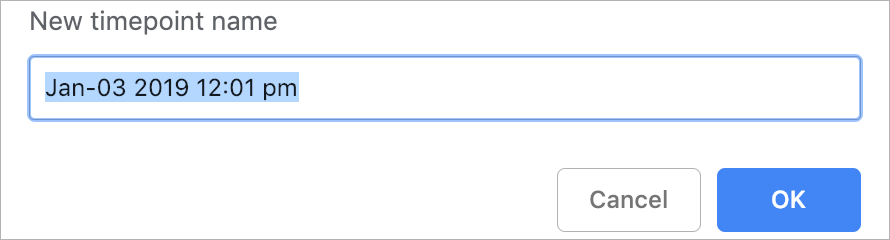
- Select OK
Timepoints can be renamed from the timepoint dropdown menu.
Upload a single image
Before uploading any images, confirm that the timepoint and image template you want to use are active.
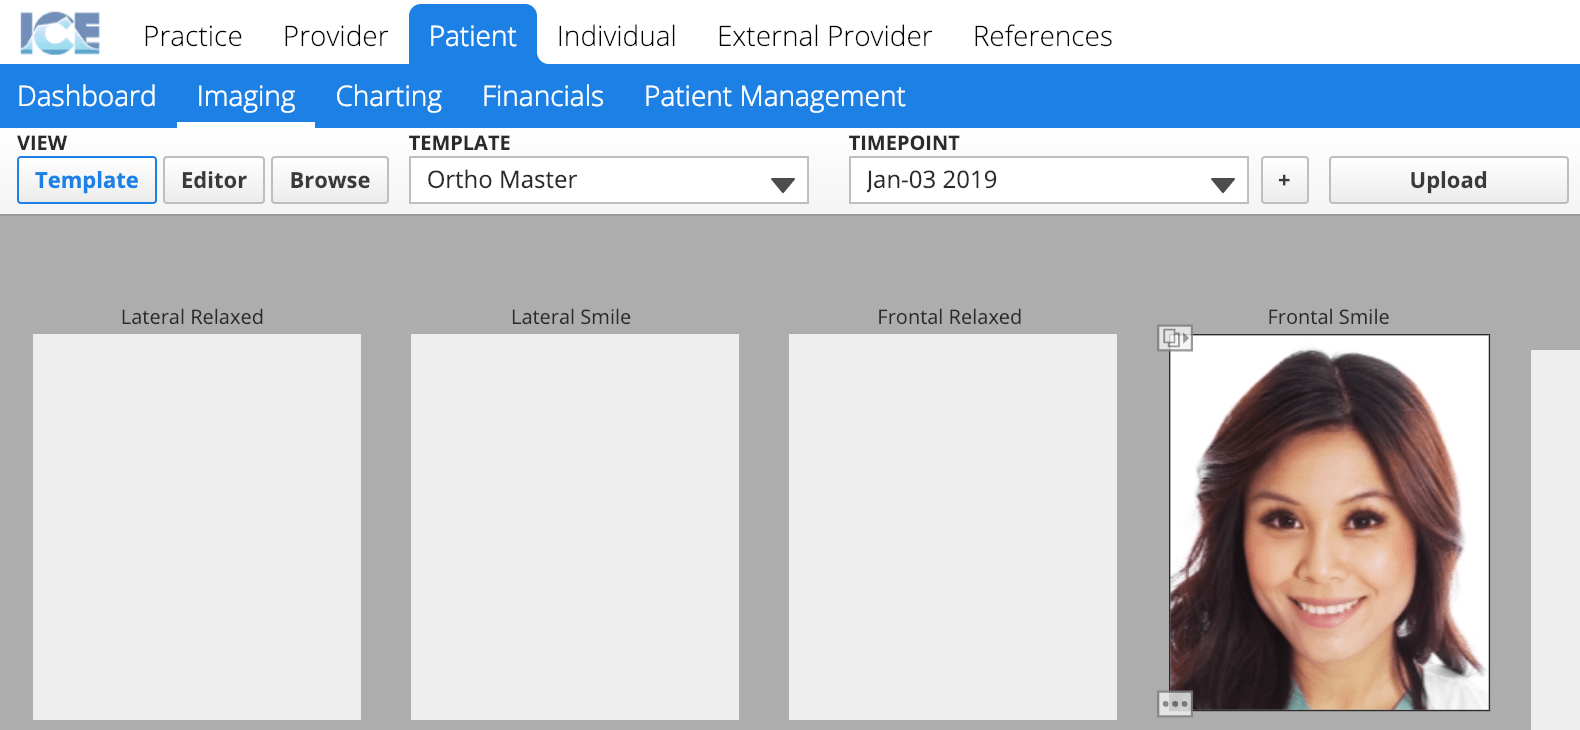
- Select the label where you would like to upload an image
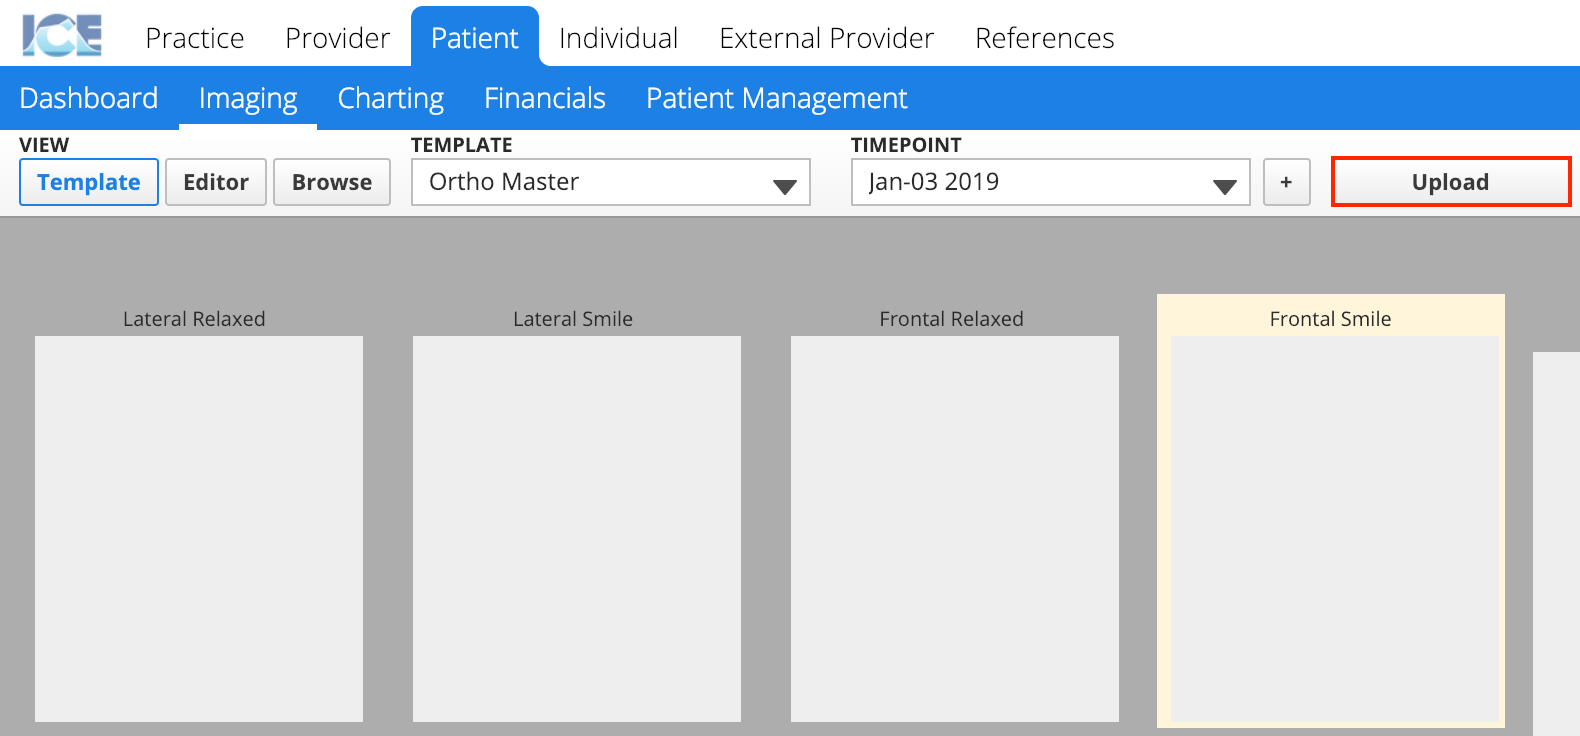
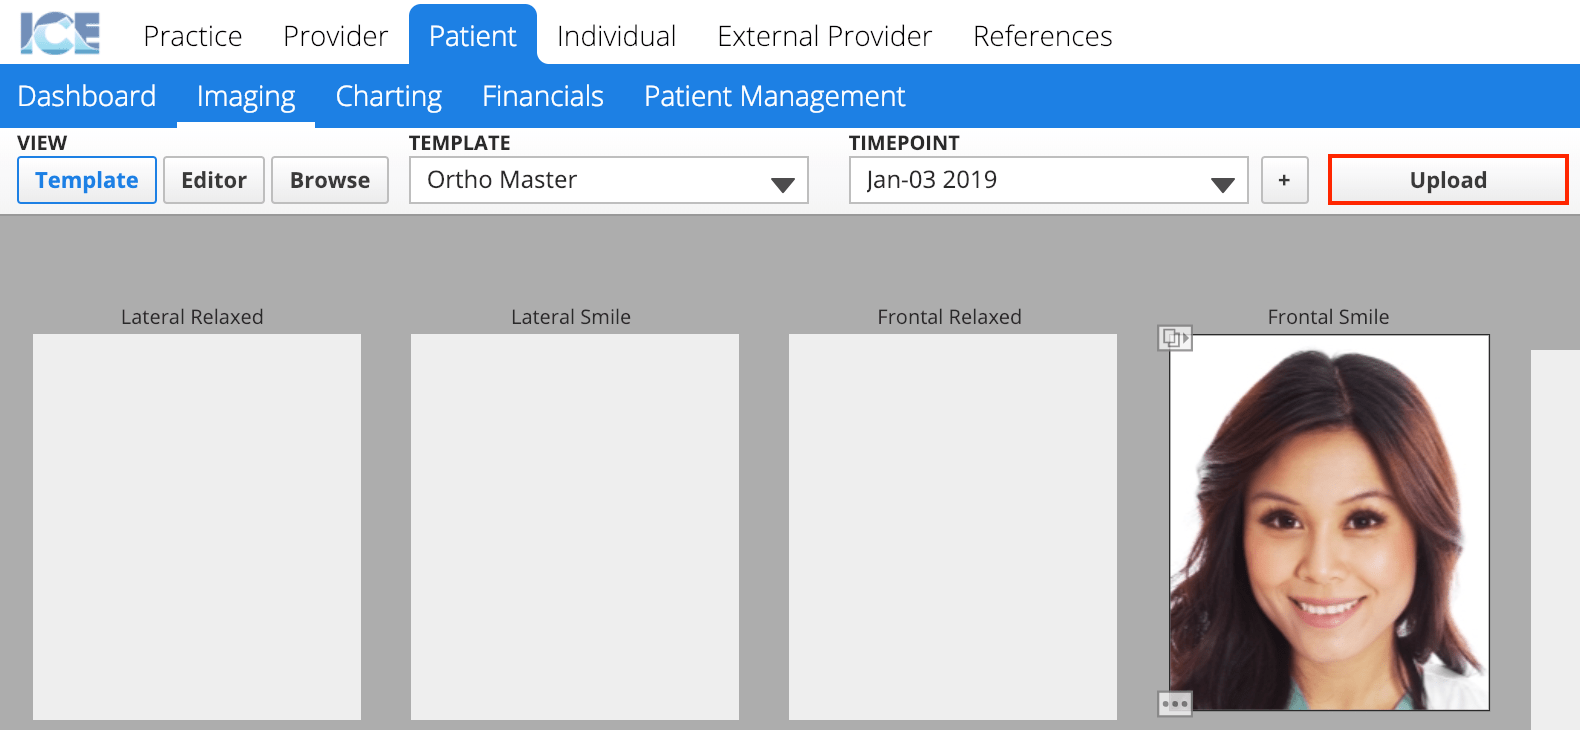
- Select Upload
- Browse for and select your image
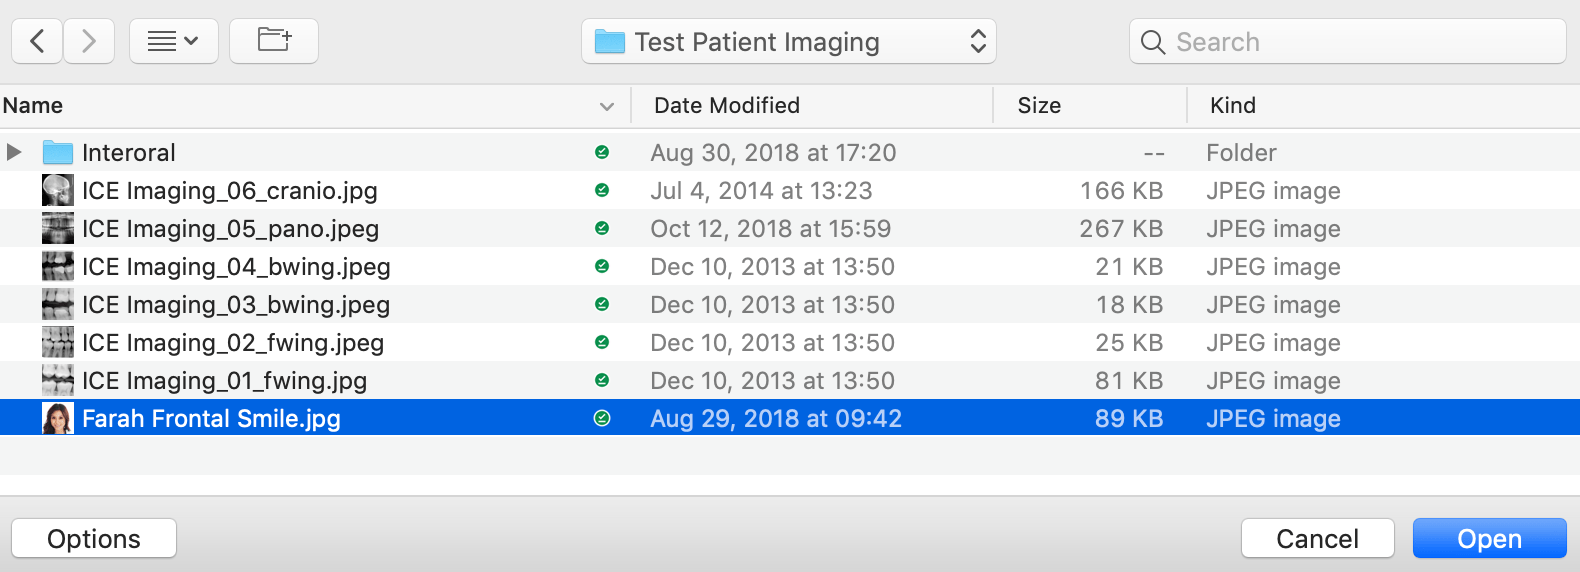
- Confirm your selection
Upload multiple images
When you upload a group of images, they fill the template in the order defined in Practice Settings.
Before uploading any images, confirm that the timepoint and image template you want to use are active.
- To make sure you use the upload order defined for the active template, do not select a label first
- Selecting a label makes that label the new "spot #1" in the upload order. The upload continues from that spot based on the template's upload order.
- Select Upload
- Browse for and select the images
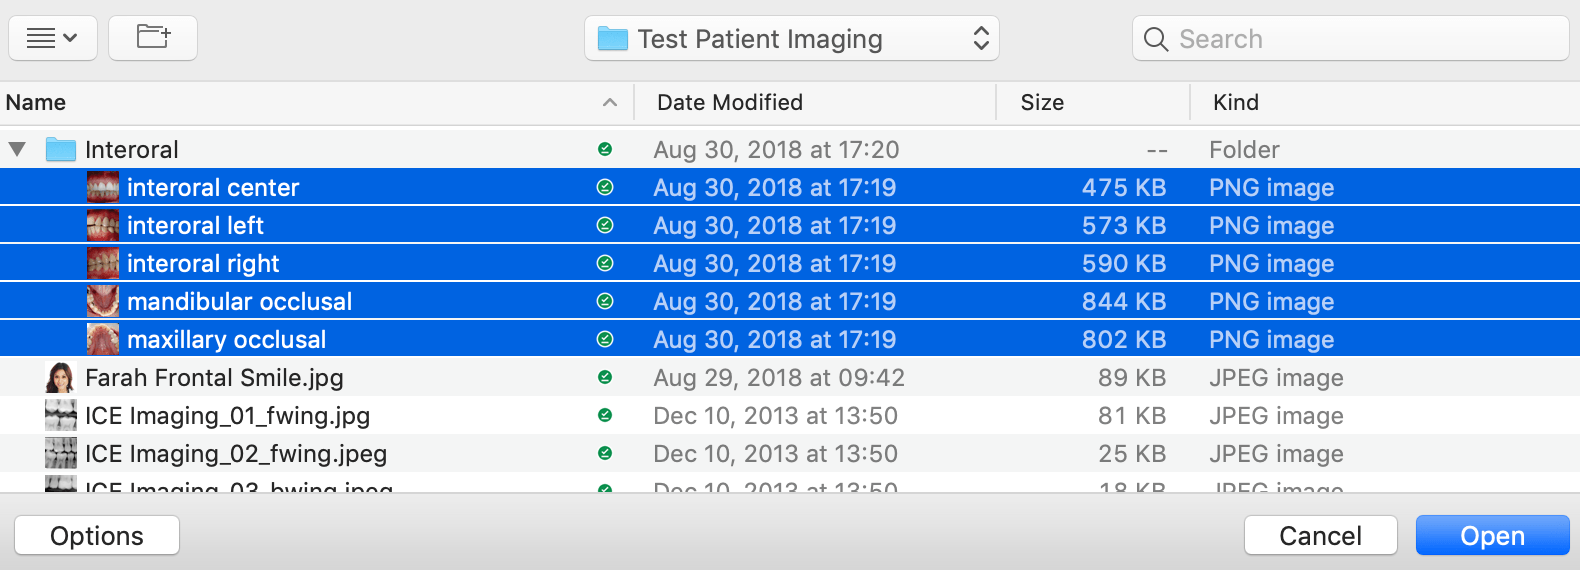
- Confirm that the order of the images in the file picker matches the order you want them to be uploaded
- When uploading on macOS or Windows, the order of the selection in the file picker is what is used to follow the template's upload order.
- For example, if I sort my images by name descending in the file picker, and select all 5 images, they load from 1-5 in order of name descending.
- But, if I sort my images by date created ascending in the file picker, and select all 5, they load 1-5 in order of date created ascending.
- This means that even though the images may always be captured in a specific order, it's possible that on the upload computer, the file picker is sorting them in a different order.
- Command (⌘) + clicking images on macOS, or Control (Ctrl) + clicking on Windows, allows you to work around this by picking a custom selection order.
- When uploading on mobile, images are always uploaded in order of date modified descending. Even if you change the sort order.
- When uploading on macOS or Windows, the order of the selection in the file picker is what is used to follow the template's upload order.
- Confirm your selection
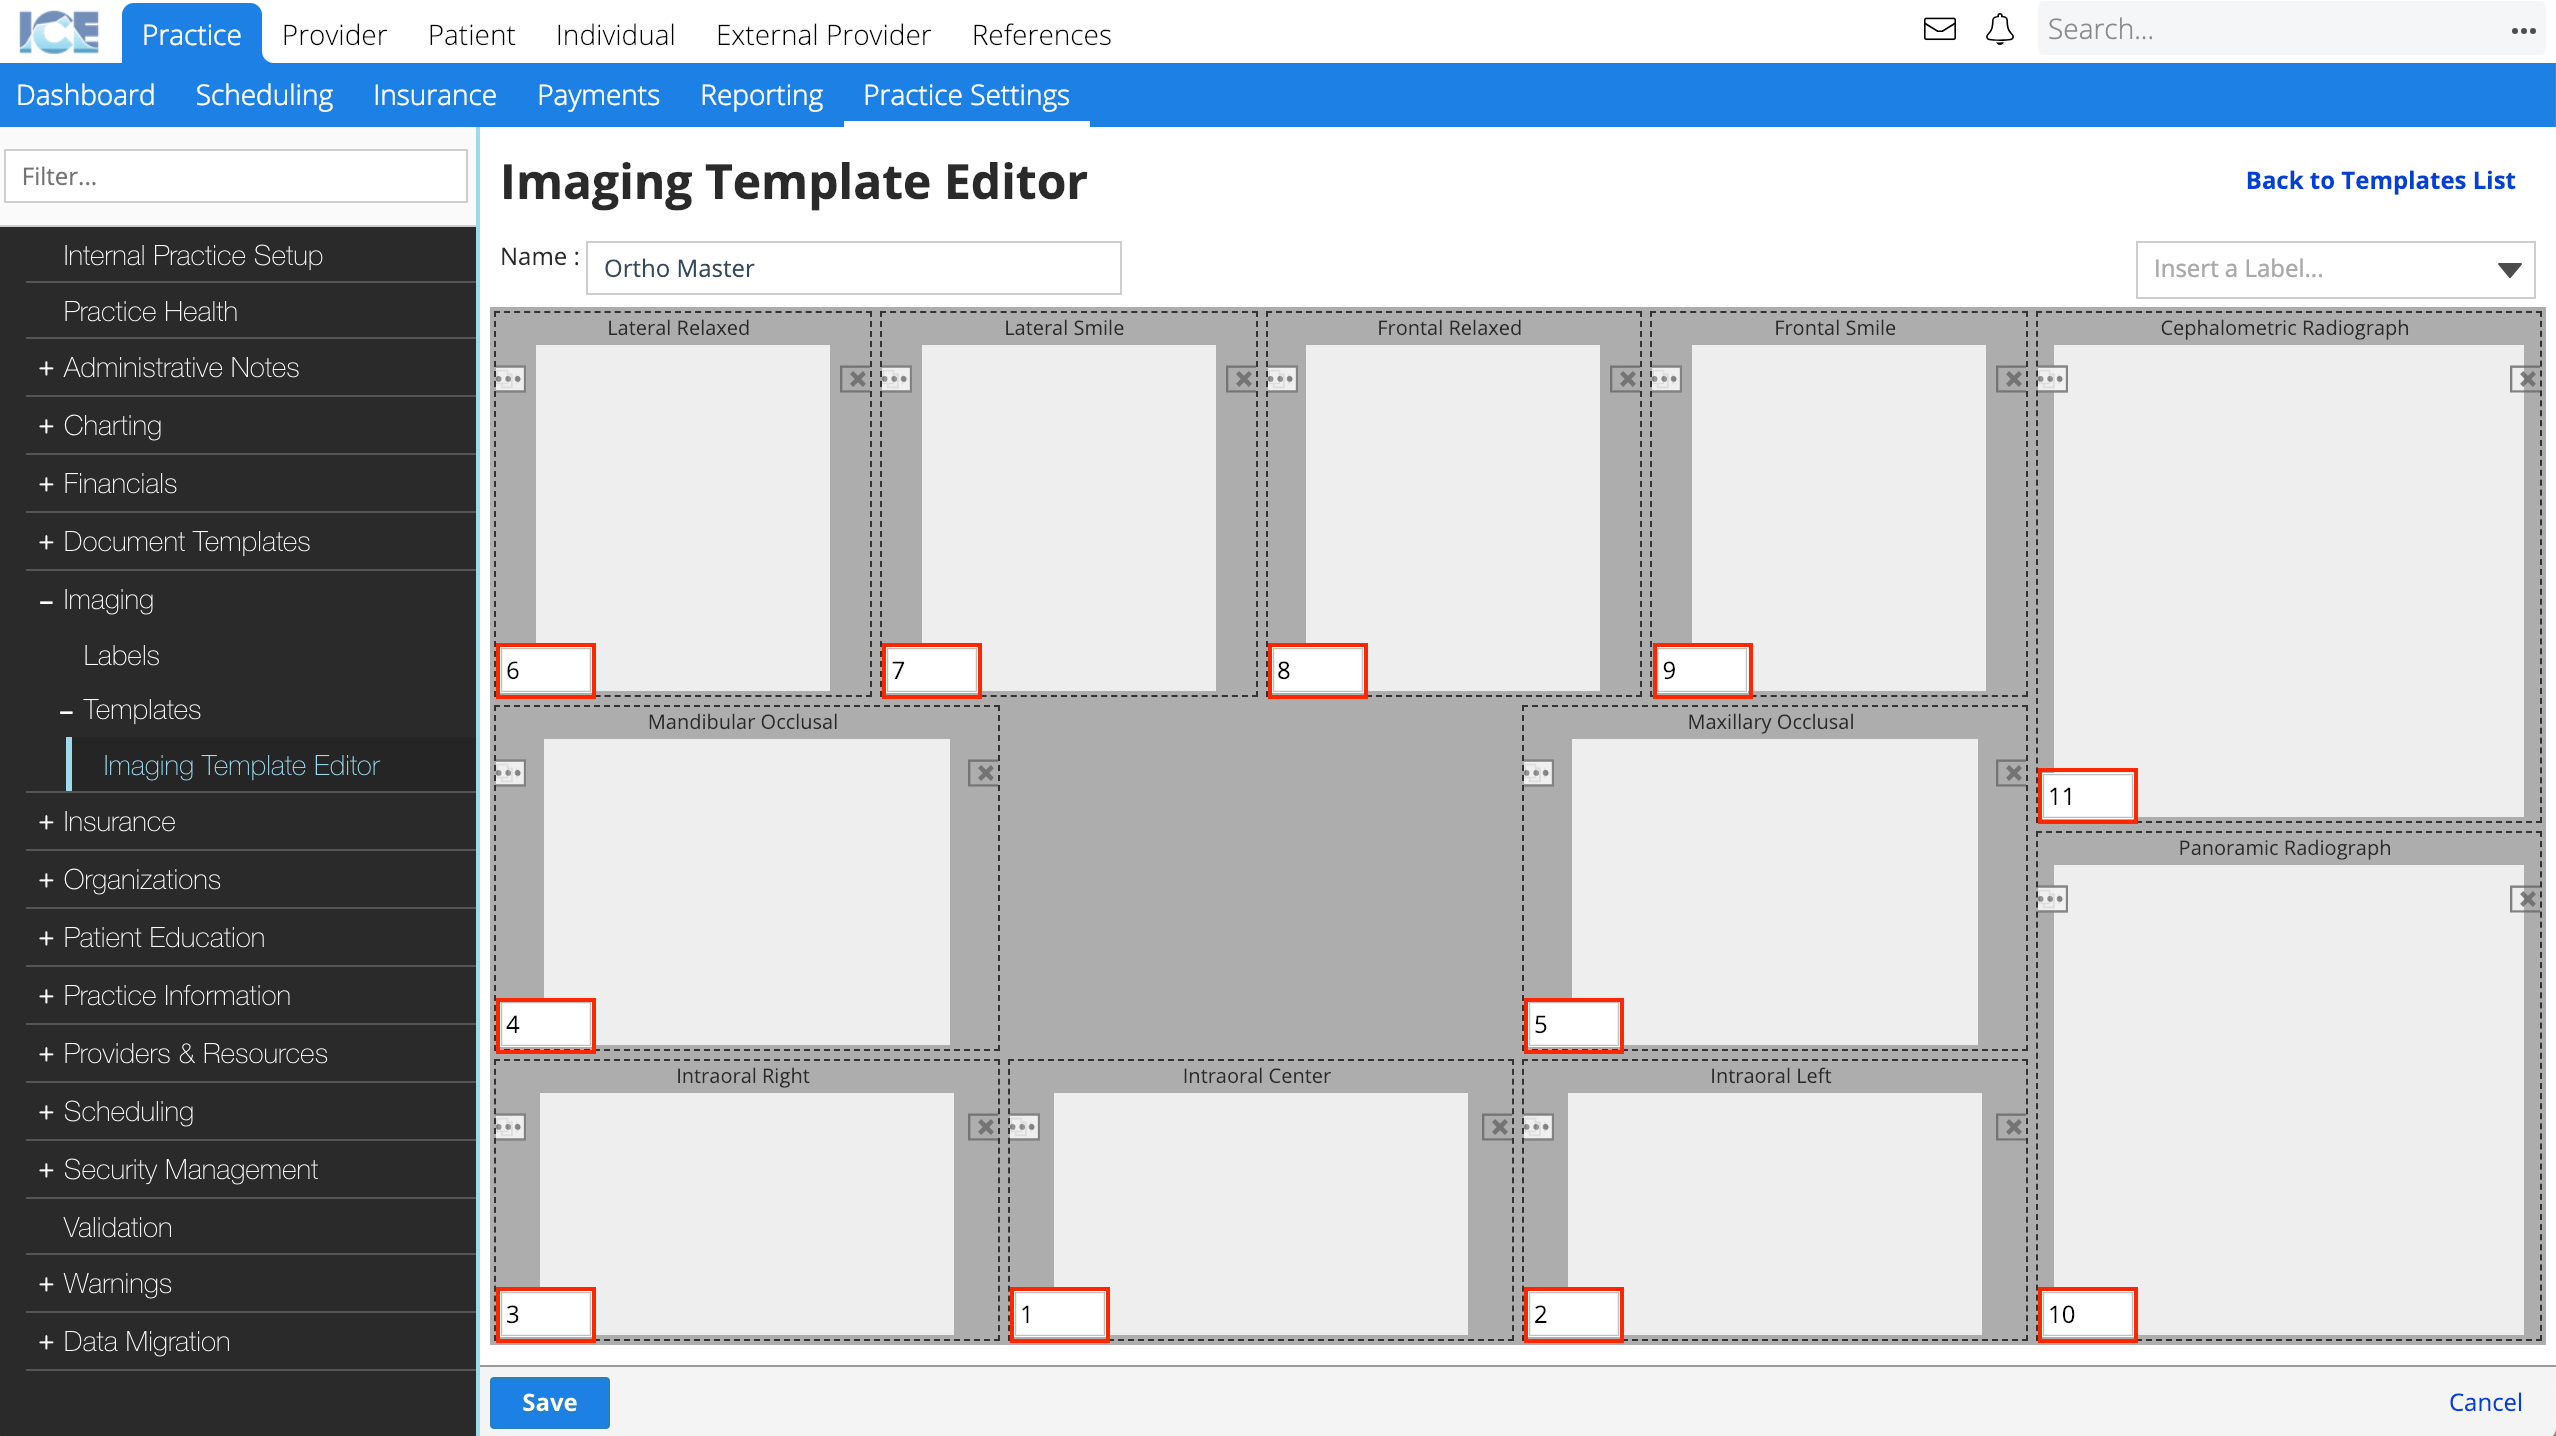
To learn how to configure upload order for an image template, see Practice settings: imaging.
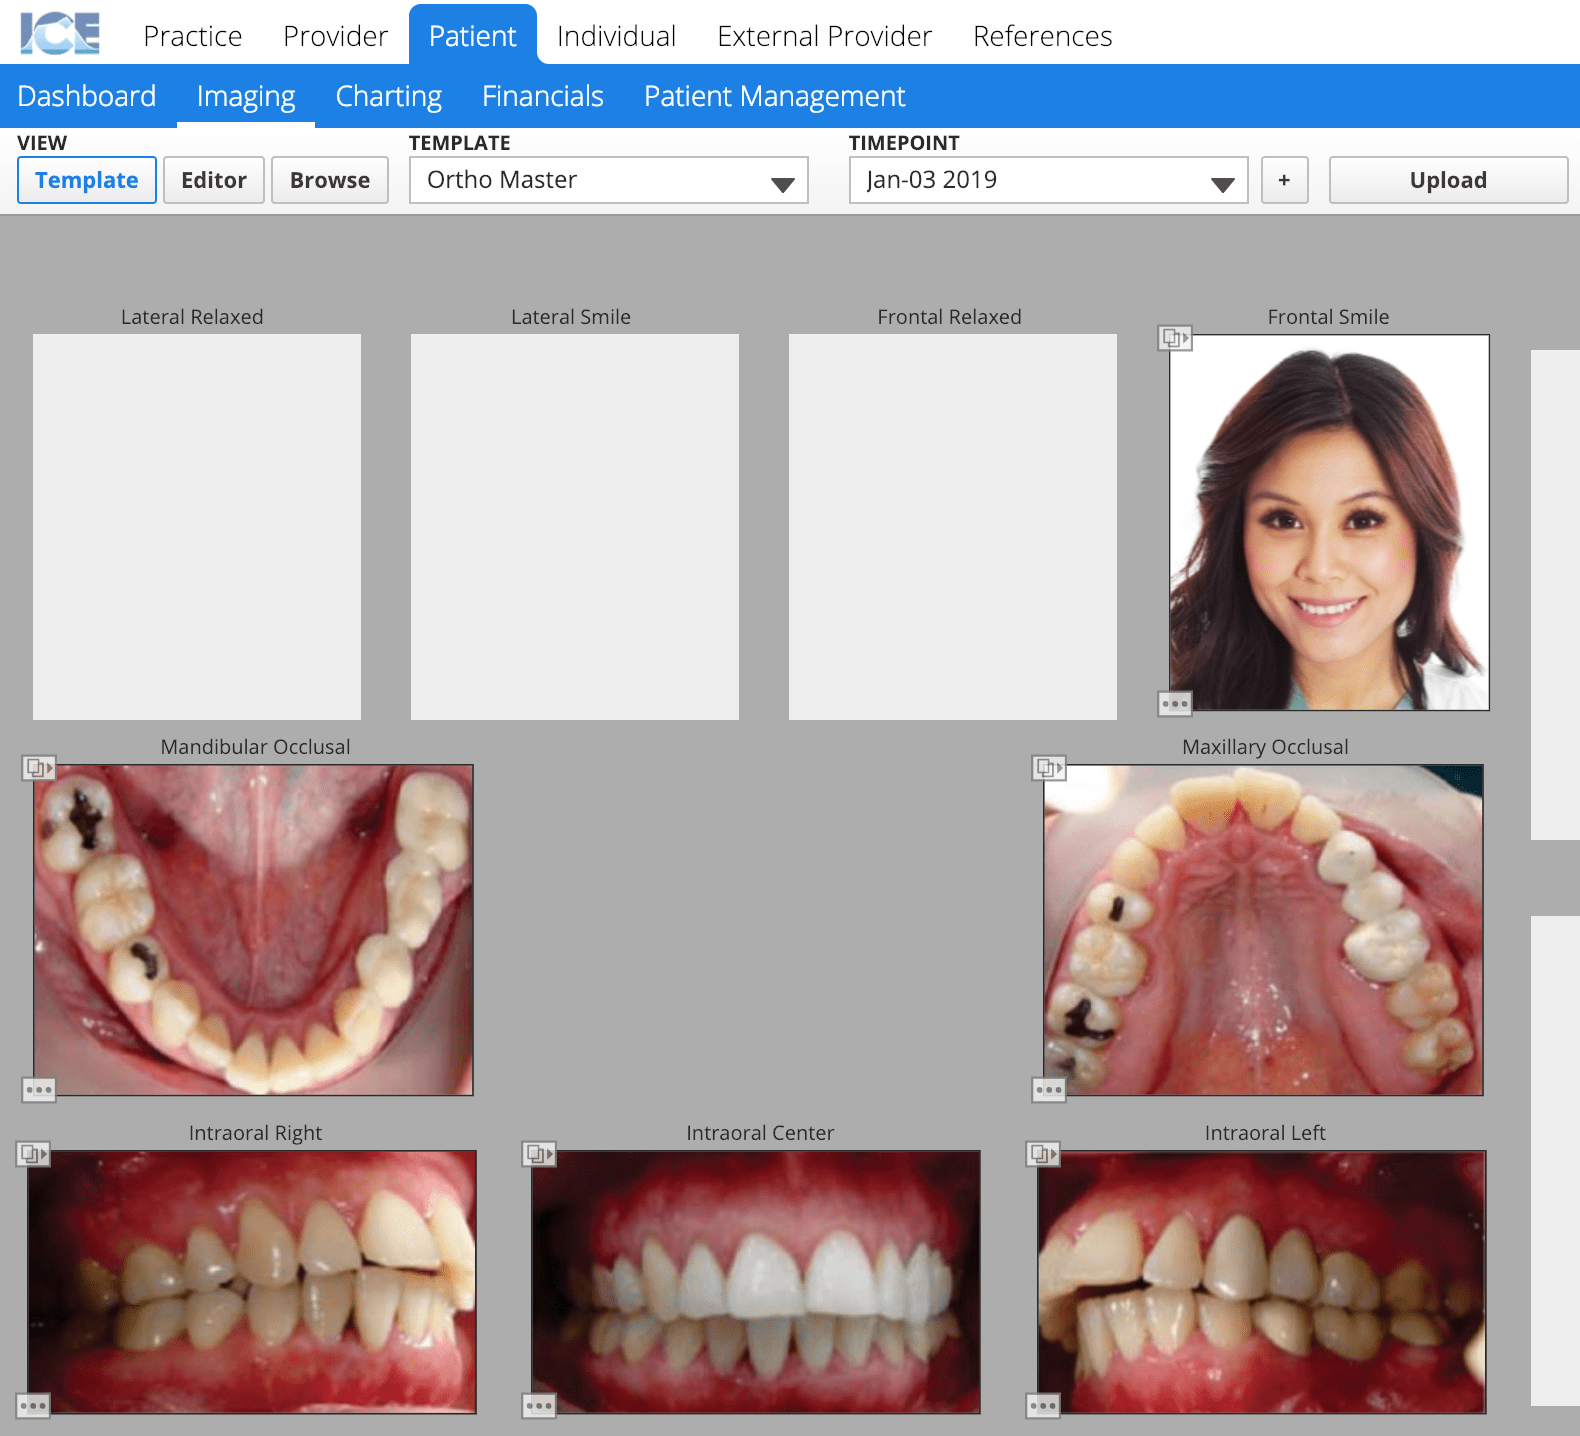
- For reference, here is the group upload order for the image template used in the screenshot examples above.