Create a claim
There are two types of claims that you can create: regular or courtesy claims.
- A regular claim is a statement of services, submitted by the clinic to a patient's insurance.
- The clinic will receive the payment from insurance and allocate that payment against charges on the claim.
- A courtesy claim states that insurance will pay the patient, instead of the clinic.
- In most cases, the claim itself is submitted by the patient.
- In some instances, the clinic will submit the courtesy claim on behalf of the patient. Once it is submitted, the clinic does not track the status of the courtesy claim.
- The clinic has no reason to track courtesy claims since the patient is responsible for the full cost of treatment and the practice will not receive any payment from insurance.
- Courtesy claims are not sent to a paper or electronic queue for review but they do appear in the patient's claims tab for reference or re-printing.
To create a regular claim, the patient must have at least one insurance policy and at least one completed procedure charted that isn't already on a claim.
When regular claims are created, they are placed in either a paper or electronic queue for review and then submission to insurance as a batch. To learn more about reviewing and submitting batches of claims, see Claims queue overview.
Create a regular non-orthodontic claim
These claims can include a patient's non-orthodontic completed procedures that aren't already on a claim.
If there are multiple procedures that aren't already on a claim but they are from two different dates, then two claims are created and sent to the queue.
- Select Create a Claim

- Choose Submit Claim to Queue from the Creating a Claim window
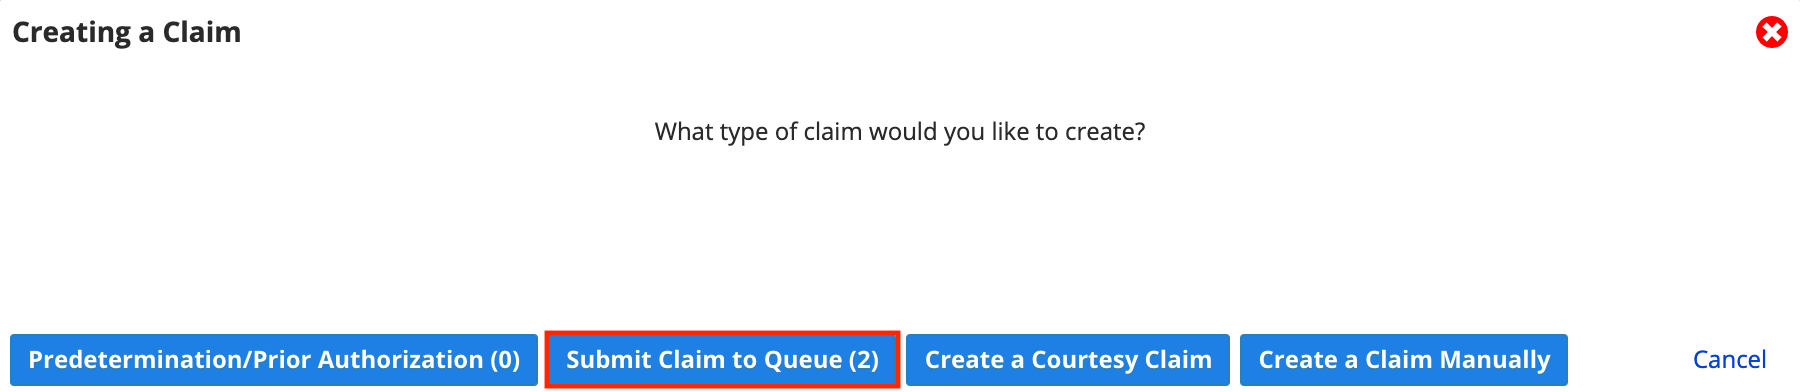
- The number of procedures that are available to be put onto one or more claims is displayed in parentheses, e.g., (2).
- A claim is automatically generated
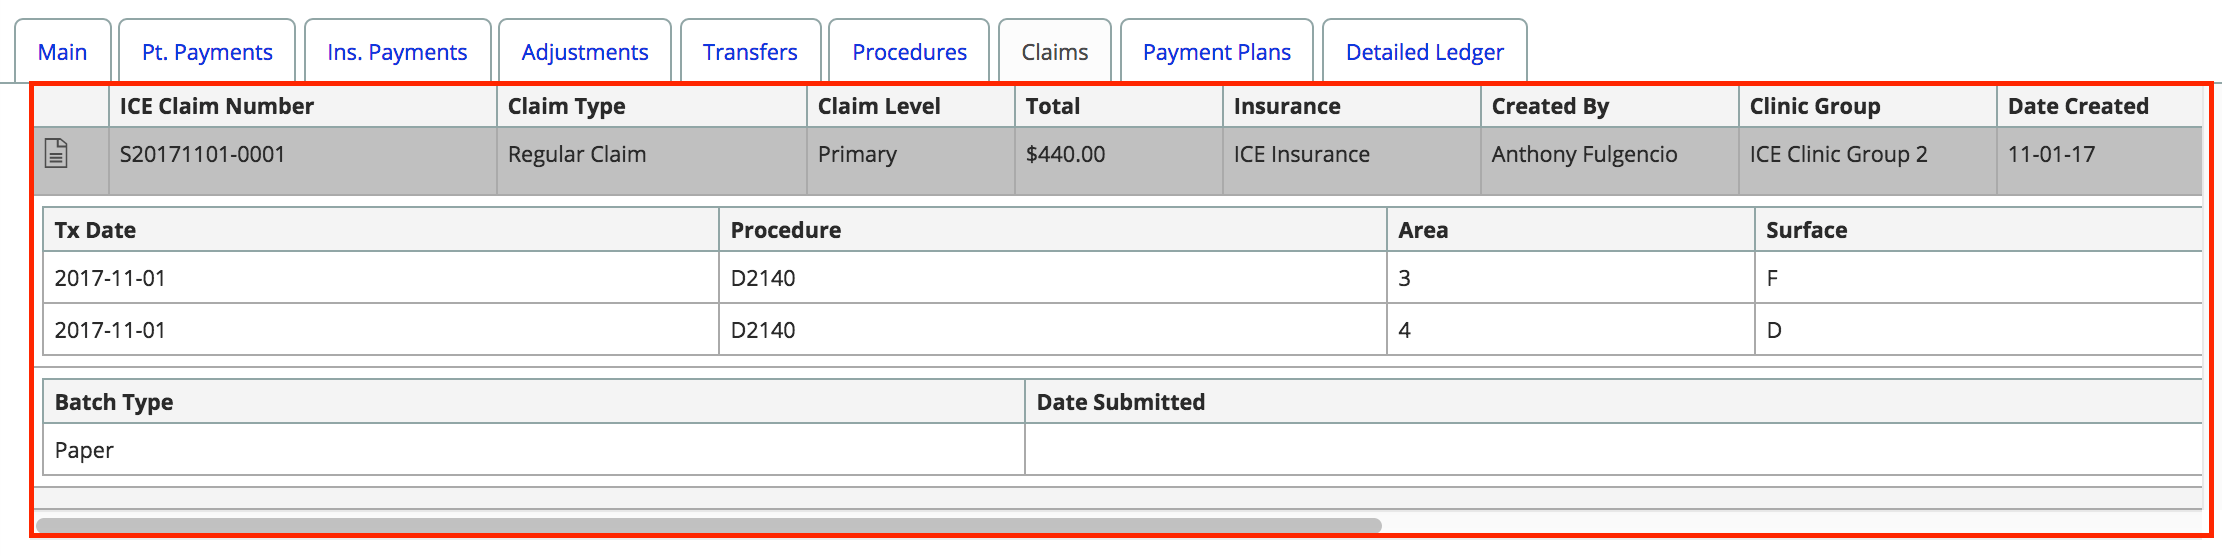
- The procedures added to this claim are listed inside the Claims tab
Create a regular orthodontic claim
Orthodontic claims must always have an active orthodontic treatment and payment plan previously created in the system.
The initial claim always displays the full procedure amount based on the orthodontic payment plan as insurance payers always require this information when reviewing orthodontic claims.
By default, additional claims are not generated for each orthodontic payment plan charge. However, you can configure an insurance payer address so that claims are generated for each orthodontic payment plan charge. Subsequent claims only display the charge amount applied against the full procedure amount. To learn more, see Manage insurance payers and policies.
- Select the Payment Plans tab
- Select + to the right of the insurance account name below the specific payment schedule
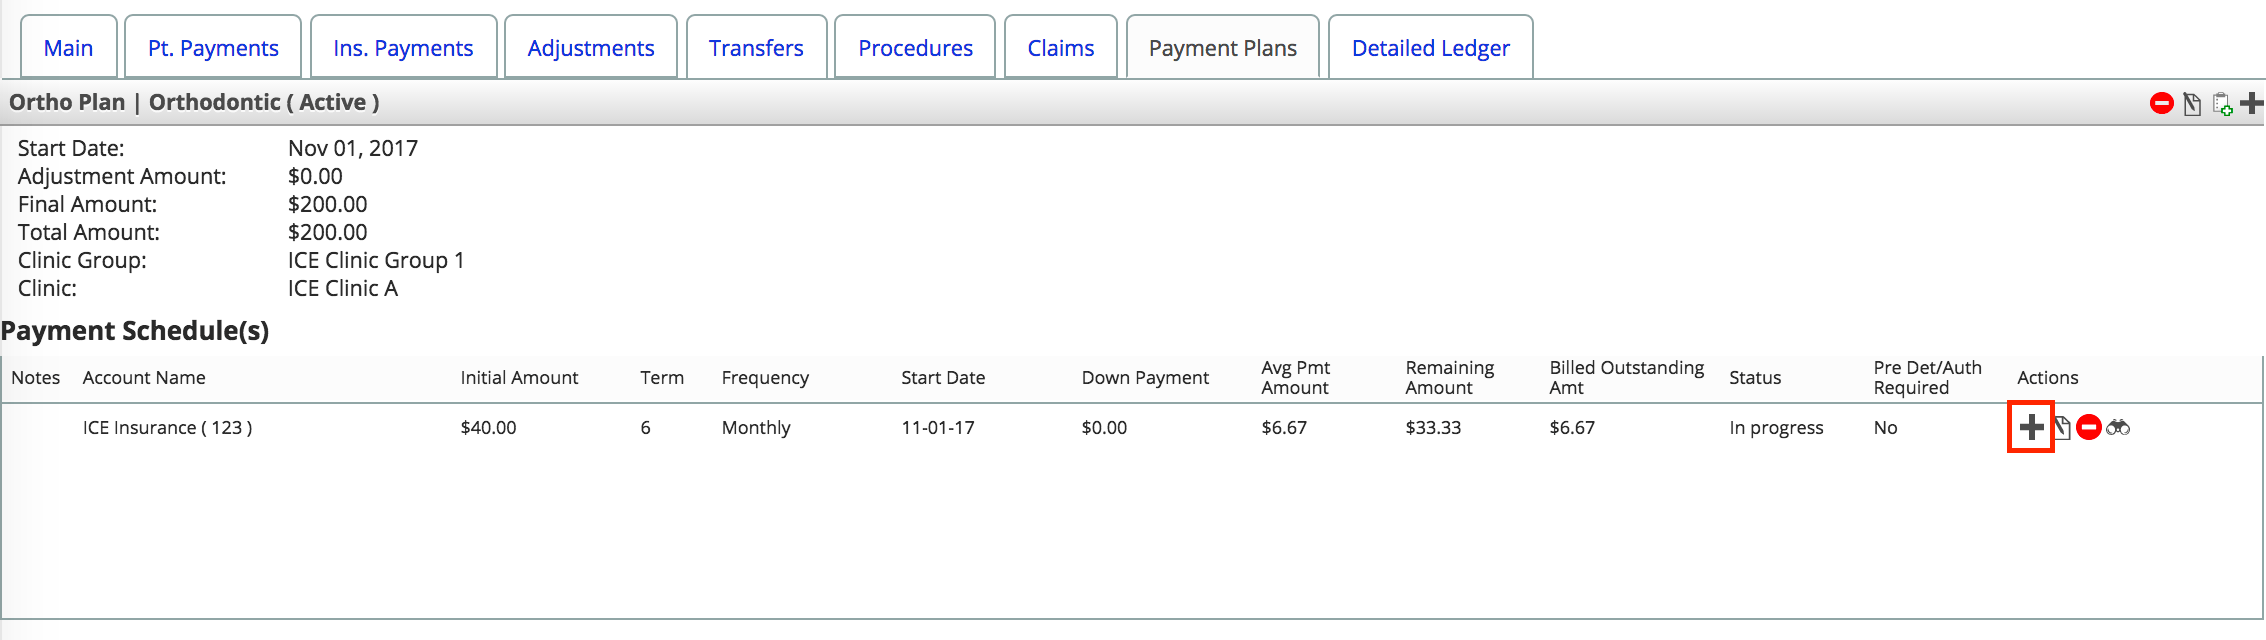
- Choose the specific charge below the Processed Schedule Payments list
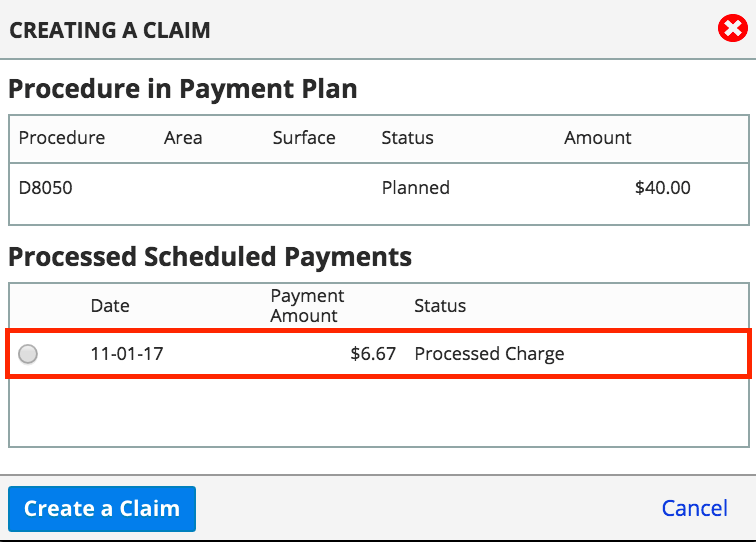
- Select Create a Claim
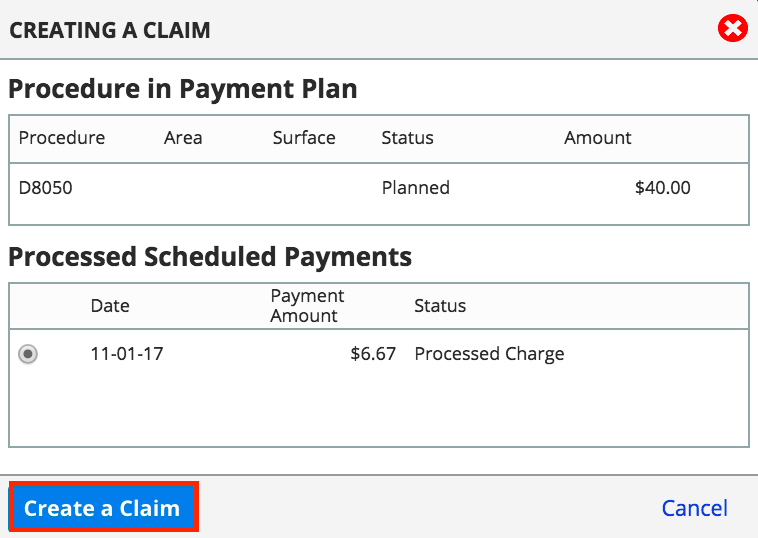
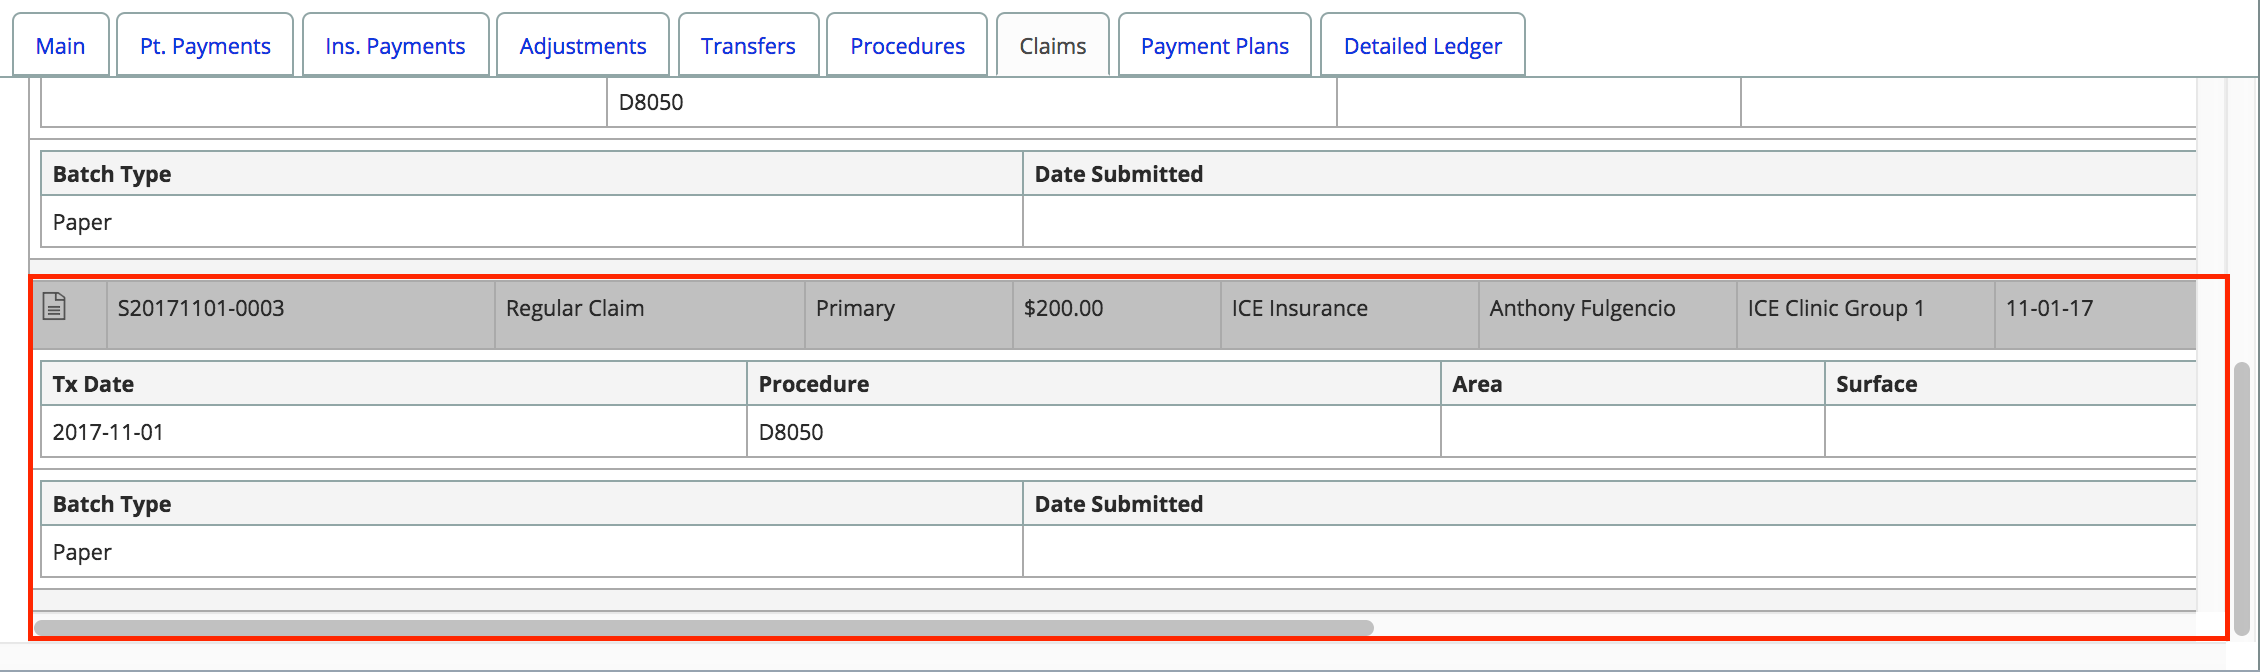
- The claim is now generated and viewable in the Claims tab.
Create a courtesy claim
A courtesy claim generates an ADA form with the patient's known information. Courtesy claims are used when a patient pays the amount due on the claim, instead of insurance paying the clinic. Patients can then submit the invoice to their insurance for reimbursement.
A record for the courtesy claim is generated and kept in the Claims tab. The generated ADA form can be reviewed and printed again when necessary.
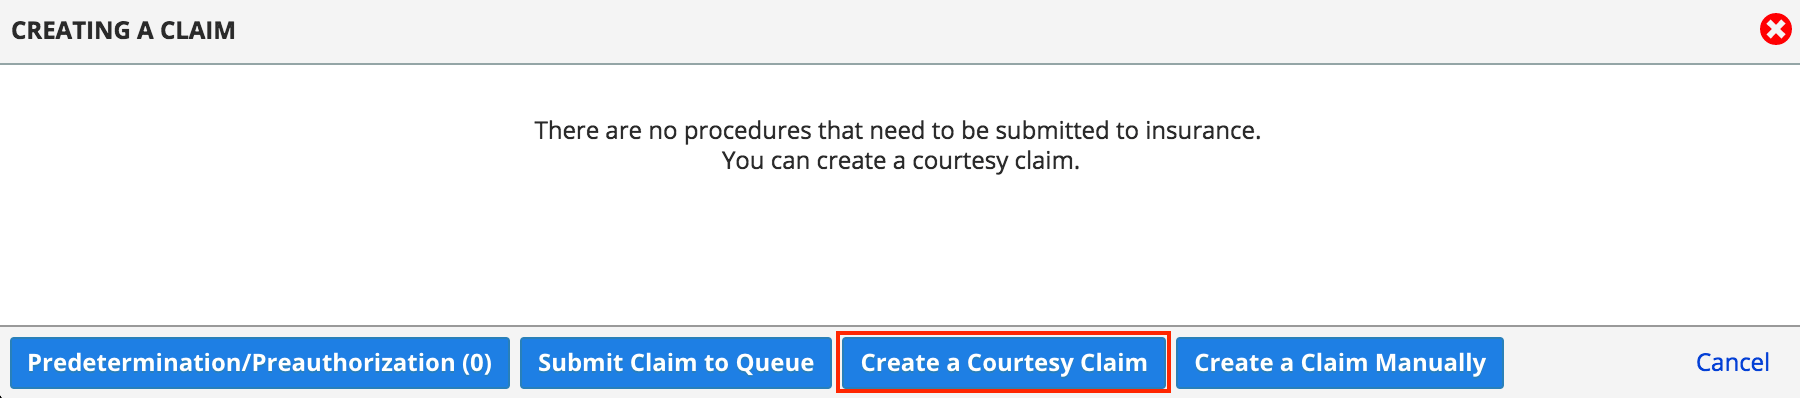
- Select Create A Claim
- Choose Create a Courtesy Claim
- From the Creating a Courtesy Claim window, specify:
- Insurance Policy
- From Date
- To Date
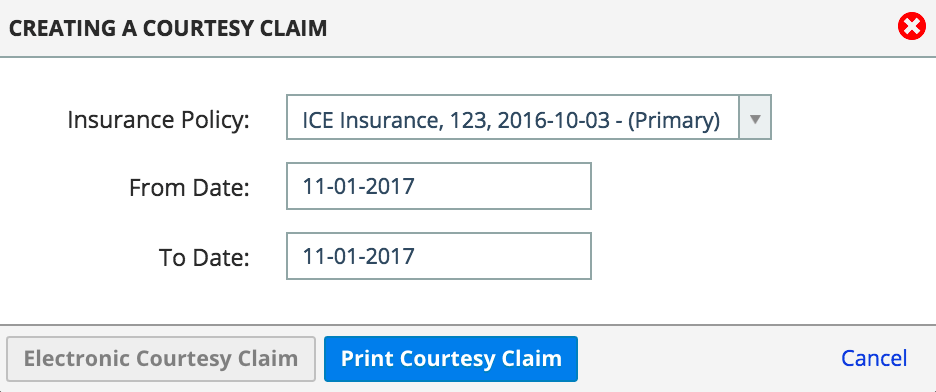
- Select Print Courtesy Claim
- If electronic claim submissions are enabled for the patient's insurance policy, the Electronic Courtesy Claim button becomes available.
- An ADA claim form is generated and completed with the known details in a new browser tab
Create claims using automated tasks
You can generate insurance claims automatically using the automated tasks functionality. The system can automatically generate claims within the specific frequency, time and day.
If these settings are configured, then you can remove the step of having someone select Submit Claim to Queue for each patient.
This allows your financial lead or team to focus on reviewing the claims already waiting in the paper or electronic queue. They can review the claims that were automatically created, approve or modify them, and then submit them to insurance. To learn more, see Claims queue overview.
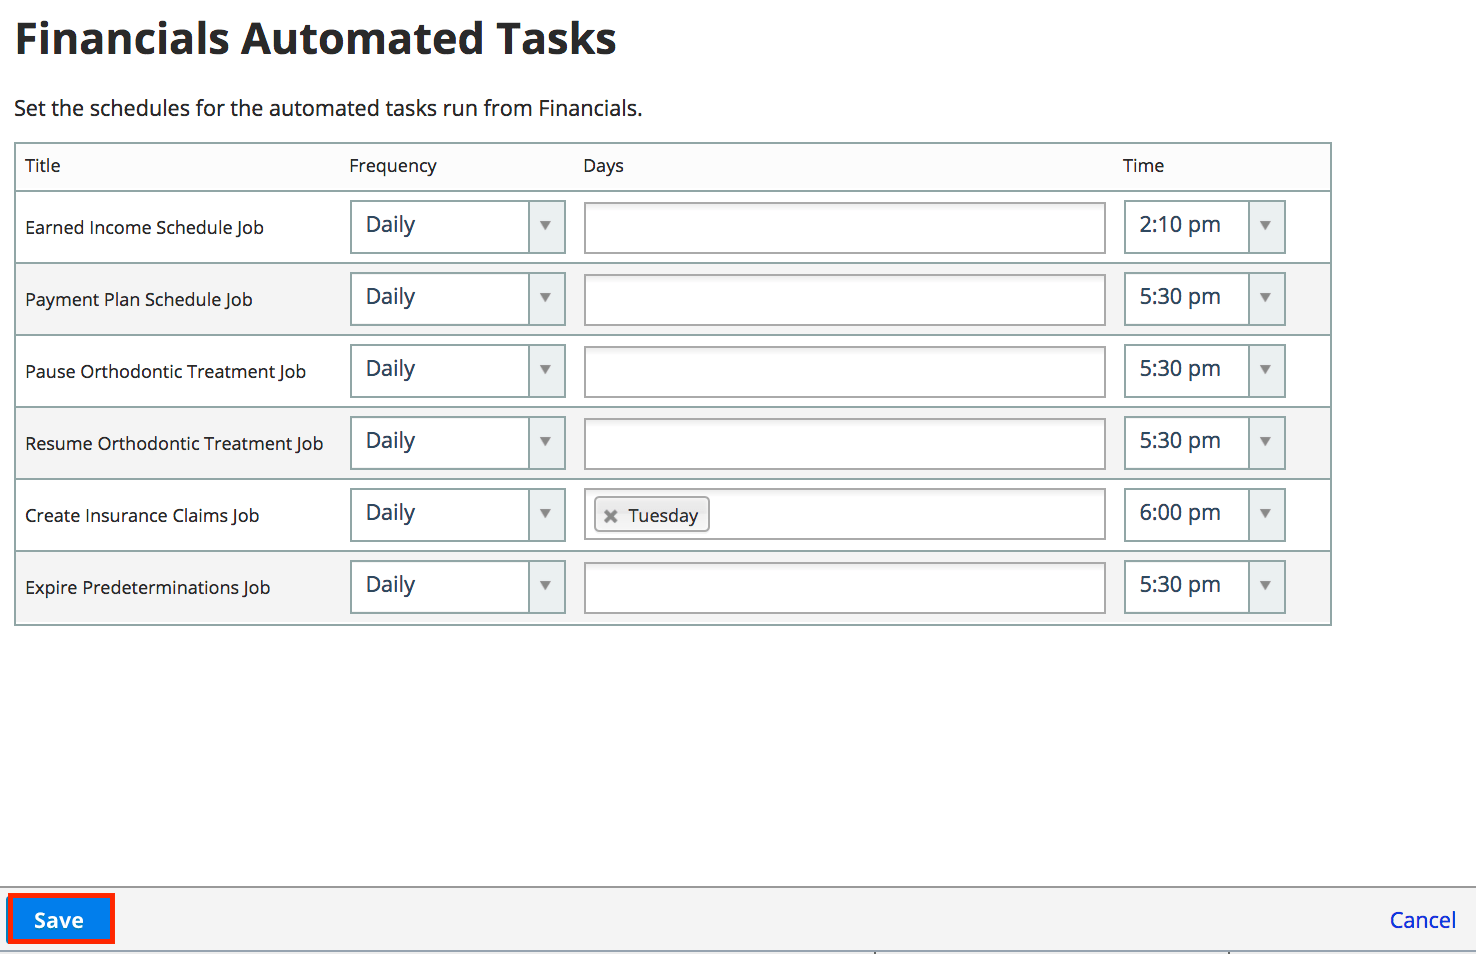
- Go to Practice > Practice Settings > Financials > Automated Tasks
- Specify the Create Insurance Claims Job details:
- Frequency: How often insurance claims are generated.
- Days: The days when the insurance claims are generated.
- Time: The time when the insurance claims are generated.
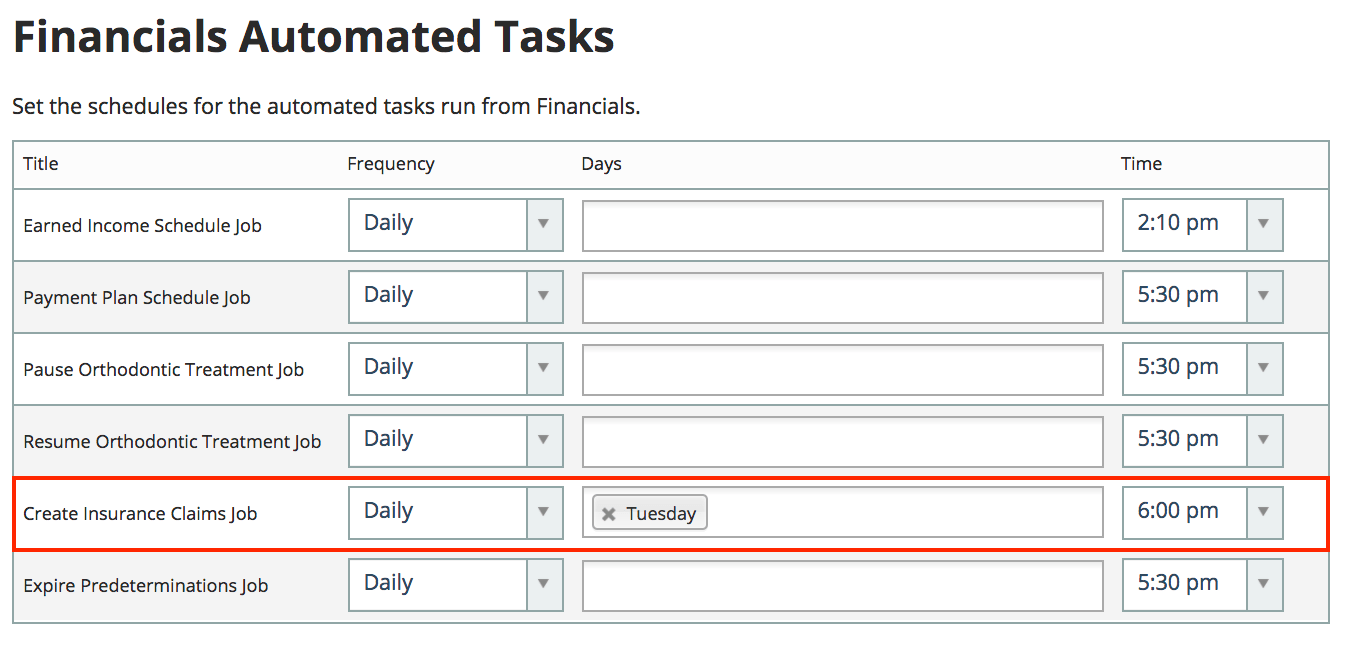
- Select Save