Change a patient's dentition
In order to better match the odontogram with your patient's changing dentition, you can use the edit dentition mode to:
- Mark a tooth as missing or erupted.
- Replace a tooth with the corresponding primary or permanent.
- Add supernumerary teeth.
- Change the order of teeth.
Changes you make here affect:
- The order and number of teeth displayed in the odontogram.
- The order and number of teeth available for recording findings and procedures.
- The order and number of sites available for entering periodontal data.
To learn more about the options for recording that a tooth is not visible, see Missing teeth effects below.
- Select
 in the bottom right corner of the odontogram
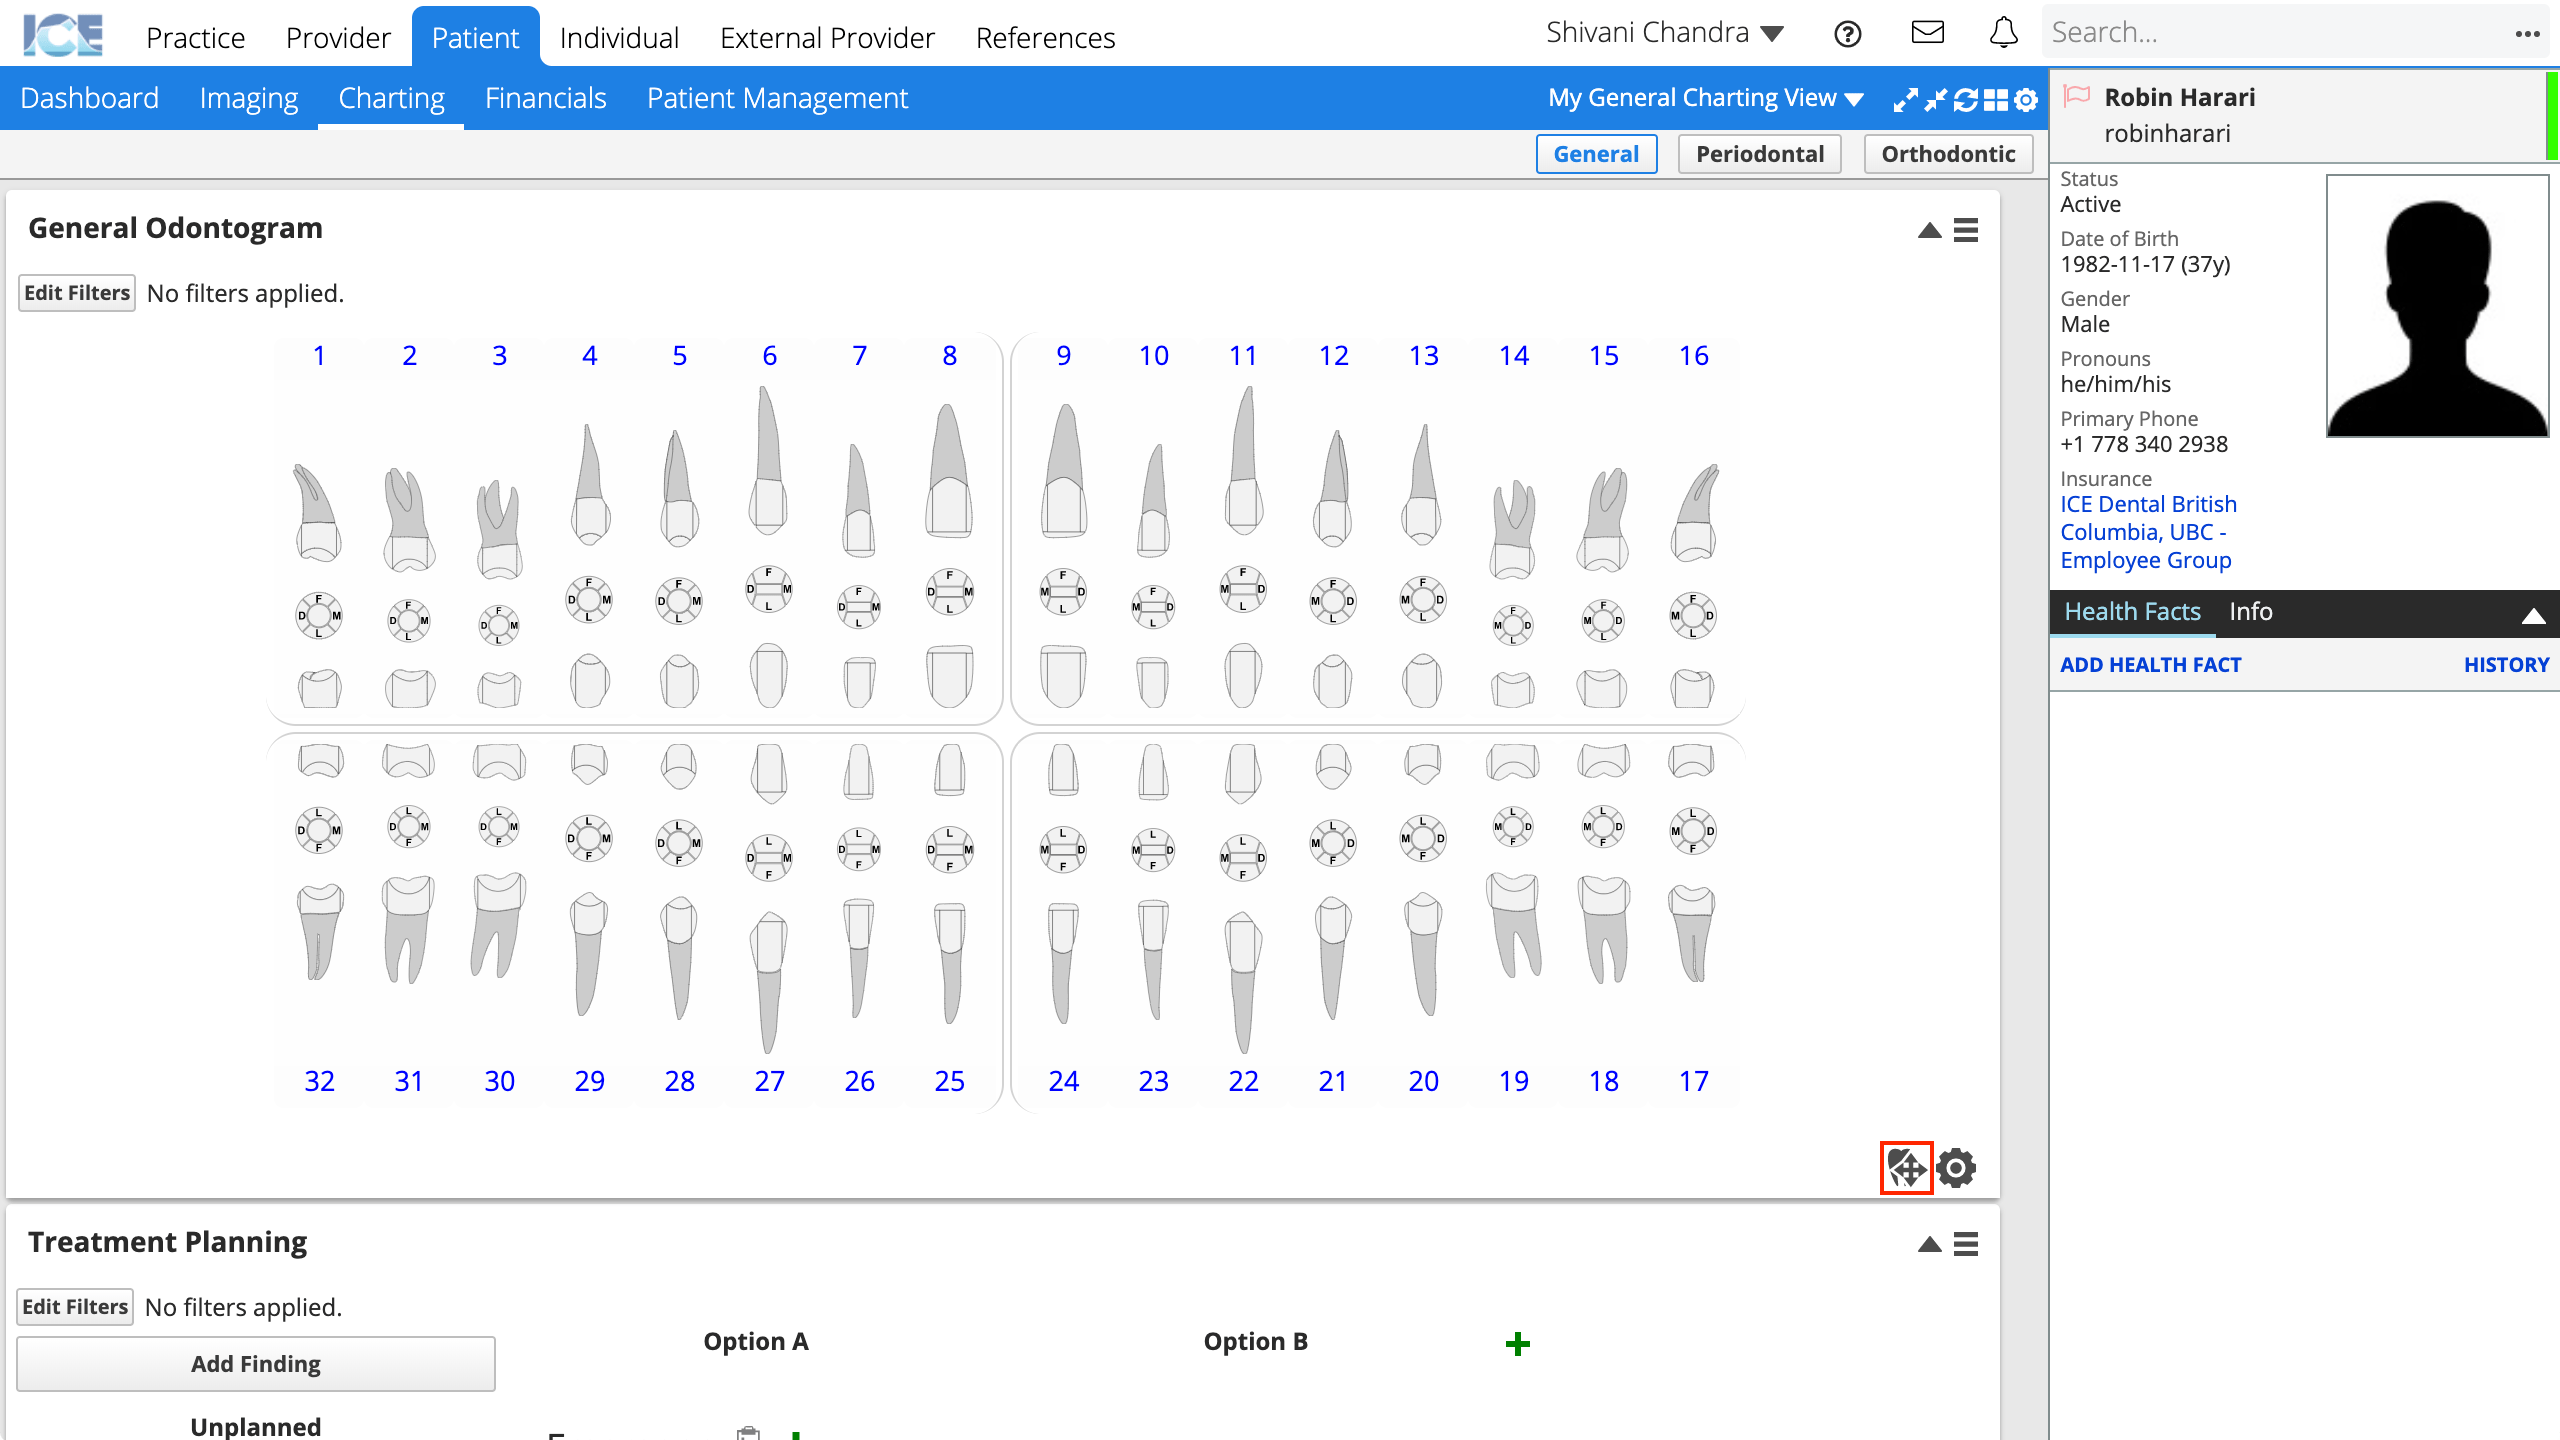
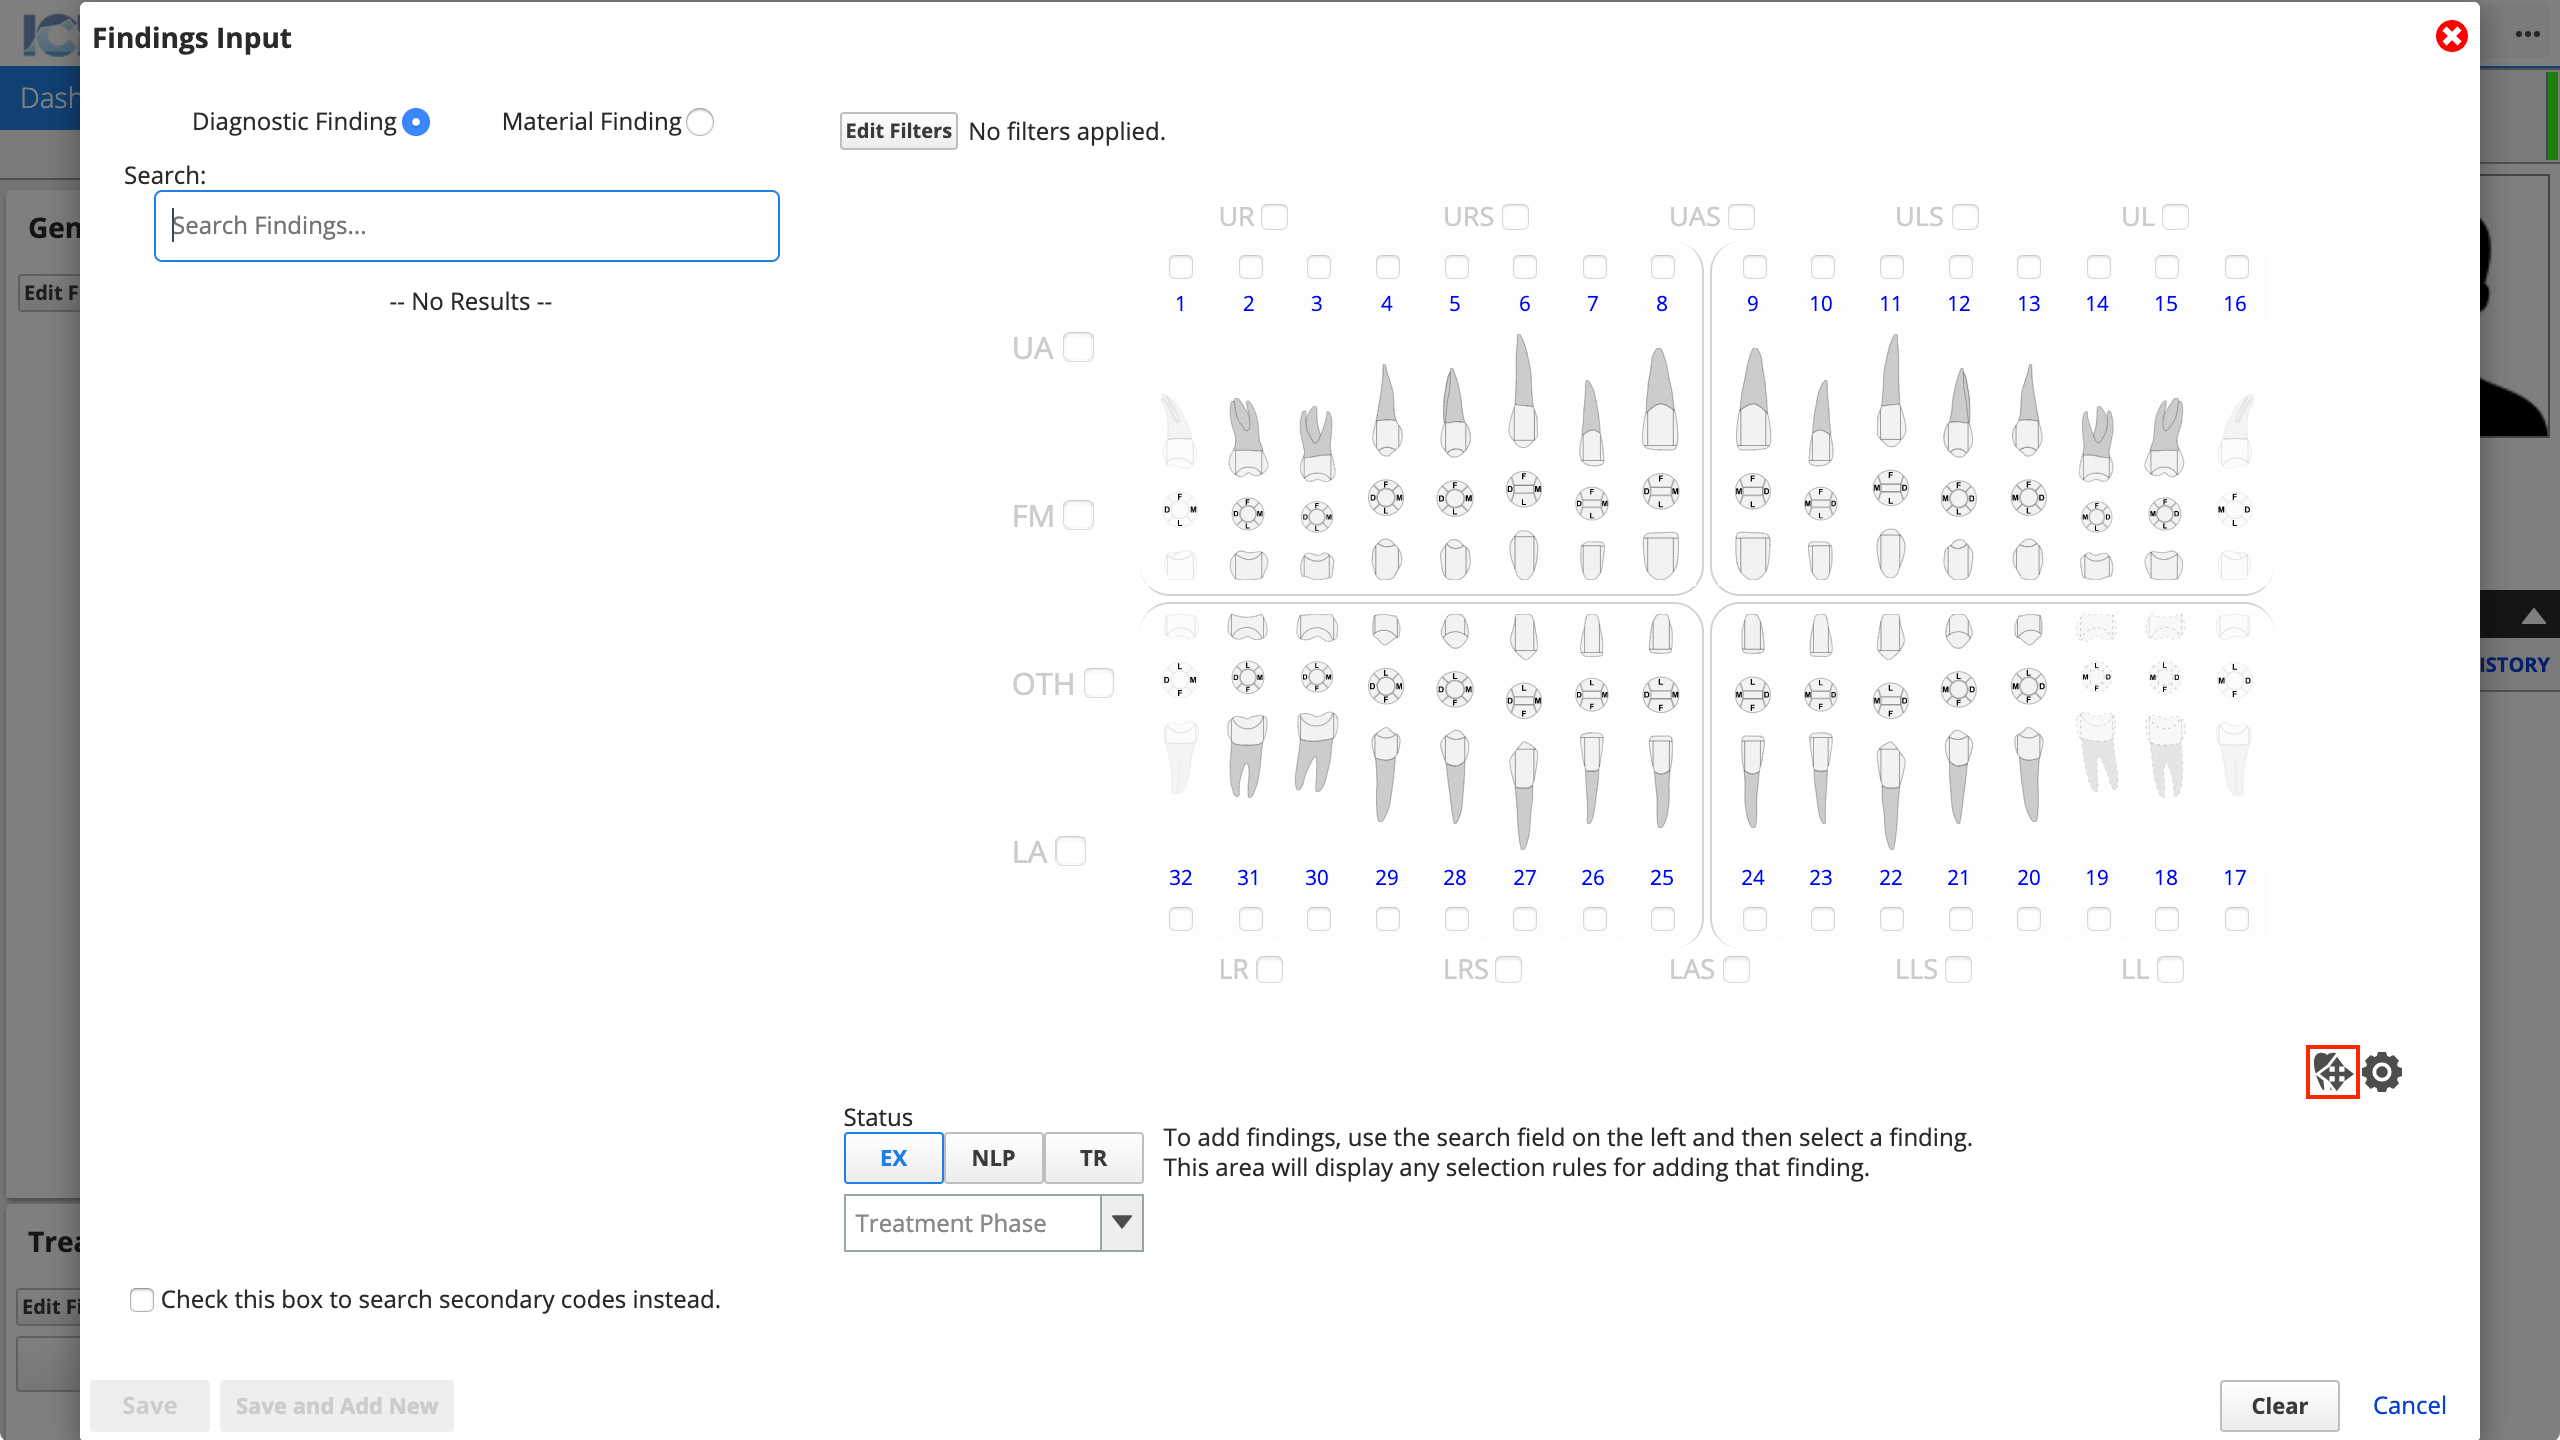
- You can edit dentition from both the General Odontogram, or the Findings Input odontogram.
- New edit options appear at the bottom of the panel

- Select a tooth you want to edit

- Selected teeth are highlighted in blue.
- To select multiple teeth at once, hold Command (macOS) or Control (Windows) while selecting multiple teeth. Hold Shift to select teeth in a range.
- Select one of the edit options at the bottom of the panel to update the dentition
- Add: Add a specific tooth to the odontogram.
- Useful when the Replace or Supernumerary options are not appropriate.
- Supernumerary: Add a supernumerary tooth on the distal side of the selected teeth.
- Replace: Replace the selected teeth with the corresponding primary or permanent.
- Erupt: Set state of selected teeth to erupted.
- Unerupt: Set state of selected teeth to unerupted.
- Missing: Set state of selected teeth to missing.
- Remove: Completed remove the selected teeth from the dentition.
- Removed teeth cannot be selected for procedures or findings. No gap is left at the site.
- Deselect: Clear any tooth selections.
- Useful when making multiple types of dentition changes so you don't have to manually deselect every tooth.
- To change the location of a tooth in a quadrant, drag and drop it to the appropriate spot.
- Add: Add a specific tooth to the odontogram.
- When you are finished, select again to leave edit dentition mode
Missing teeth effects
You have a few options for recording that a tooth is not visible in the mouth.
Each option will have a slightly different impact on how the tooth is displayed and what findings and procedures you can enter for that tooth or area afterwards.
| Method | Effect on Findings and Procedures | Effect on Periodontal Findings | General Odontogram | Periodontal Odontogram |
|---|---|---|---|---|
| Mark a tooth as unerupted (Edit Dentition Mode) | Codes can be entered for the tooth number and surfaces. | Perio findings cannot be entered for the tooth. There is a gap to indicate where the missing area is. | Faded. | Faded. |
| Mark a tooth as missing (Edit Dentition Mode) | Codes can be entered for the tooth number. | Perio findings cannot be entered for the tooth. There is a gap to indicate where the missing area is. | Faded with a dashed outline. | Hidden but a gap is left for the tooth. |
| Enter a "missing" finding as existing (Treatment Planning panel) | Codes can be entered for the tooth number. Also adds a finding to the Treatment Planning panel that you can connect to a procedure. | Perio findings cannot be entered for the tooth. There is a gap to indicate where the missing area is. | Faded with a dashed outline. | Hidden but a gap is left for the tooth. |
| Remove a tooth from the dentition (Edit Dentition Mode) | Codes cannot be entered for the tooth number and surfaces. Tooth is not displayed in any area selector. | Perio findings cannot be entered for the tooth. There is no gap to indicate where the missing area is. | Not displayed. | Not displayed. |
Extraction effects
If you complete an extraction procedure for a patient, the odontogram image of the extracted tooth will be faded with a cross through it.
You can chart findings and procedures to the tooth number but not the surfaces. Periodontal findings cannot be entered for the tooth but there is a gap to indicate where the missing area is.