Enter orthodontic data
After a patient has an orthodontic treatment plan, you can enter details for each of their visits.
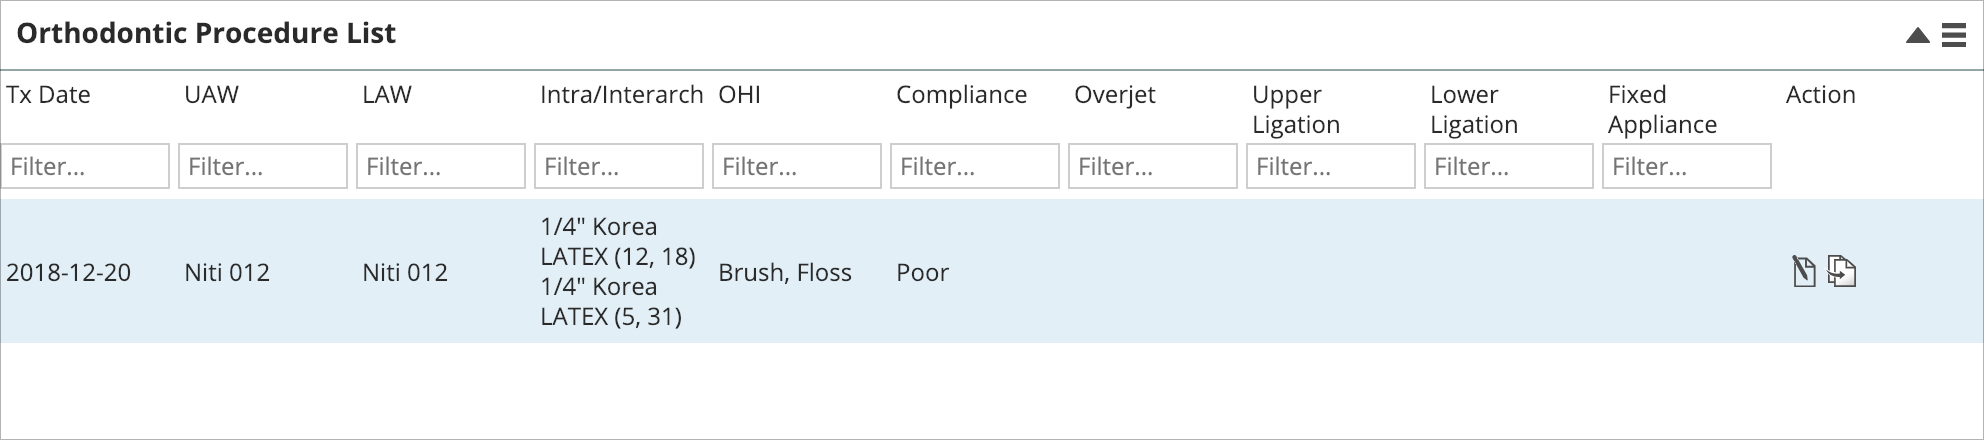
Orthodontic data you enter appears in the Orthodontic Procedure List panel and progress notes you enter appear in the Progress Notes panel.
If your patient already has an entry from a previous visit, you can quickly start a new entry for today by copying the previous details and then updating them for today's visit.
- Select Enter Data
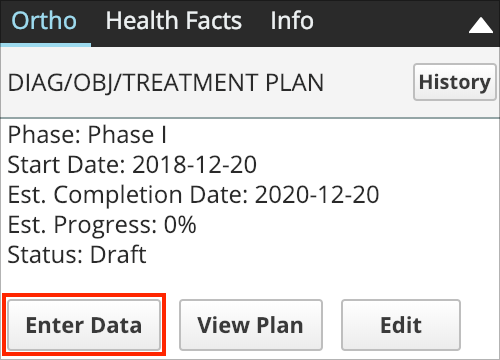
- Confirm the treatment date for your new entry
- Use the selection options in the top half of the window to record details for this visit

- Optional: you can create and complete a new progress note from here as well be selecting New Note.
- Progress notes created here are also available from the Progress Notes panel.
- Select Save
The details appear as a new line in the Orthodontic Procedure List panel.
Enter orthodontic data faster
You can enter orthodontic data faster by using data that you've previously entered as a starting point.
There are two ways to do it:
- Copy a previous line to start a new entry for today.
- The new entry will use the details from a previous visit, and then you can make small adjustments based on what was done during today's appointment.
- Pre-enter tentative details you plan to record at the patient's next appointment.
Whichever way you choose, you can still edit the details and make sure they match what is done during the actual appointment.
To copy the details from a previous visit:
- Select
 on the line in the Orthodontic Procedure List that you want to copy
- This opens the Edit Copied Procedure window.
- Update the treatment date and details to be accurate for today's visit
- Select Save
- Your changes are saved as a new line in the Orthodontic Procedure List.
To pre-enter the details for the next appointment:
- Select Enter Data to start creating a new entry
- Select the Plan next appointment checkbox

- This disables the treatment date field
- Now when you save the entry it won't include a date.
- Update the details based on your plan for the next visit
- Select Save
When the patient arrives for their next visit:
- Select
 to edit the line that you planned
 - De-select the Plan next appointment checkbox
- Update the treatment date and any details that need to be changed
- Select Save