Create an orthodontic treatment plan
Before you can enter orthodontic data into the procedure list for a patient, you need to create an orthodontic treatment plan for them.
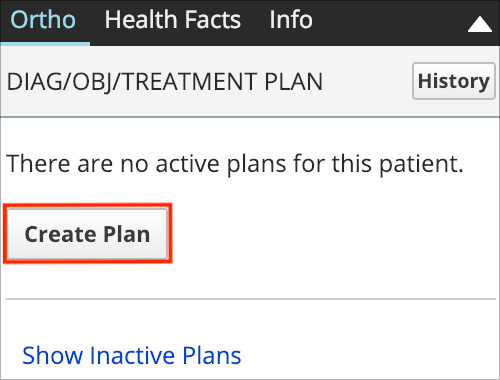
Orthodontic treatment plans are listed in the patient sidebar when you go to Patient > Charting > Orthodontic.
- Select Create Plan from the patient sidebar
- Enter the required fields:
- To save a draft treatment plan, you are only required to enter:
- Phase
- Orthodontic Procedure
- Provider
- To make a draft treatment plan active, you must also enter:
- Start Date
- Estimated Treatment Length
- To save a draft treatment plan, you are only required to enter:
- Enter an overall summary of the treatment plan into the Diagnostic, Objective & Treatment Plan Details field

- You can update these notes over the course of the patient's treatment.
- While this field is great for notes about the overall treatment, details about specific visits are best recorded in progress notes when you enter orthodontic data into the procedure list.
- To learn more, see Enter orthodontic data.
- Select Save
The orthodontic treatment plan now appears in the patient sidebar.
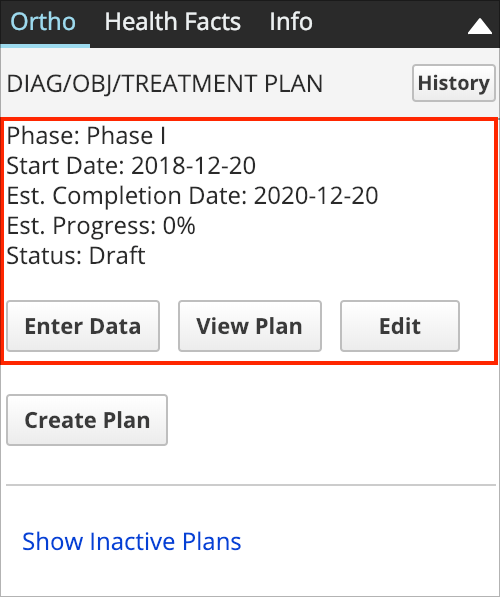
- To make changes to the plan settings or update the diagnostic, objective and treatment plan details, select Edit.
- A record of changes and snapshots for each save are available from History in the patient sidebar.
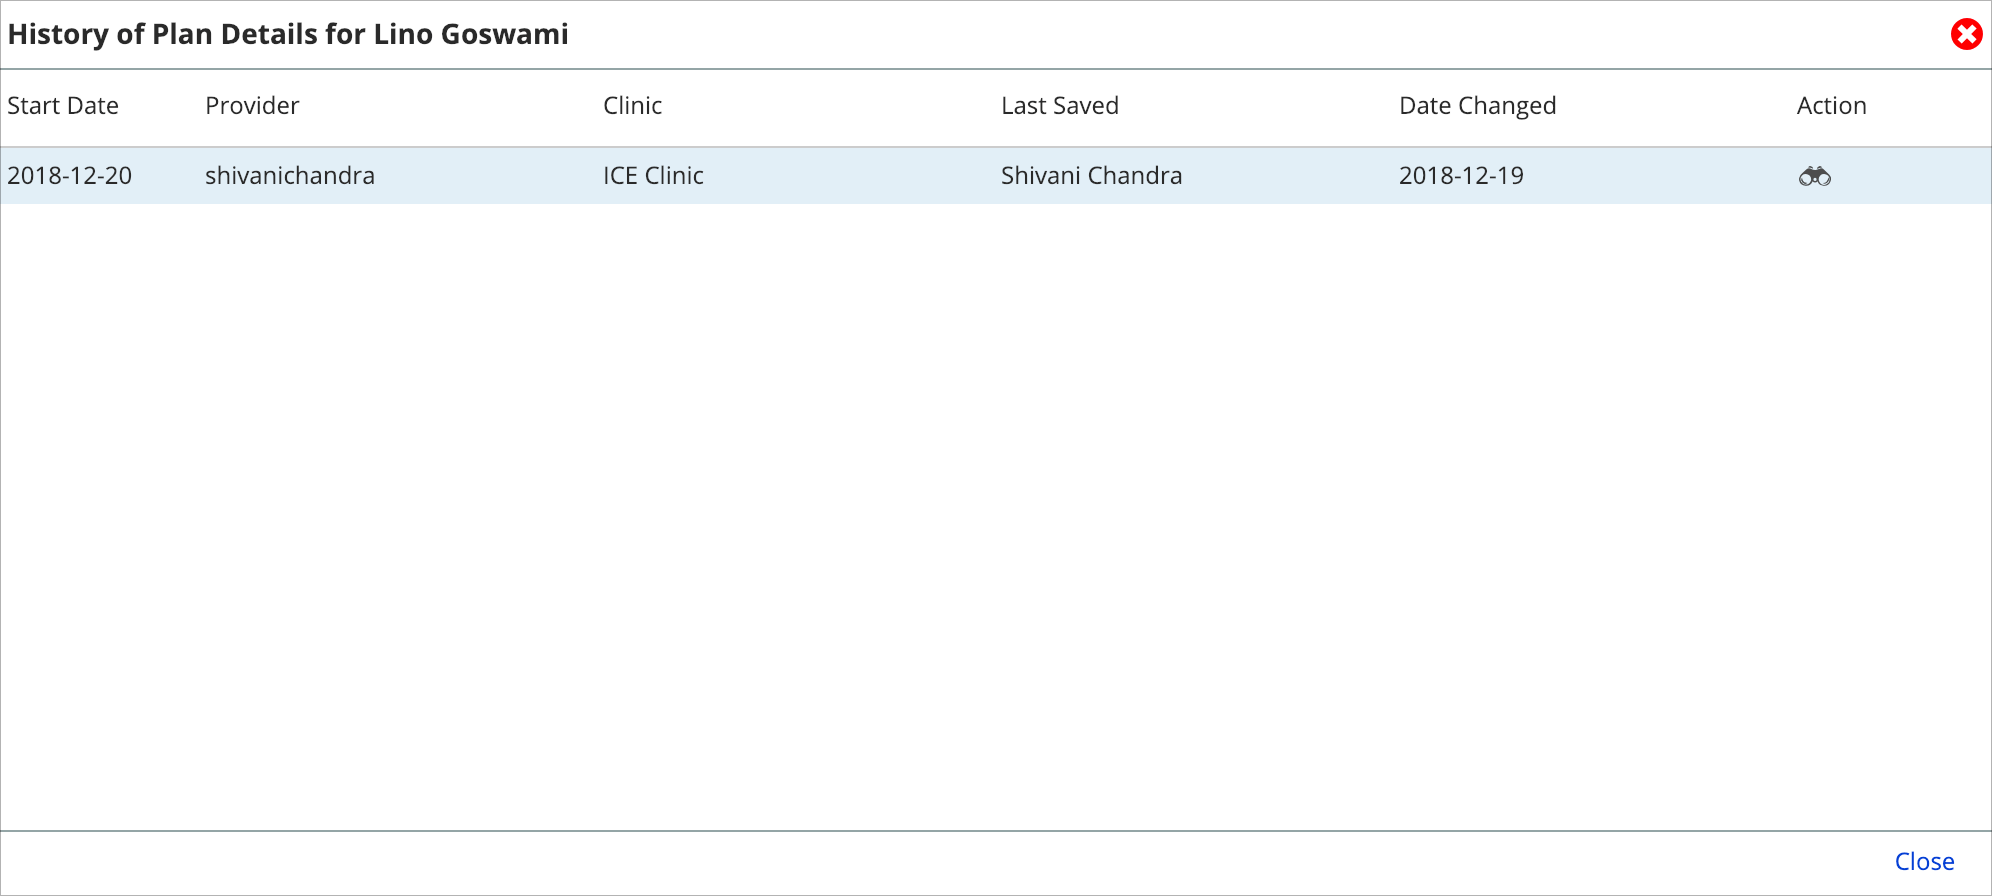
- When the history window is open, select
 to see a snapshot of what the treatment plan looked like at that time.
 - The snapshots are helpful for reviewing what the diagnostic, objective, and treatment plan details were at different times.
- When the history window is open, select