Assign providers and resources to an appointment
You must assign a provider or resource to an appointment if you want that appointment to appear on their schedule grid.
The Providers and Resources table in the Create Appointment dialog allows you to assign people, chairs, and other resources to an appointment.
You can choose custom start and end times for each assignment and add role labels to providers. Picking an appointment type can also add time slots to the table with specific durations and descriptions. You can add a provider or resource to each time slot.
The provider or resource you double-click to create the appointment is automatically assigned for the full duration.
- Search by name using Provider/Resource Search...
- If the appointment type you chose includes time slots, each time slot has its own search field.
- Appointments with empty time slots display an exclamation mark ! on the appointment body.
- Choose a provider or resource to assign to the appointment
- Optional: Use the Roles column to help differentiate between multiple providers assigned to one appointment
- If you don't see the role you want, the role may be configured to only allow providers in specific groups to use it.
- Confirm the Start Time and End Time for the assignment
- The provider or resource's schedule will display an appointment with a duration based on these times.
- Repeat steps 1-4 to assign additional providers or resources
- Select Save after all providers or resources are assigned
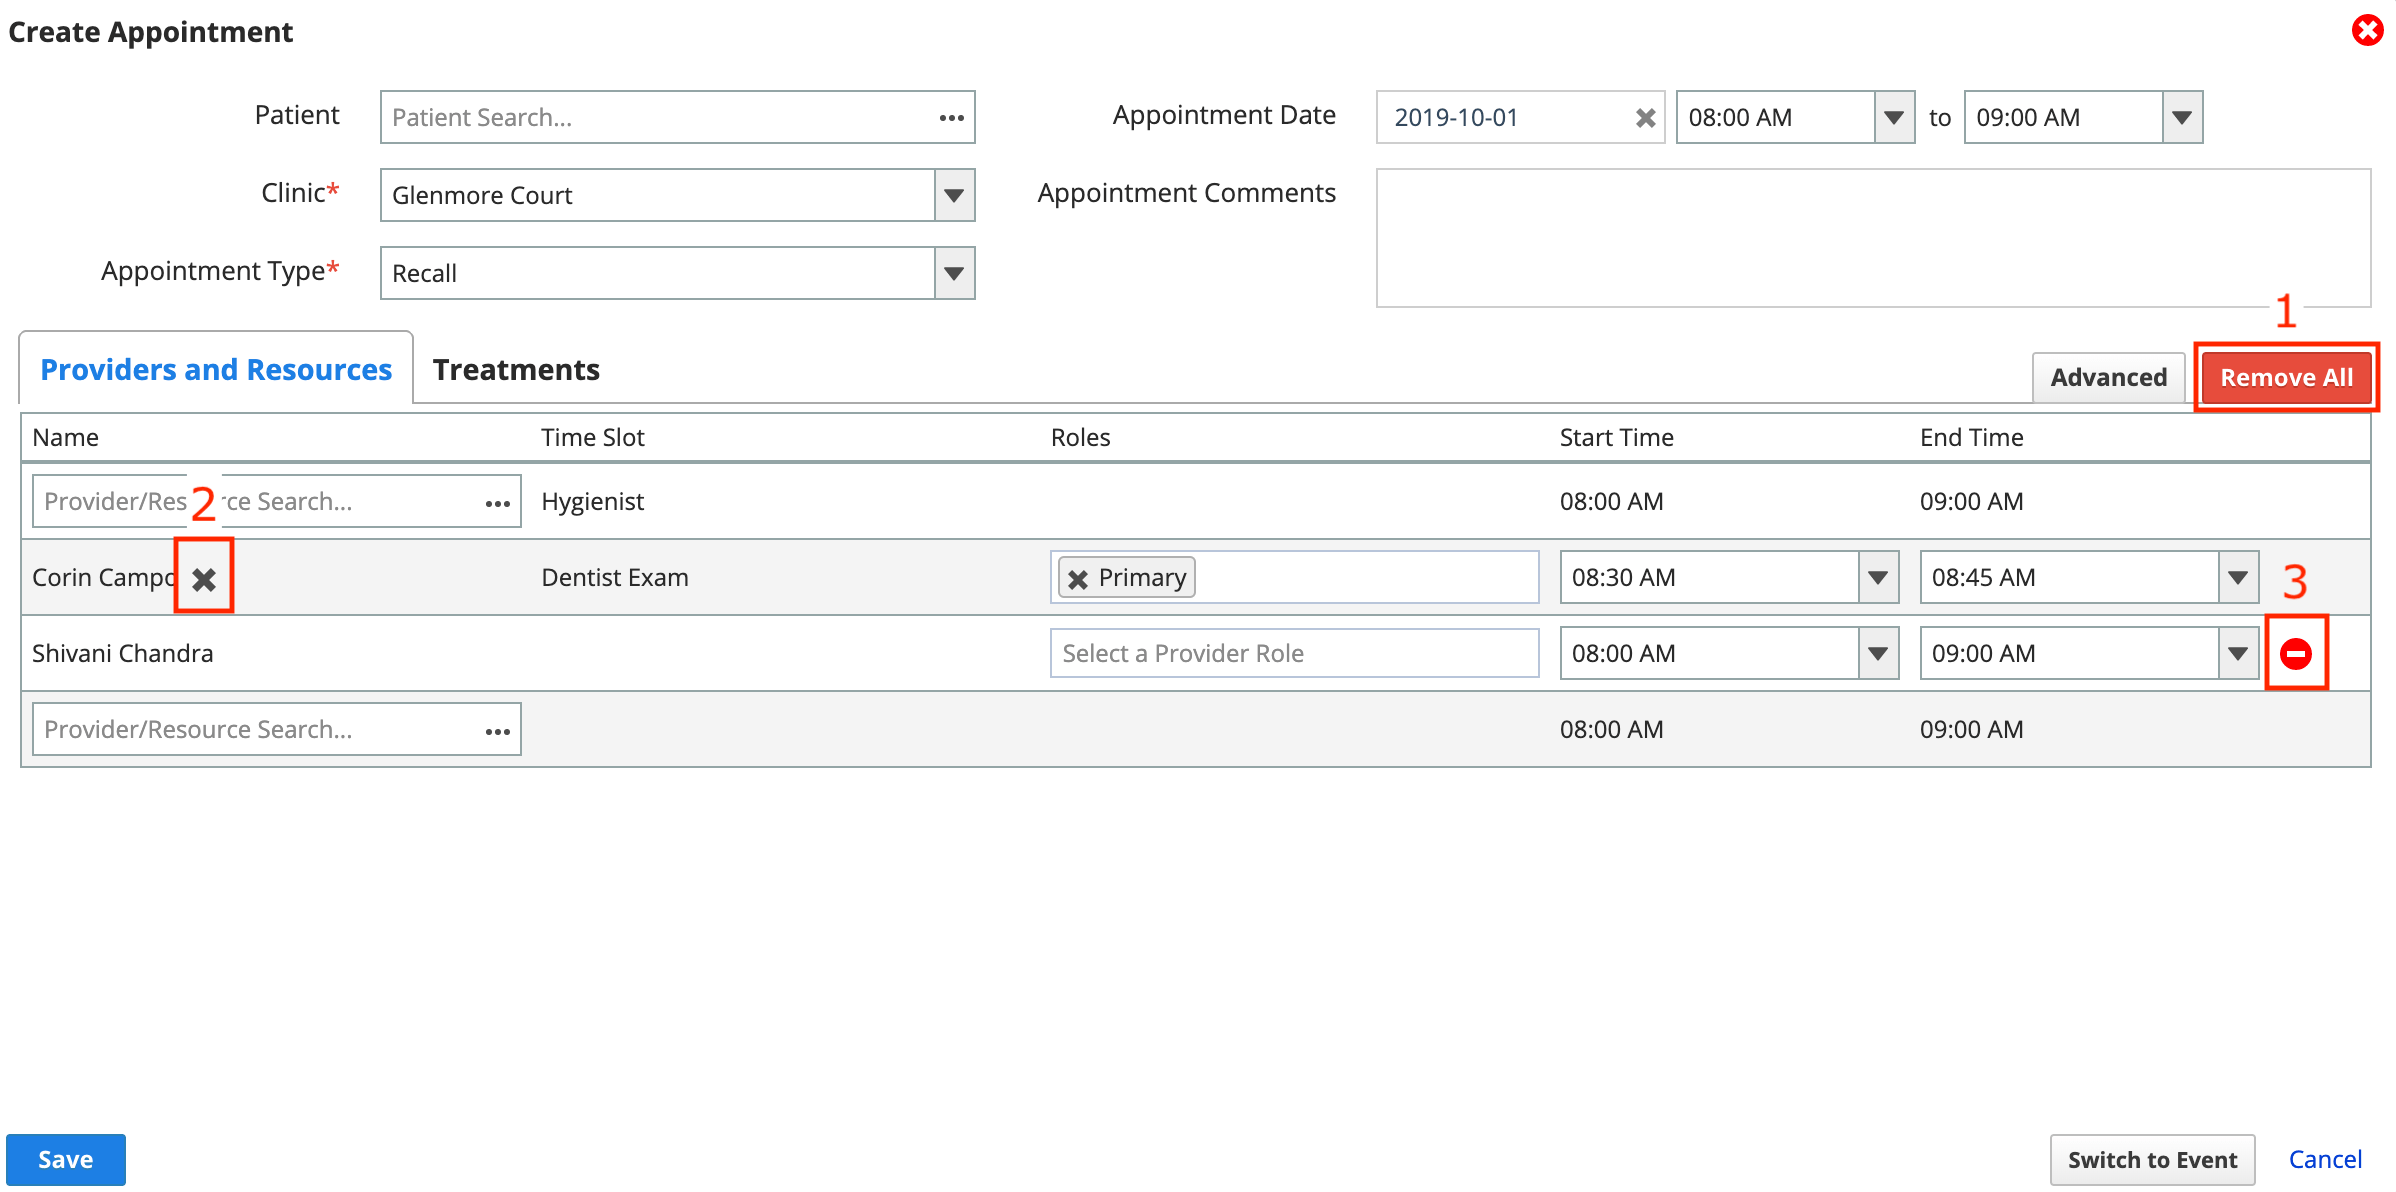
Remove providers and resources from an appointment
You can remove providers or resources from an appointment in one of three ways.
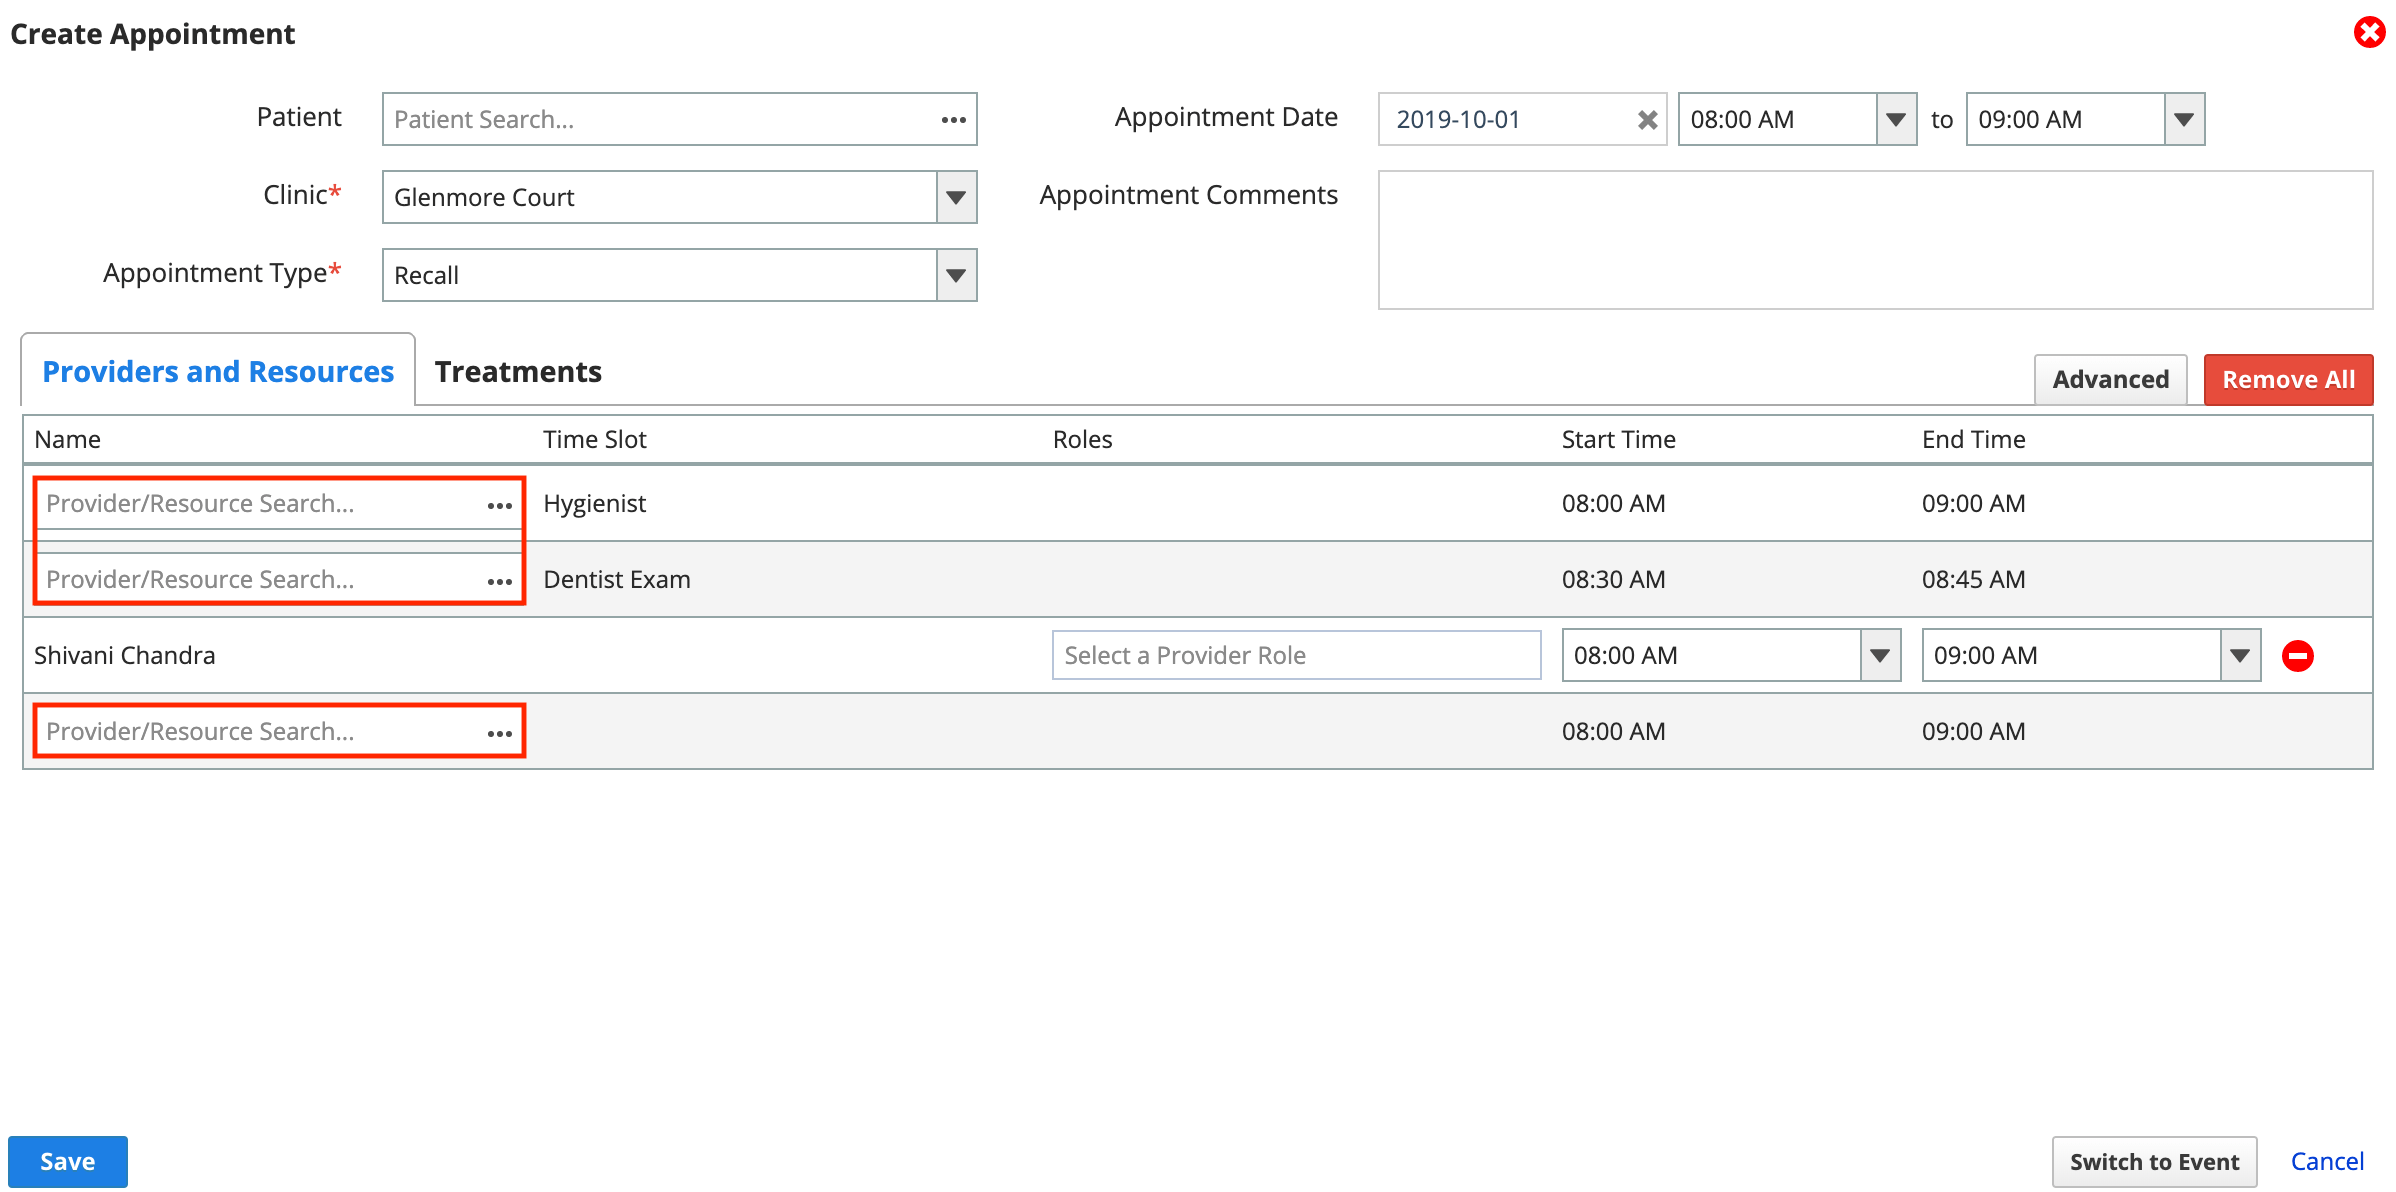
- Select Remove All to remove all assignments and clear any time slots
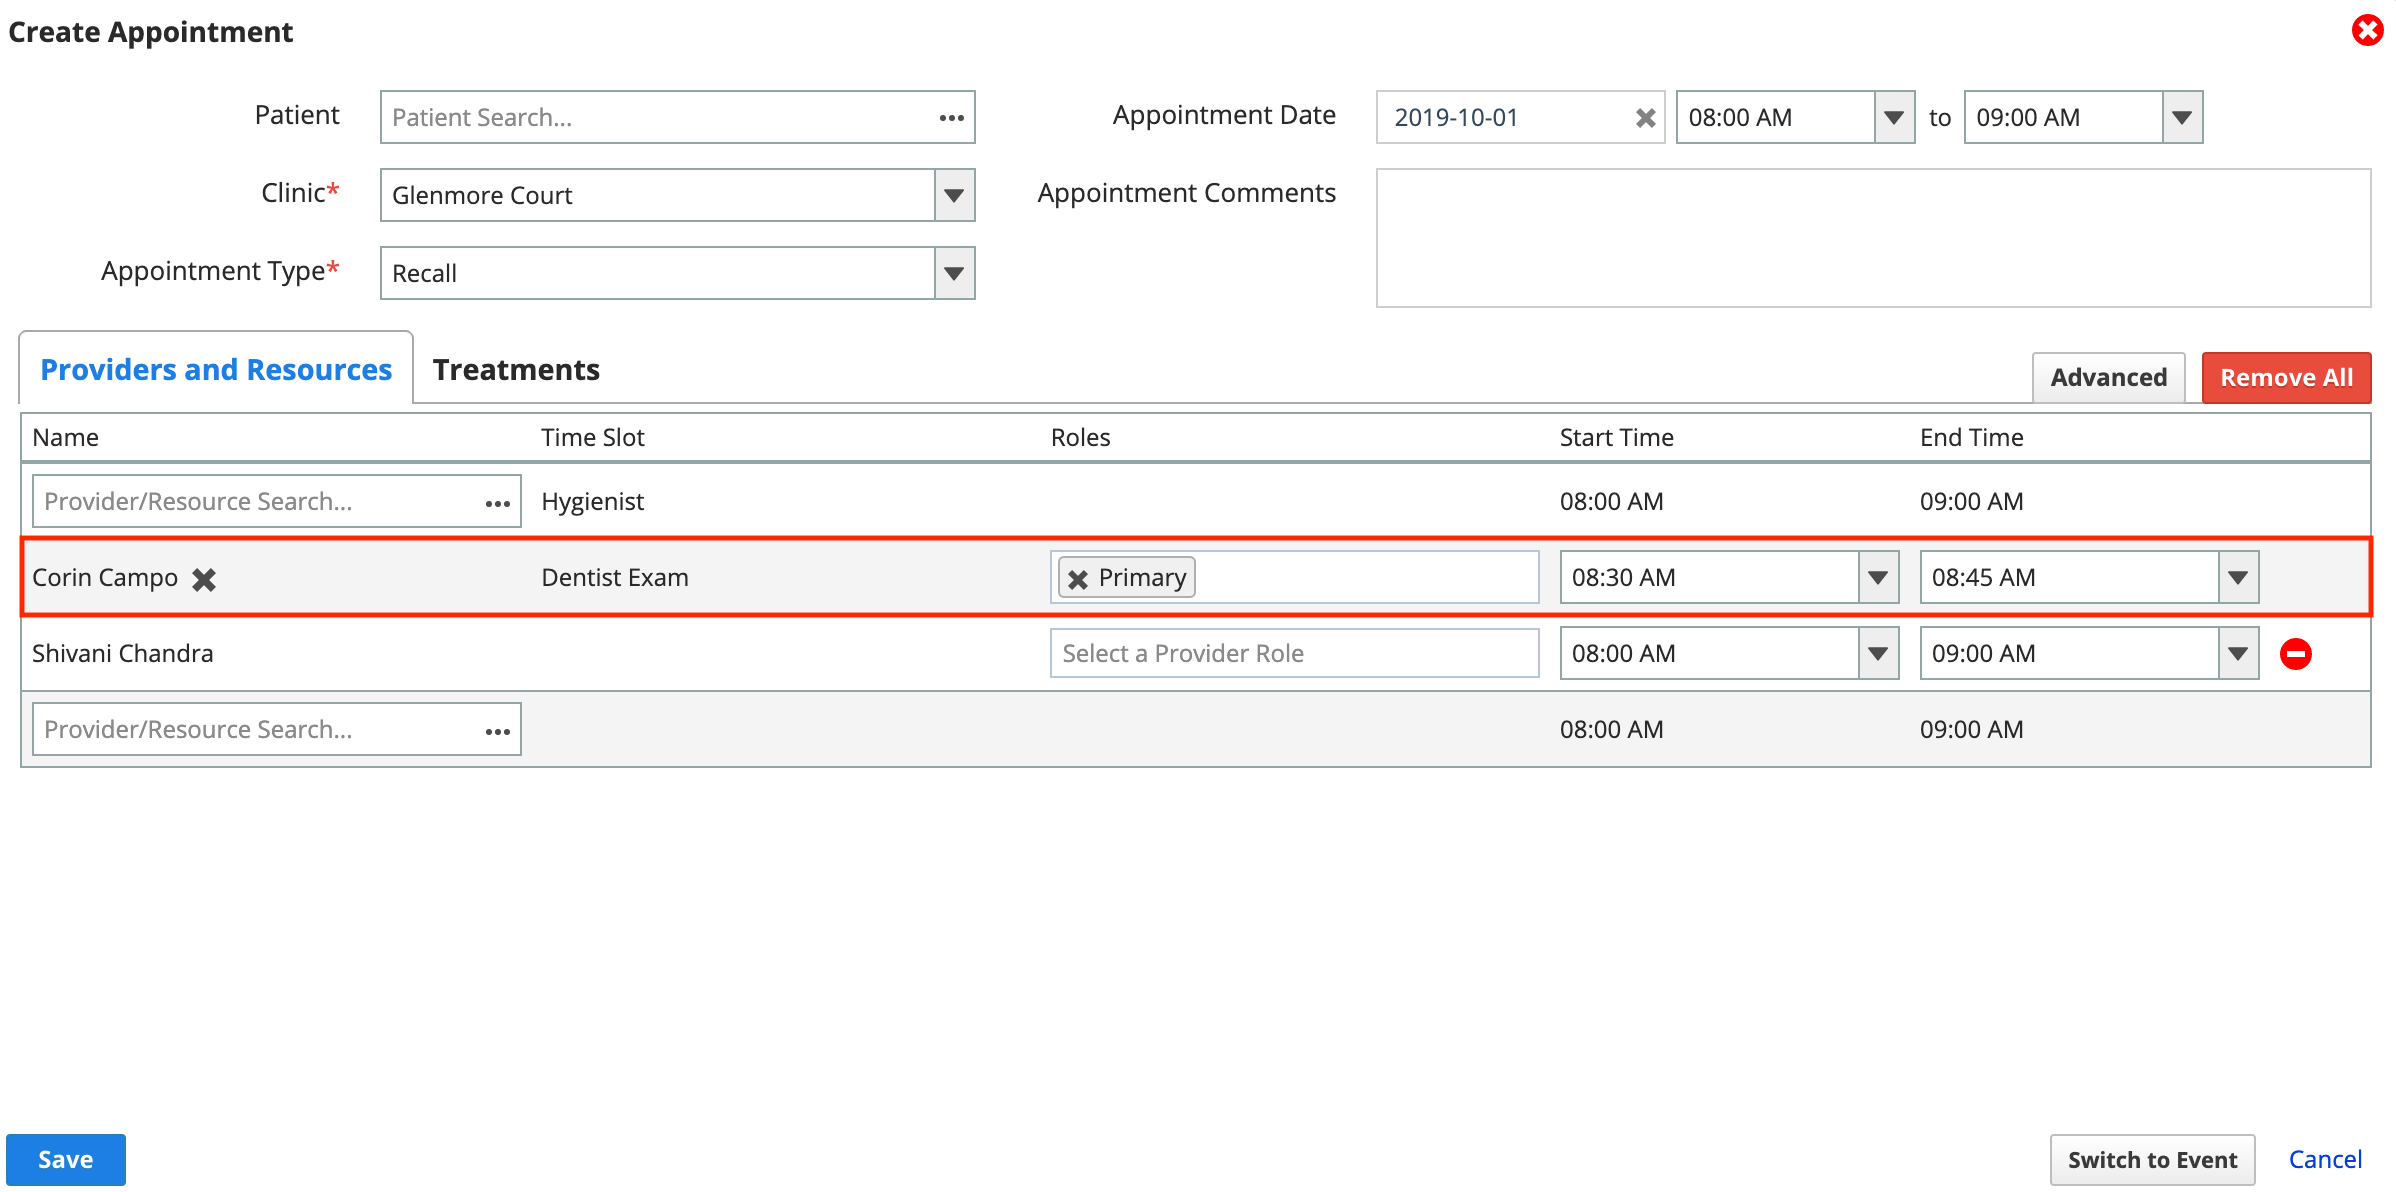
- Select X to clear a time slot with a provider or resource assigned
- Select
 to remove a provider or resource that isn't part of an appointment type time slot