Change an appointment's status
An appointment's status describes where the patient and clinician are in the appointment process and sets the colour of the left side of the appointment body.
Statuses are great for showing appointment activity in reporting dashboard panels and by colour on the schedule grid.
- Select the status bar to the left of the appointment
- Change the status using the drop-down menu
- The system saves your change automatically

or
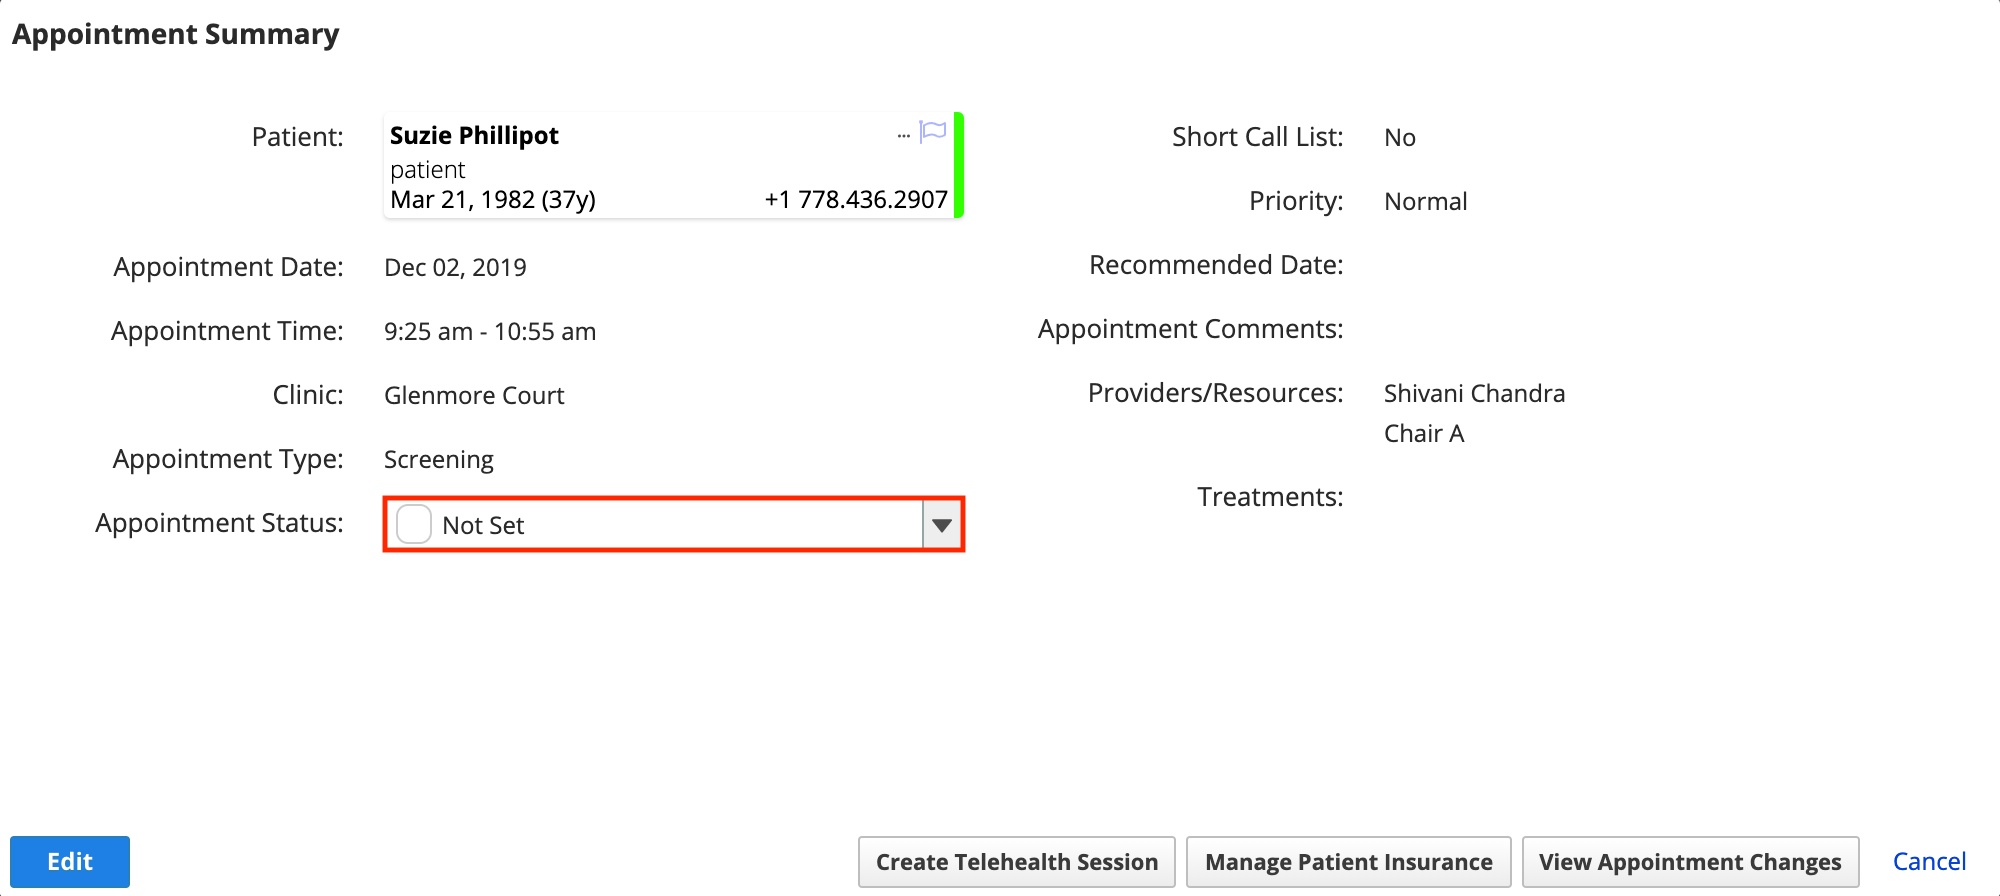
- Select an appointment to view the appointment summary window
- Change the status using the appointment status drop-down menu
or
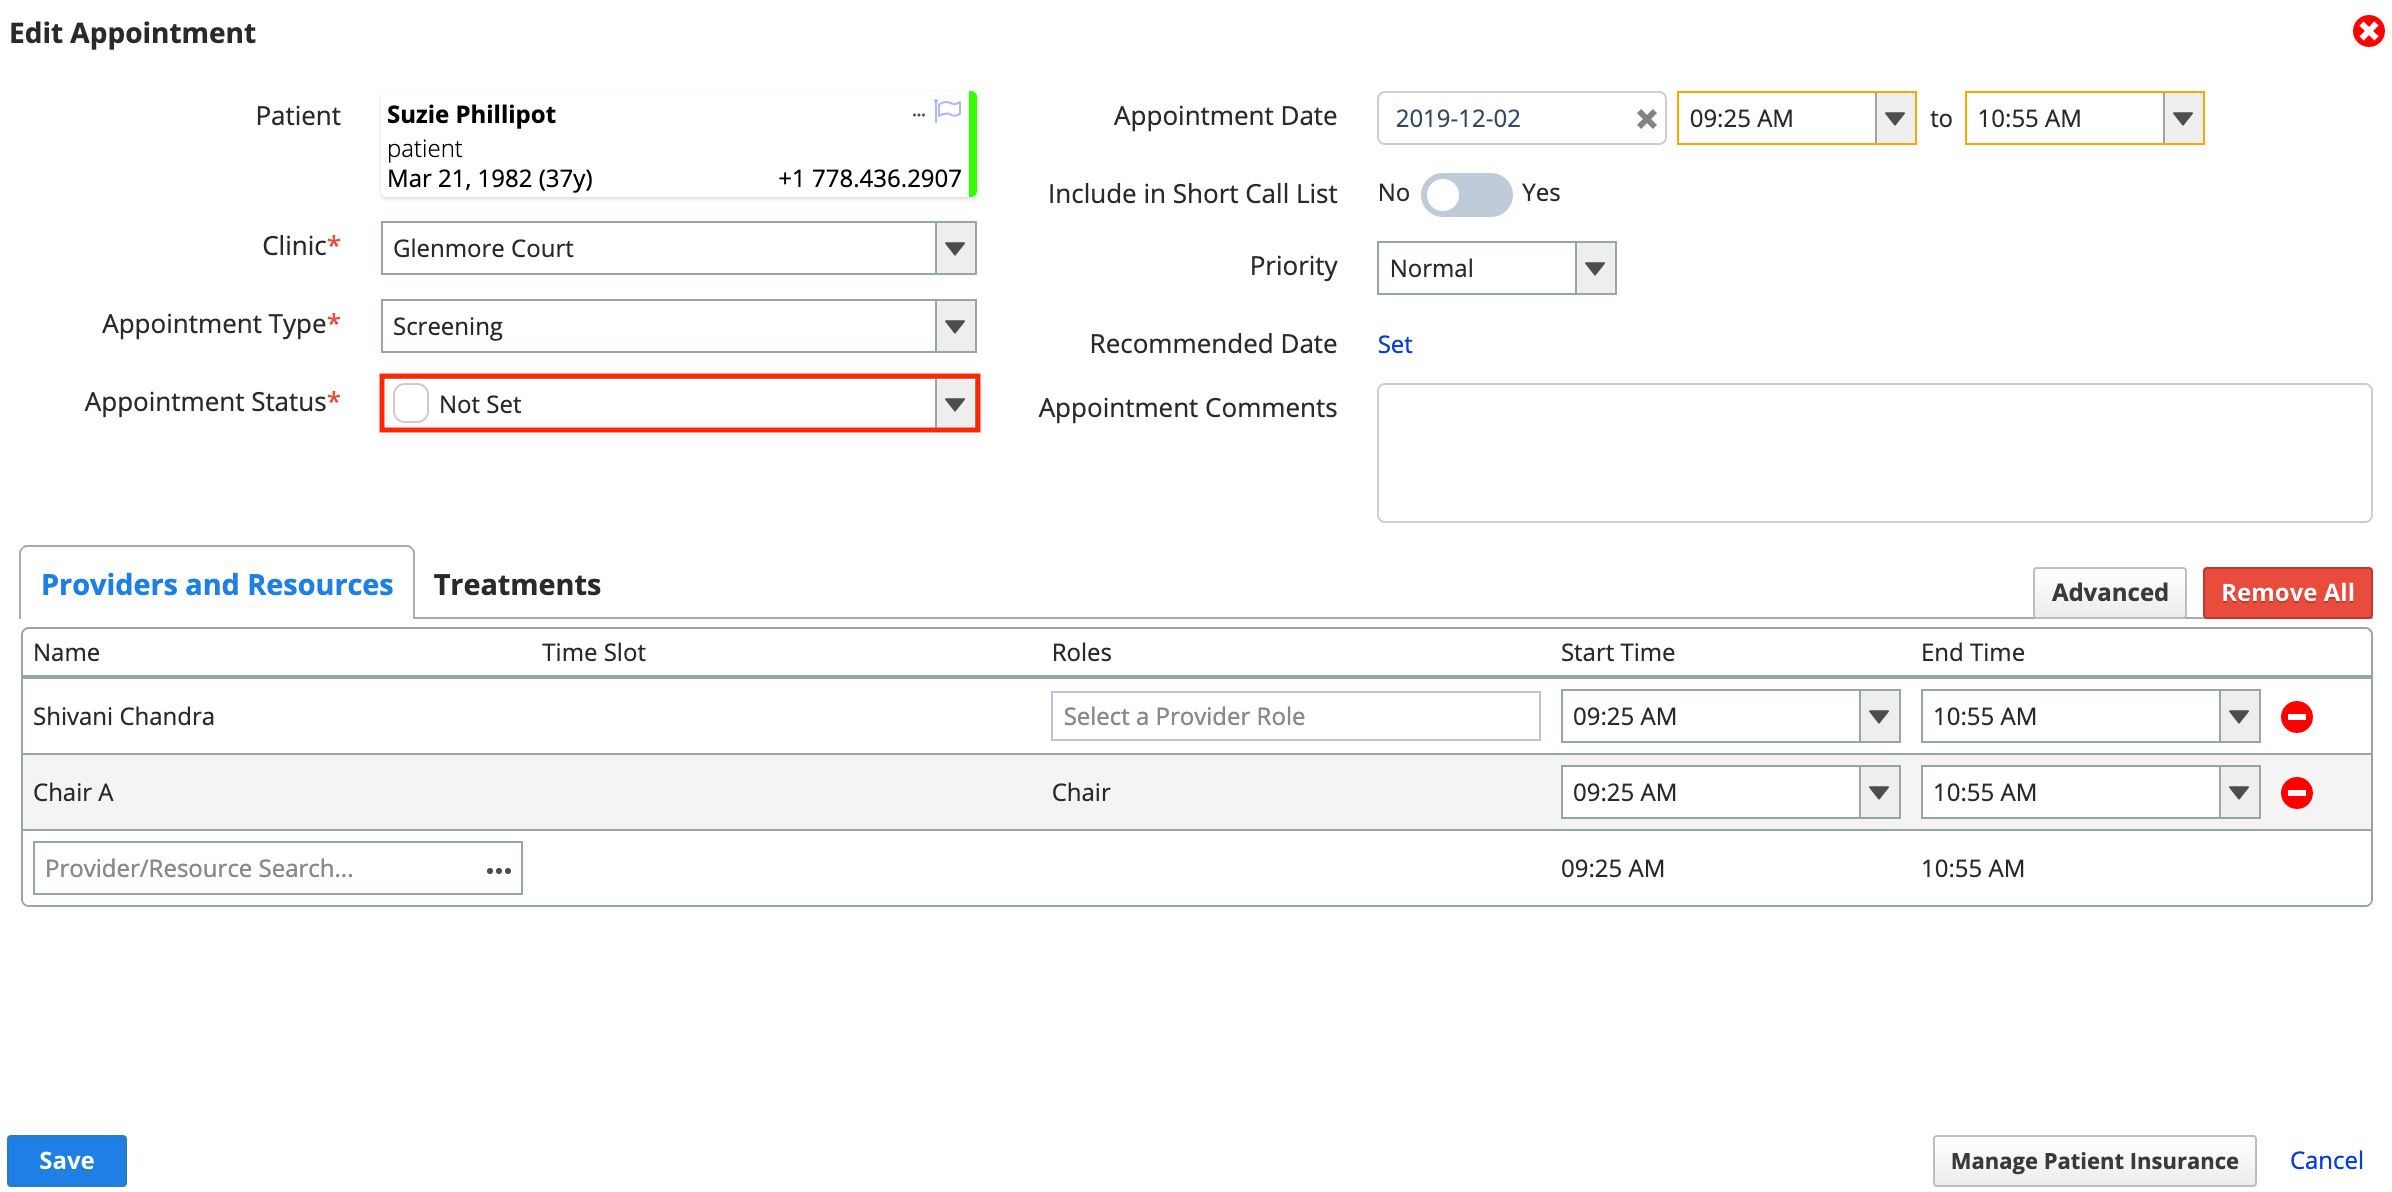
- Double-click an appointment to view the edit appointment window
- Change the status using the appointment status drop-down menu
- Select Save to save your changes
Checked out status missing
You must mark an appointment as Completed before you can check it out.
This helps ensure that appointments are not accidentally checked out, because you cannot edit an appointment after checking it out.
View the appointment status legend
The legend lists all appointment statuses, their colour, and if they're available before or after check-in.
- Select Legend on the right sidebar of the scheduling grid.
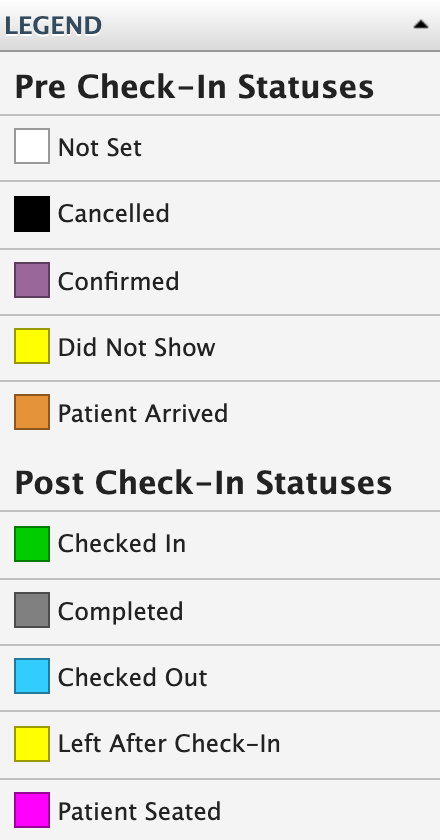
- You can only use Pre Check-In statuses before checking in an appointment.
- You can only use Post Check-In statuses after checking in an appointment.