Practice settings: system types
Under the Practice Settings for System Types, you have the ability to define many of the fields that appear under the Personal and Relationship Information tabs for Patients, Providers and Individuals.
All of the fields discussed in this article are accessible under Practice > Practice Settings > Practice Information > System Types > Address Types
Address Types
- Go to Practice > Practice Settings > Practice Information > System Types > Address Types
Add an Address Type
- Type the new address type title and select Add Address Type
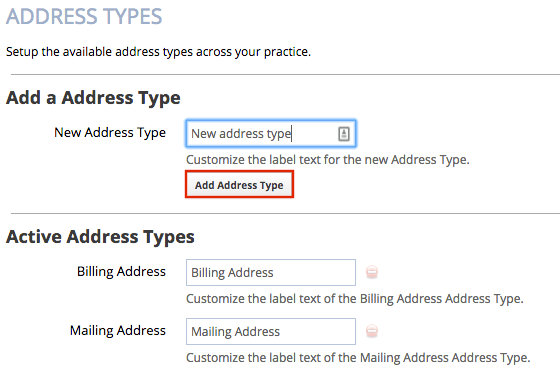
- Once the new address type is added, it will appear under the Active Address Types section. To learn how to manage the active address types please see Manage Address Types

- Select Save
Manage Address Types
You can edit the address type title, archive address types and re-activate archived address types.
Address Types that have been archived are still visible throughout the system, however you can no longer assign any new addresses to that address type.
- To edit the address type title select the text box
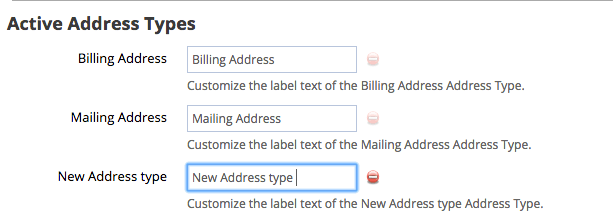
- Make any necessary changes
- Select Save
- To Archive an address type select
 to the right of the address type
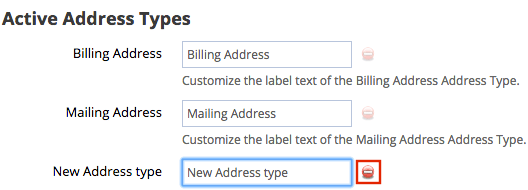
- Select Save
- To re-activate an archived address type select Activate Address Type
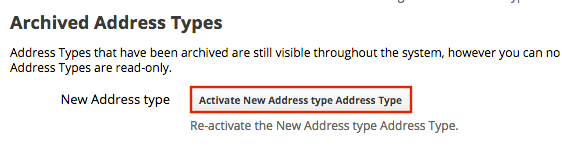
- Select Save
Custom Fields
Custom fields are used in Individual Management, Patient Management, and in Provider Management.
- Go to Practice > Practice Settings > Practice Information > System Types > Custom Fields
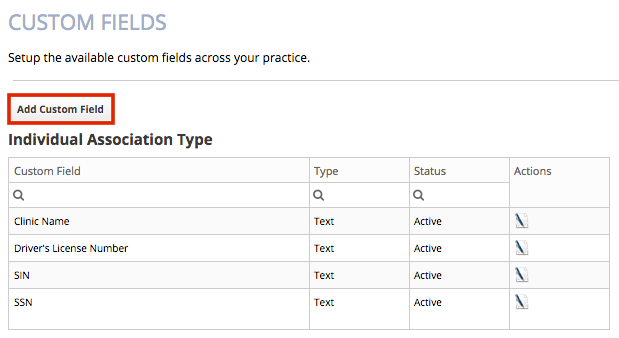
Add Custom Field
When you add certain types of custom fields you can create rules for what can be entered in that field using the Validation tab.
- Select Add Custom Field
- In the Edit Custom Field window specify:
- Custom Field Label
- Custom Field Type
- Date: You can create rules for what can be entered for date custom fields in Validation
- Date Range: You can create rules for what can be entered for date range custom fields in Validation
- Memo
- Multiselect: To learn how to manage the multiselect custom fields please see Manage Multiselect
- Number: You can create rules for what can be entered for number custom fields in Validation
- Select
- Text: You can create rules for what can be entered for text custom fields in Validation
- Toggle: This allows for a choice between two options.
- Association Type
- Provider
- Individual
- Patient: Specify whether or not you want the custom field to be displayed in the patient sidebar above the Hx or in the Info tab.
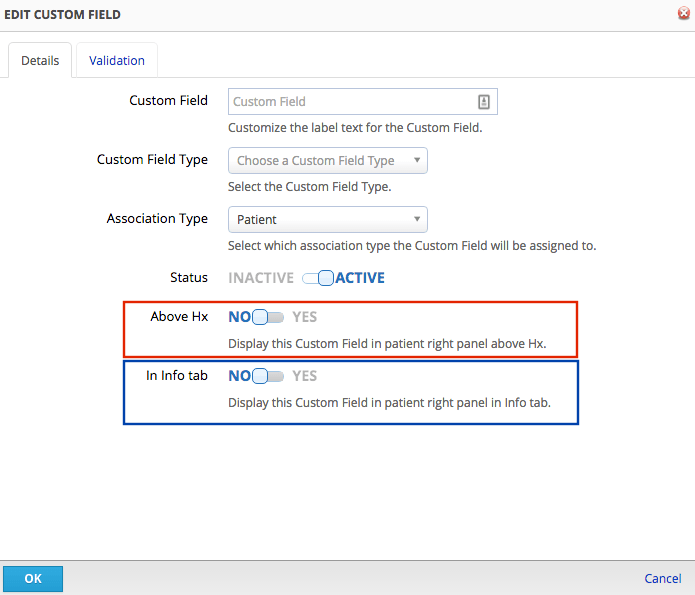
- Status
- Select OK
- Select Save
Validation
Validation is not required for every custom field. If you choose not to specify validation parameters the system will default to not restrict what can be entered.
You can create rules for what can be entered in the following custom field types:
- Date
- Date Range
- Number
- Text
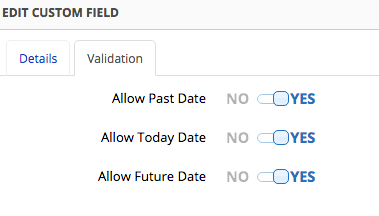
- Select the Validation tab
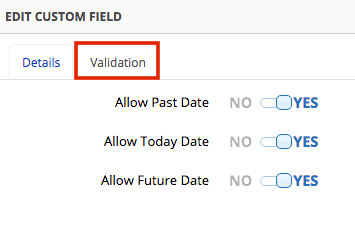
- When a Date custom field type is selected, you can specify which types of dates you want to allow
- When a Date Range custom field type is selected, you can specify which start and end dates you want to allow
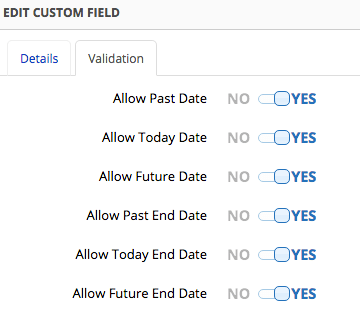
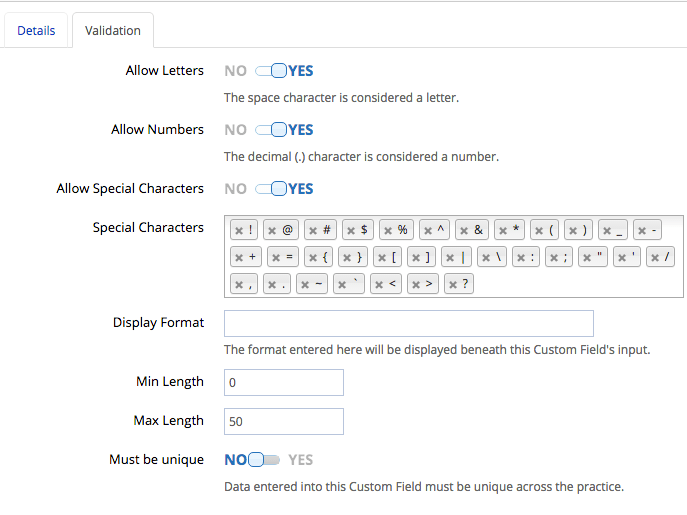
- When a Text custom field type is selected, you can specify:
- Characters
- Display format
- Length
- Whether the data entered must be unique
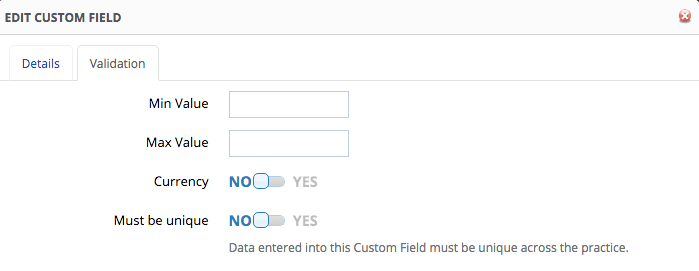
- When a Number custom field type is selected, you can specify:
- Minimum and maximum values
- Whether the value is a currency value
- Whether the number entered must be unique
- When a Date custom field type is selected, you can specify which types of dates you want to allow
- Select OK
- Select Save
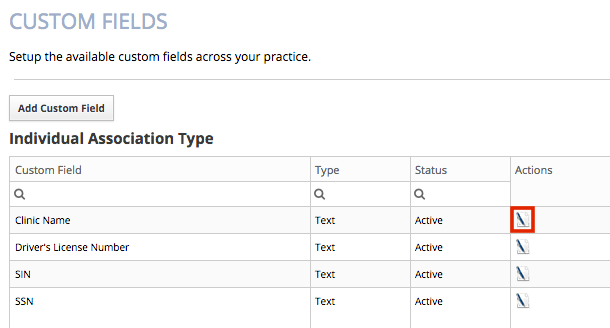
Edit Custom Field
- Select
 to the right of the custom field
- Make any necessary changes in the Edit Custom Field window
- Select OK
- Select Save
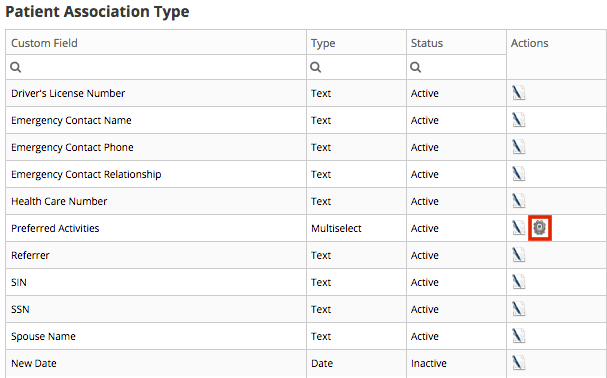
Manage Multiselect & Select Fields
- Select
 to the right of the custom multiselect field
- In the Custom Field Options window select Add Option
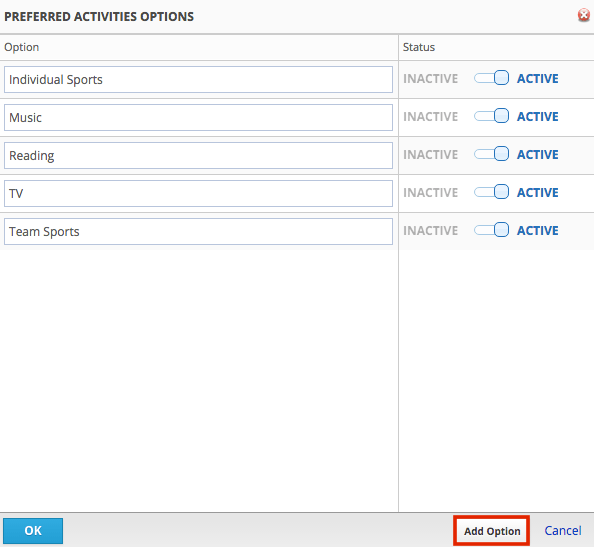
- In the blank text field type the option name
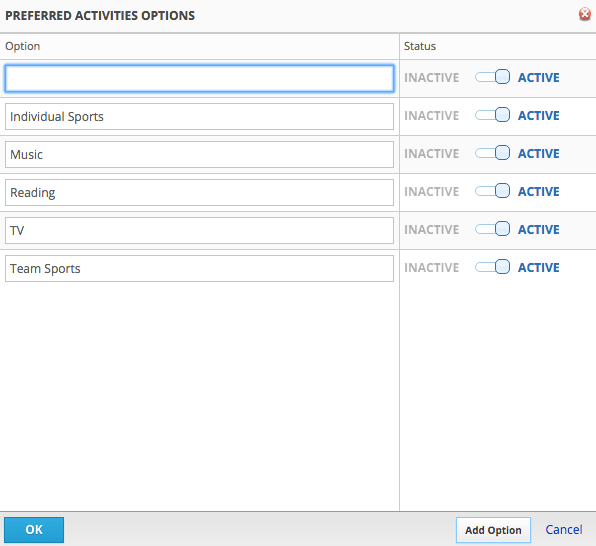
- Determine the option status
- Select OK
- Select Save
Email Types
- Practice > Practice Settings > Practice Information > System Types > Email Types
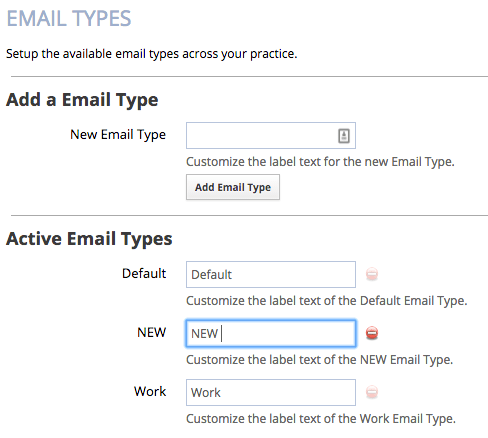
Add an Email Type
- Type the new email type title and select Add Email Type
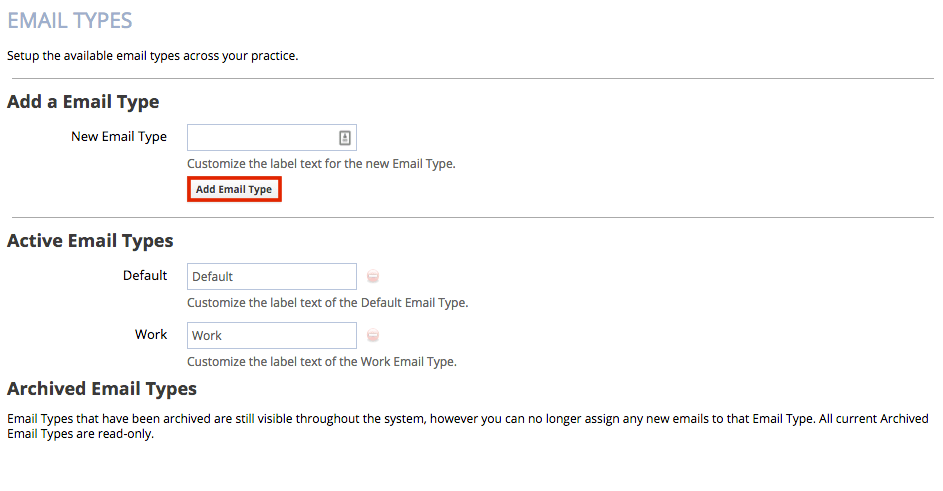 2.
2. - Once the new email type is added, it will appear under the Active Email Types section. To learn how to manage the active Email types please see Manage Email Types
- Once the new email type is added, it will appear under the Active Email Types section. To learn how to manage the active Email types please see Manage Email Types
- Select Save
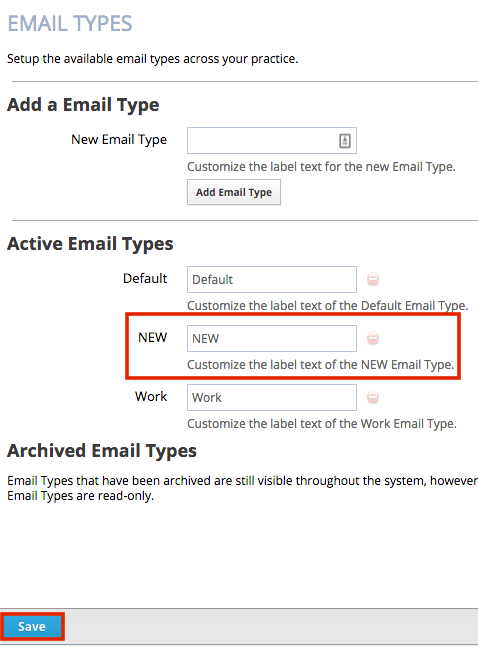
Manage Email Types
You can edit the email type title, archive email types, and re-activate archived email types.
Email Types that have been archived are still visible throughout the system, however you can no longer assign any new emails to that email type.
- To edit the Email type title select the text box
- Select Save
- To Archive an email type select to the right of the email type
- Select Save
- To re-activate an archived email type select Activate Address type

- Select Save
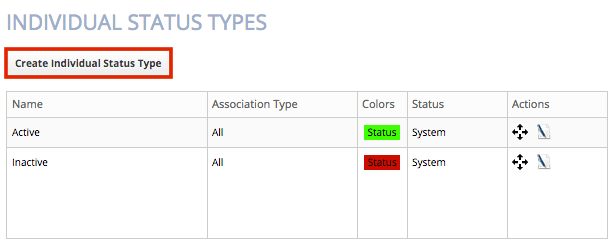
Individual Status Types
Once an Individual Status Type has been added, it can be selected as an option in the Status drop-down menu of the Patient Management screen.
- Go to Practice > Practice Settings > Practice Information > System Types > Individual Status Types
Create Individual Status Types
- Select Create Individual Status Types
- In the New Individual Status Type window specify:
- Name
- Status
- Association
- Font and Background Color
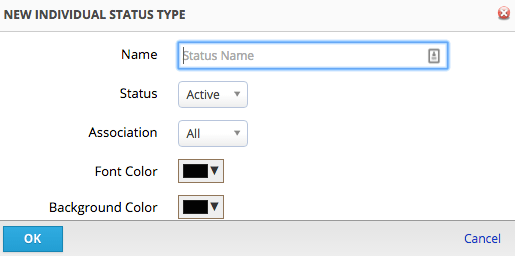
- Select OK
- Select Save
- The active individual status type color will be displayed to the right of the patient name in both search results and in the patient sidebar.
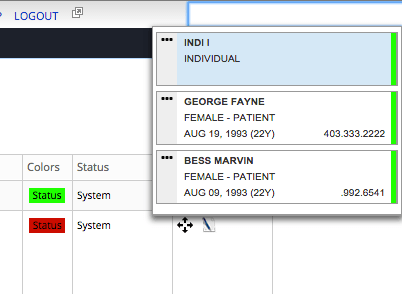
- The active individual status type color will be displayed to the right of the patient name in both search results and in the patient sidebar.
Manage Individual Status Types
You can move and edit the individual status types
- Select

- Drag the individual status type to its new location
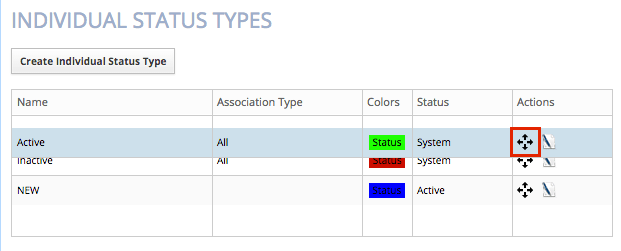
- Drag the individual status type to its new location
- Select
- In the Edit Individual Status Type window edit:
- Name
- Font and Background Color
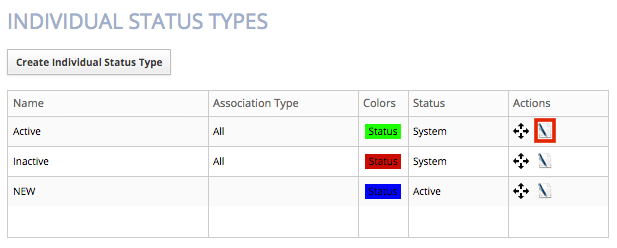
- Select OK
- In the Edit Individual Status Type window edit:
- Select Save
Name Prefix Types
- Go to Practice > Practice Settings > Practice Information > System Types > Name Prefix Types
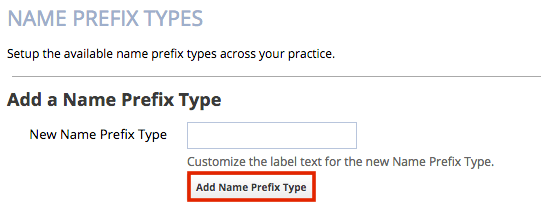
Add a Name Prefix Type
- Type the new name prefix type title and select Add Name Prefix Type
- Once the new name prefix type is added, it will appear under the Active Name Prefix Types section. To learn how to manage the active Name Prefix types please see Manage Name Prefix Types
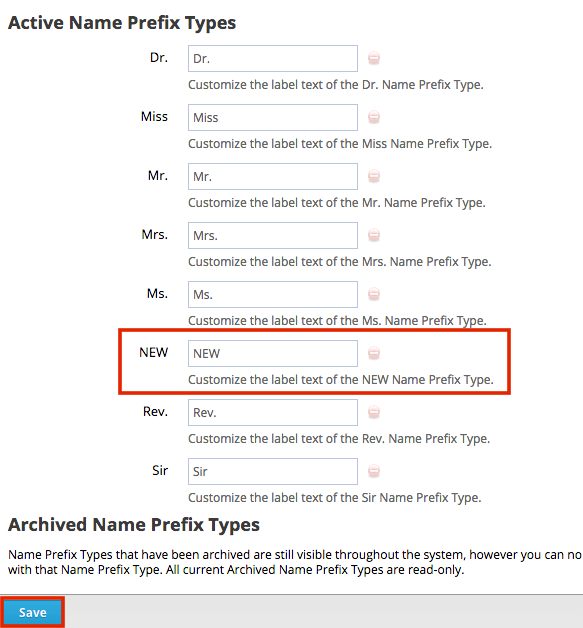
- Select Save
Manage Name Prefix Types
You can edit the name prefix type title, archive name prefix types and re-activate archived name prefix types.
Name prefix types that have been archived are still visible throughout the system, however you can no longer assign any new name prefixes using that name prefix type.
- To edit the name prefix type title select the text box
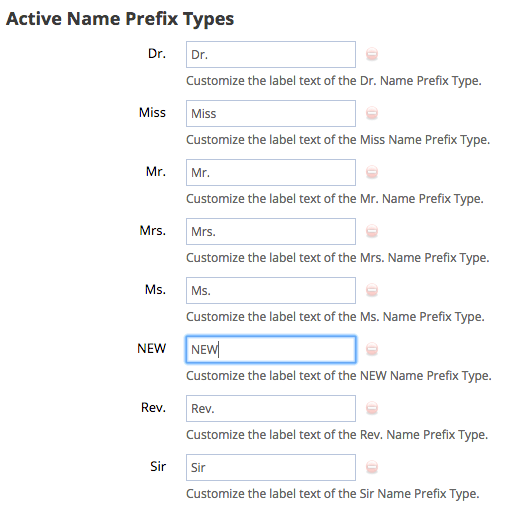
- Select Save
- To archive a name prefix type select
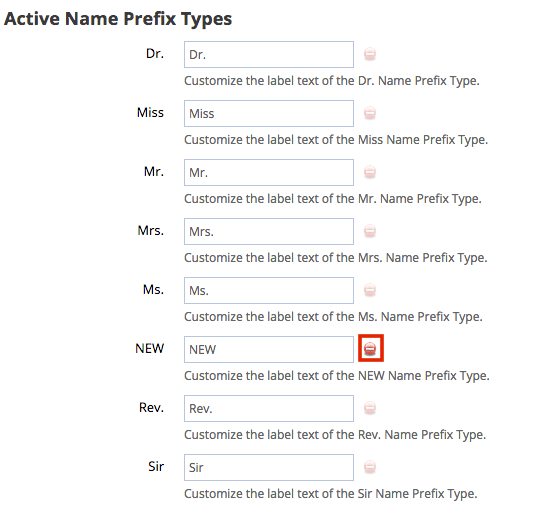
- Select Save
- To re-activate an archived name prefix type select Activate Name Prefix type
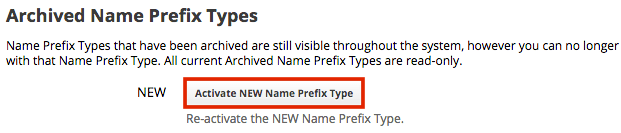
- Select Save
Name Types
- Go to Practice > Practice Settings > Practice Information > System Types > Name Types
Add a Name Type
- Type the new name type title and select Add Name Type
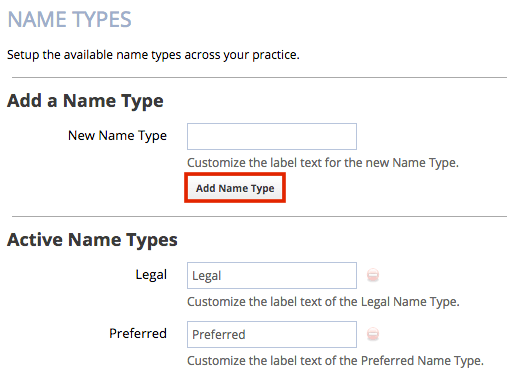
- Once the new name type is added, it will appear under the Active Name Types section. To learn how to manage the active name types please see Manage Name Types
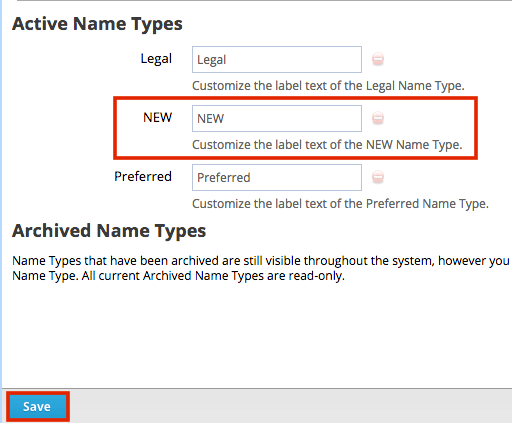
- Select Save
Manage Name Types
You can edit the name type title, archive name types and re-activate archived name types.
Name Types that have been archived are still visible throughout the system, however you can no longer assign any new names using that name type.
- To edit the name type title select the text box

- Select Save
- To Archive a name type select to the right of the name type
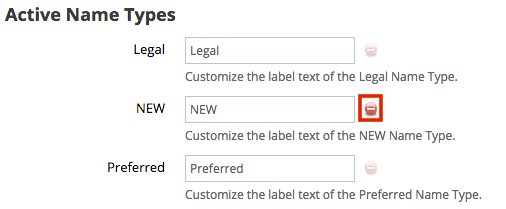
- Select Save
- To re-activate an archived name type select Activate Name Type
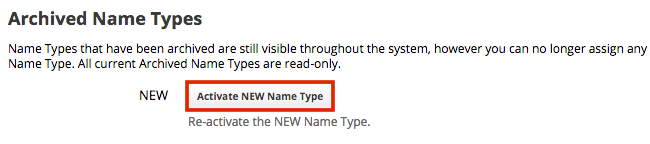
- Select Save
Phone Number Types
- Go to Practice > Practice Settings > Practice Information > System Types > Address Types > Phone Number Types
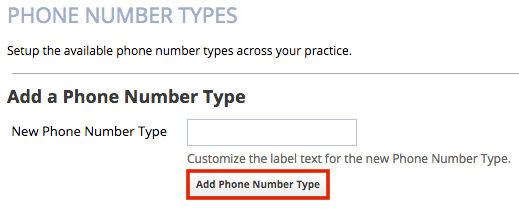
Add a Phone Number Type
- Type the new phone number type title and select Add Phone Number Type
- Once the new phone number type is added, it will appear under the Active Phone Number Types section. To learn how to manage the active phone number types please see Manage Phone Number Types
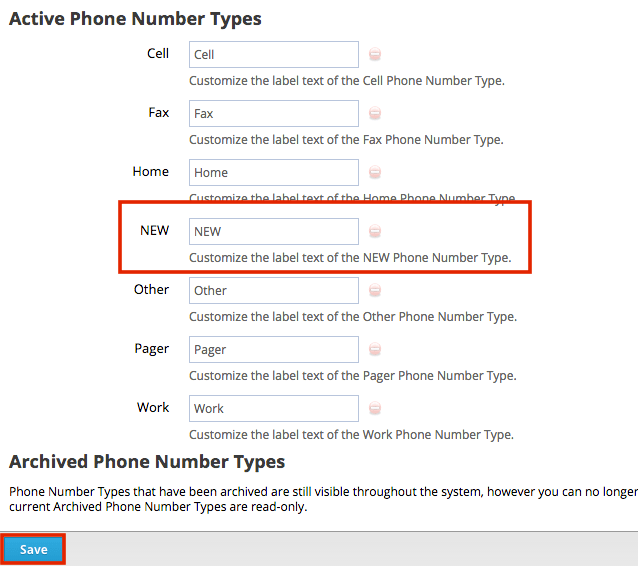
- Select Save
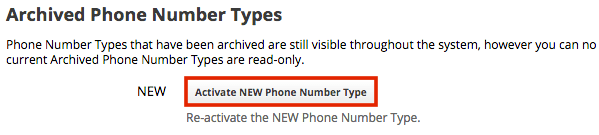
Manage Phone Number Types
You can edit the phone number type title, archive phone number types and re-activate archived phone number types.
Phone number types that have been archived are still visible throughout the system, however you can no longer assign any new phone numbers to that phone number type.
- To edit the Phone number type title select the text box
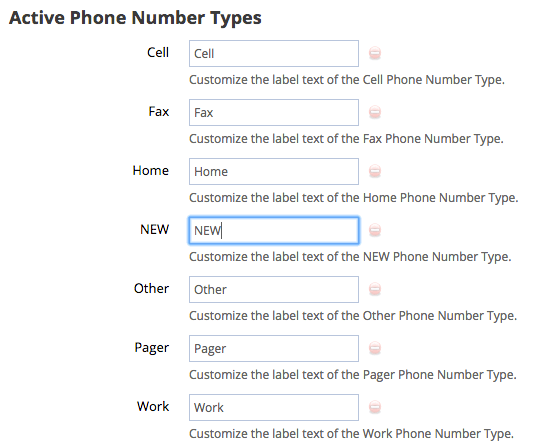
- Select Save
- To Archive a phone number type select
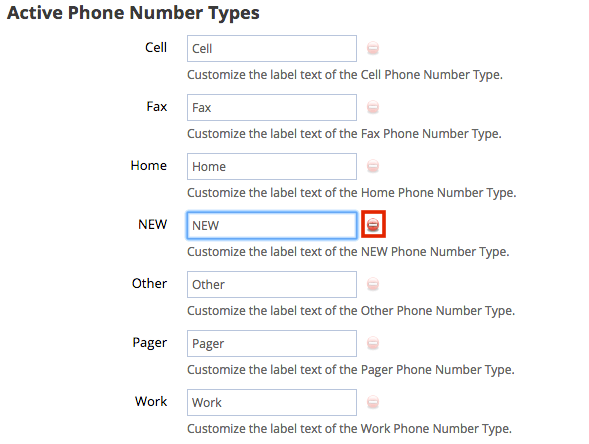
- Select Save
- To re-activate an archived phone number type select Activate Phone Number type
- Select Save
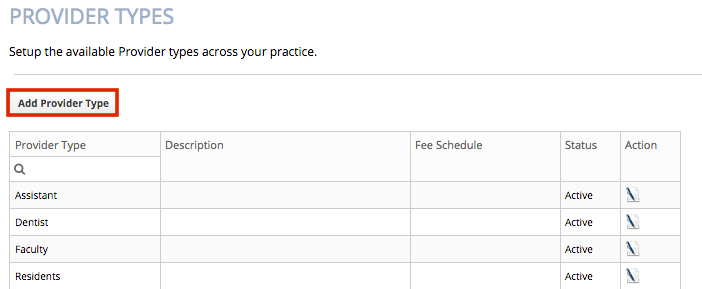
Provider Types
- Go to Practice > Practice Settings > Practice Information > System Types > Provider Types
Add Provider Type
- Select Add Provider Type
- In the New Provider Type window specify:
- Provider Type
- Description
- Status
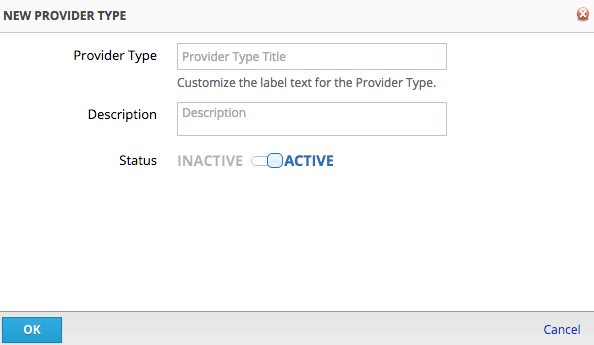
- Select OK
- Select Save
Edit Provider Type
- Select
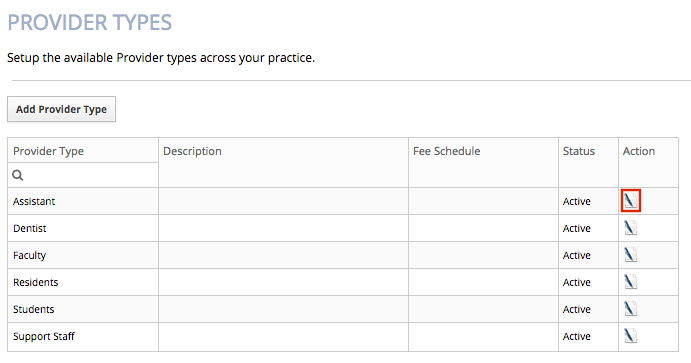
- In the Edit Provider Type window make any necessary changes
- Select OK
- Select Save
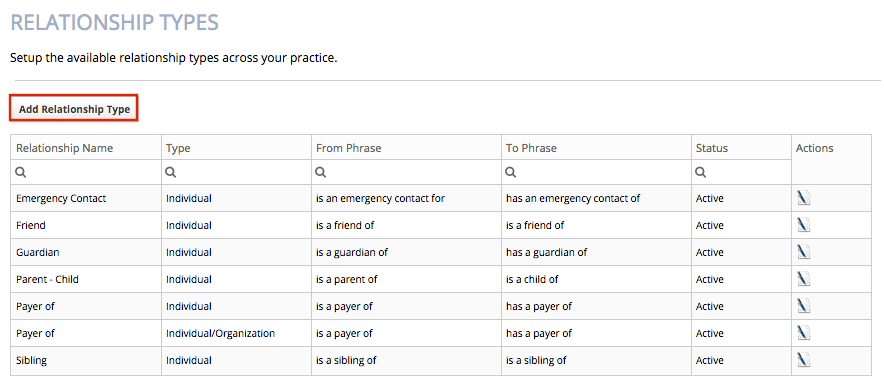
Relationship Types
- Go to Practice > Practice Settings > Practice Information > System Types > Relationship Types
Add Relationship Type
- Select Add Relationship Type
- In the New Relationship Type window specify:
- Relationship Name
- Type
- From Phrase
- To Phrase
- Status
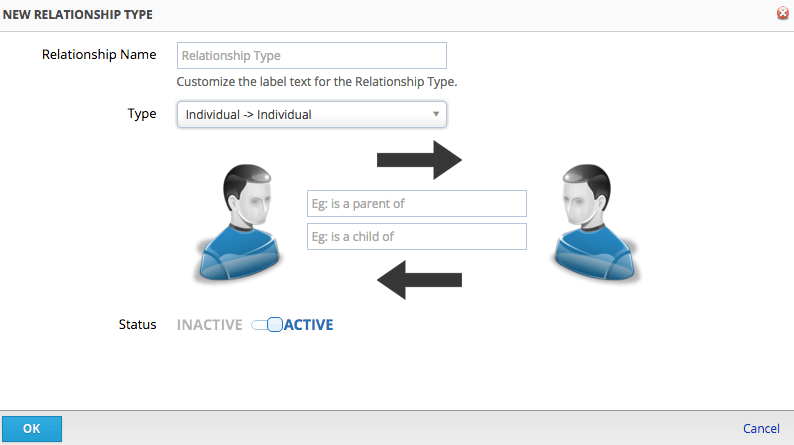
- Select OK
- Select Save
Edit Relationship Type
- Select
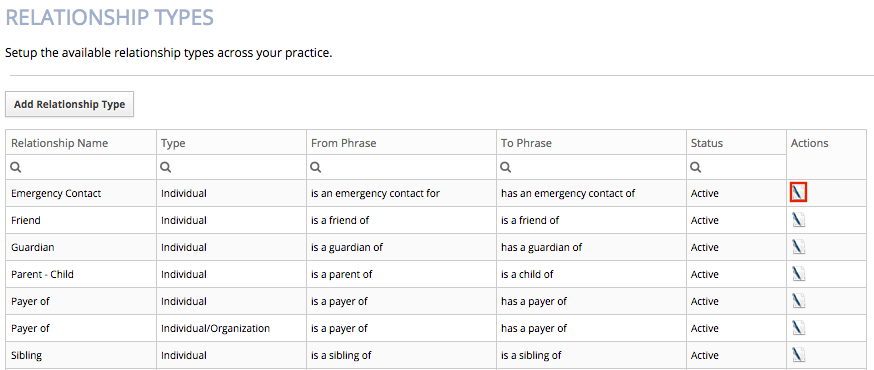
- In the Edit Relationship Type window make any necessary changes
- Select OK
- Select Save